Skip to content
At Local Garage Experts, we understand the importance of having a properly functioning garage door. However, many homeowners may not have the budget to hire a professional to replace their garage door springs. That’s why we’ve created this comprehensive DIY garage door spring replacement guide, providing you with the knowledge and confidence to take on this project yourself.
Whether you need to replace a broken spring or want to take on this project for other reasons, our guide will give you step-by-step instructions for a safe and effective garage door spring replacement.
Key Takeaways:
- Replacing your garage door springs can be a DIY project with the proper knowledge and safety precautions.
- Regular maintenance and attention to warning signs can prevent costly breakdowns.
- Understanding the different types of garage door springs can help you determine the appropriate replacement method.
- Taking the proper safety precautions and having the right tools and equipment are crucial for safety and success.
- DIY garage door spring replacement can save you money and yield a sense of accomplishment.
Understanding Garage Door Springs
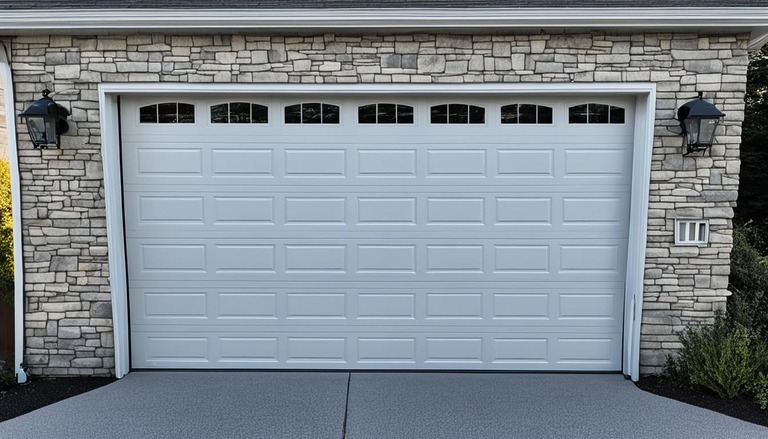
Before embarking on any DIY project, it’s crucial to comprehend the components of the job at hand. Garage door springs are fundamental parts that assist in raising and lowering the garage door. They counterbalance the heavy weight of the door, making it possible to open and close with ease. Regular maintenance of the springs is paramount to ensure their longevity and smooth operation.
If you notice any of the following signs, you may need to replace your garage door springs:
- The door fails to open or close
- The door operates sluggishly, making squeaking or grinding noises
- The springs appear stretched out or damaged
At Local Garage Experts, we recommend periodic inspections of your garage door springs and the full door system. Such assessments should be carried out by garage door experts at least once a year. Remember that a garage door spring replacement is a hazardous task. Therefore, it’s advisable to seek professional assistance or follow a comprehensive DIY garage door spring replacement guide, such as this one.
Take a closer look at the garage door springs and always seek professional help if you’re uncertain about the state of your springs.
Garage door springs play a crucial role in the overall function of the garage door system. Always ensure that they’re in top condition to avoid accidents and ensure optimal performance.
Types of Garage Door Springs
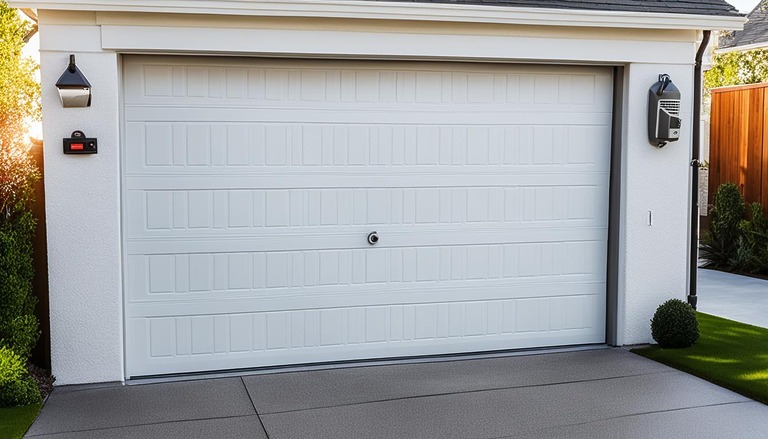
Garage door springs play a crucial role in lifting and lowering your garage door. There are two main types of garage door springs: torsion springs and extension springs, with each type having unique characteristics, advantages, and disadvantages. To determine which type of garage door spring is suitable for your specific needs, it’s important to understand the differences between them.
Torsion Springs
Torsion springs are the most common type of garage door springs and are installed above the garage door, parallel to the ceiling. They work by twisting and creating torque to lift the door, and their lifespan is typically between 15,000 and 20,000 cycles.
One of the main advantages of torsion springs is their strength and durability, making them ideal for larger, heavier garage doors. Additionally, they provide more balance and stability when opening and closing, reducing the risk of wear and tear on other garage door components.
However, torsion springs are more complicated to install and typically require a professional technician to install or replace. Additionally, they can be more expensive than extension springs.
Extension Springs
Extension springs are located on both sides of the door, above the horizontal tracks. They work by expanding and contracting to move the door, and their lifespan is typically between 10,000 and 15,000 cycles.
The main advantage of extension springs is their affordability and ease of installation. They are also suitable for smaller, lighter doors.
However, extension springs are generally less durable than torsion springs and require more maintenance. They may also be noisier when opening and closing, and there is a higher risk of injury if they snap.
By understanding the differences between torsion and extension springs, you can make an informed decision about which type of spring to use for your garage door. Whether you choose torsion or extension springs, remember to follow safety precautions and installation guidelines to ensure a successful and safe replacement.
Safety Precautions and Preparation
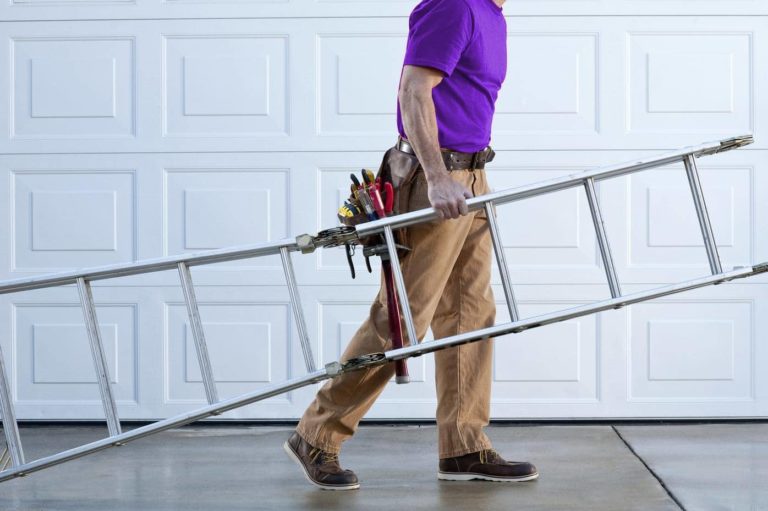
When it comes to DIY garage door spring replacement, safety should always be your top priority. Working with heavy garage door components can be dangerous, so it’s crucial to take the necessary precautions to protect yourself and your property. In this section, we will outline essential safety measures to follow, as well as provide a checklist of tools and equipment you’ll need for the job.
To begin, make sure you have a sturdy ladder or platform to reach the garage door components safely. You should also have safety glasses or goggles, thick gloves, and a hard hat or bump cap to protect your head from accidental bumps. Remember to keep your workspace clean and organized to minimize the risk of slips, trips, or falls.
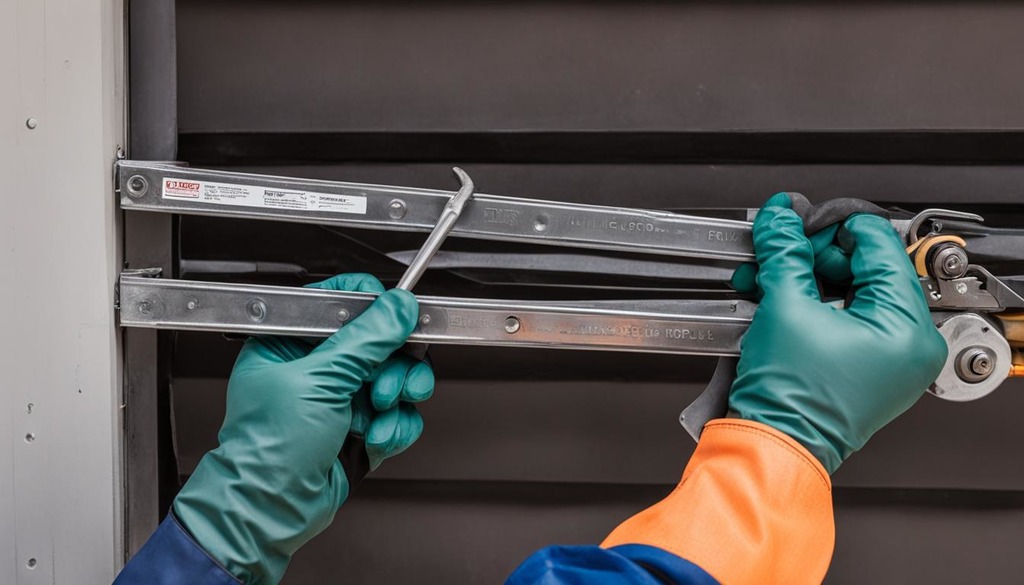
To prepare for the garage door spring replacement project, you’ll need to gather some specific tools and equipment, including winding bars, vice grips, adjustable wrenches, and a drill with a socket attachment. It’s also a good idea to have spare parts on hand, including cables, brackets, and center bearings, just in case unexpected issues arise.
Before beginning any work on your garage door, it’s important to unplug the opener to prevent it from accidentally activating. Make sure to also secure the door in place using clamps or locking pliers to prevent it from falling while you work.
By following these safety precautions and gathering the appropriate tools and equipment, you’ll be well-prepared for a successful DIY garage door spring replacement.
Step-by-Step Garage Door Spring Replacement
Replacing a garage door spring may seem like a daunting task, but with our step-by-step instructions, you can do it yourself with ease and accuracy. Simply follow the guide below for a safe and successful garage door spring replacement.
Note: Before starting any garage door spring replacement, review our safety precautions in Section 4 and ensure you have all the necessary tools and equipment, as outlined in the same section.
Also, we recommend enlisting the help of a friend or family member, as the springs can be heavy and challenging to manage alone.
| Step | Instructions |
|---|---|
| Step 1 | Unplug the garage door opener. Before beginning any work, unplug the opener to prevent any accidental activation. |
| Step 2 | Locate the old spring. The spring is most likely located above the door and secured to the wall. |
| Step 3 | Release any tension on the old spring by untightening the set screws on the winding cone with a wrench, or by removing the tension rod from the old spring. |
| Step 4 | Remove the old spring by unfastening the bolts or screws holding it in place. Carefully remove the spring and take note of its orientation. |
| Step 5 | Install the new spring by following the manufacturer’s instructions. Ensure that the new spring is oriented correctly and securely fastened. |
| Step 6 | Wind the new spring by tightening the set screws on the winding cone or reinstalling the tension rod. |
| Step 7 | Test the new spring by manually opening and closing the garage door. Ensure it’s functioning correctly before plugging in the opener and testing it with the remote. |
Note: If you encounter any issues during the replacement process, refer to the troubleshooting section in Section 6 for assistance.
By following these step-by-step instructions, you’ll be able to replace your garage door spring with confidence and efficiency. Remember to always prioritize safety throughout the process and seek professional help if necessary.
In the next section, we’ll address common issues that may arise during the garage door spring replacement process and offer valuable troubleshooting tips.
Troubleshooting and Tips for Common Issues
While a successful garage door spring replacement project can be a satisfying achievement, some common issues may arise when you attempt it. Knowing how to troubleshoot those issues can save you time, effort, and potential headaches. In this section, we’ll address the most common garage door spring replacement problems and provide solutions to ensure a smooth and hassle-free experience.
Issue 1: Uneven Garage Door Movement
If you notice that your garage door moves unevenly or wobbles after the spring replacement, it’s likely a balance issue. Check if the door is properly balanced by disconnecting the opener from the door and manually lifting it halfway. If the door remains in place and doesn’t move up or down, it’s balanced. If it drops or goes up, it requires balancing. Adjust the spring tension accordingly until the door is balanced.
Issue 2: Spring Alignment Problems
When installing the new spring, misalignments may occur, causing the door to bind or not close properly. To fix this, ensure the springs are evenly placed on each side of the garage door opener. Adjust the spring tension mechanism to align the springs before tightening them. This will keep them in the correct position, preventing any future binding issues.
Issue 3: Noisy Garage Door Opener
If your garage door opener makes a lot of noise after the spring replacement, it might be due to excessive vibration. This could result from worn-out rollers or loose hardware. Replace the rollers if they are worn out and tighten all the hardware. If the problem persists, consider installing an anti-vibration kit to reduce noise.
Additional Tips
Tip 1: It’s a good idea to have a helper when working on garage door spring replacement to ensure safety and help with heavy lifting.
Tip 2: Always use high-quality tools and equipment to prevent damage or injury.
Tip 3: Regular maintenance of your garage door springs can prevent potential future issues. Inspect the springs for wear and tear regularly, and lubricate them with a silicone-based lubricant to reduce friction.
Reaping the Benefits of DIY Garage Door Spring Replacement
At Local Garage Experts, we understand that DIY garage door spring replacement may seem daunting at first. However, choosing to take on this project yourself can bring many benefits.
- Cost Savings: By opting for DIY, you can save a significant amount of money in labor costs. Garage door spring replacement can be an expensive service, and doing it yourself can cut down on expenses.
- Sense of Accomplishment: Successfully completing a DIY project can give you a sense of pride and accomplishment. Knowing that you did it yourself can be very satisfying and empowering.
Replacing your garage door springs yourself using our guide can not only save you money and offer a sense of accomplishment, but it can also enhance your overall garage door system. By following our step-by-step instructions and ensuring that your system is functioning safely and properly, you’ll prolong equipment life and prevent future issues.
Maintenance Tips for Longevity
Now that you have successfully replaced your garage door springs, maintaining them properly is essential for guaranteeing their longevity and continued optimal performance. In this section, we will provide you with essential maintenance tips and guidelines to help you keep your new springs in excellent condition for as long as possible.
| Tips | Description |
|---|---|
| Perform regular inspections | Check the springs, cables, and pulleys regularly for signs of wear and tear. Look for rust, fraying, or other damage that may require repair or replacement. |
| Apply lubrication | Apply a silicone-based lubricant to the springs, bearings, and hinges every six months. This will help reduce friction and prevent rust buildup. |
| Avoid slamming the door | Avoid slamming the garage door shut or opening it too quickly, as this can cause unnecessary strain on the springs and damage them over time. |
| Check door balance | Test the balance of your garage door regularly by disconnecting the opener and manually lifting it halfway. If it doesn’t stay in place, the springs may need adjustment or replacement. |
| Replace both springs if needed | If one spring breaks, it’s usually best to replace both at the same time, even if the other one seems to be in good condition. This will ensure equal wear and tear on both springs, prolonging their lifespan. |
By following these maintenance tips, you’ll ensure that your garage door springs continue to function optimally and avoid potential issues that could lead to costly repairs in the future. Keep these guidelines in mind, and you’ll enjoy the benefits of your successful DIY garage door spring replacement for years to come.
Conclusion
At Local Garage Experts, we understand the importance of a well-maintained garage door system, and we believe that DIY garage door spring replacement is a practical and rewarding way to achieve this. By following our comprehensive guide, you can confidently take on this project and enjoy the benefits of a successful spring replacement.
We hope that our step-by-step instructions, safety precautions, and maintenance tips have provided you with the knowledge and confidence to replace your garage door springs safely and effectively. Remember to prioritize safety, gather the necessary tools, and carefully follow each step of the process.
Embrace DIY and take pride in maintaining and improving your garage door system. If you have any further questions or concerns, please don’t hesitate to contact us at Local Garage Experts.