Skip to content
In today’s tech-savvy world, almost everyone has a garage door opener remote. But what happens when you need to program it? Fear not! Our comprehensive guide provides step-by-step instructions, troubleshooting tips, and DIY techniques to ensure your garage door operates smoothly and efficiently.
Programming a garage door opener remote requires some essential materials, including a remote programming guide, and familiarity with your garage door opener model. But don’t worry, we’re here to help you understand the process and guide you every step of the way.
In this article, we’ll cover important topics such as understanding garage door remote programming, locating the programming button, programming the remote, troubleshooting common issues, and much more. Whether you’re a seasoned professional or a beginner, our easy-to-follow guide will help you master garage door remote programming in no time.
Key Takeaways
- Garage door remote programming is essential for smooth and efficient operation.
- Understanding garage door remote programming basics is crucial before beginning the process
- Locating the programming button is the first step to programming a remote.
- Troubleshooting common issues is necessary to ensure a hassle-free operation.
- Testing the functionality of the remote is critical to ensure optimal performance.
Understanding Garage Door Remote Programming
Programming your garage door remote may seem daunting, but before diving into the process, it’s crucial to understand how the programming works. There are various types of garage door remotes, including universal remotes, and each has specific programming instructions and methods.
One key thing to note is that programming your garage door remote requires interaction with the garage door opener. The garage door opener has a programming panel where you will input the programming details and synchronize them with the remote.
Universal remotes, also known as multi-code remotes, work with several types of garage door openers. When selecting a universal remote, ensure compatibility with your garage door opener brand and model.
It’s also essential to recognize the difference between fixed-code and rolling-code remotes. Fixed-code remotes transmit the same code every time you use them, while rolling-code remotes generate a new code for each use. The latter is more secure and offers better protection against theft.
By understanding the basics of garage door remote programming, you can efficiently troubleshoot problems and perform maintenance to ensure your garage door operates effortlessly.
Gather the Necessary Materials
Before we start programming your garage door remote, let’s gather the required materials. You will need:
| Materials | Image |
|---|---|
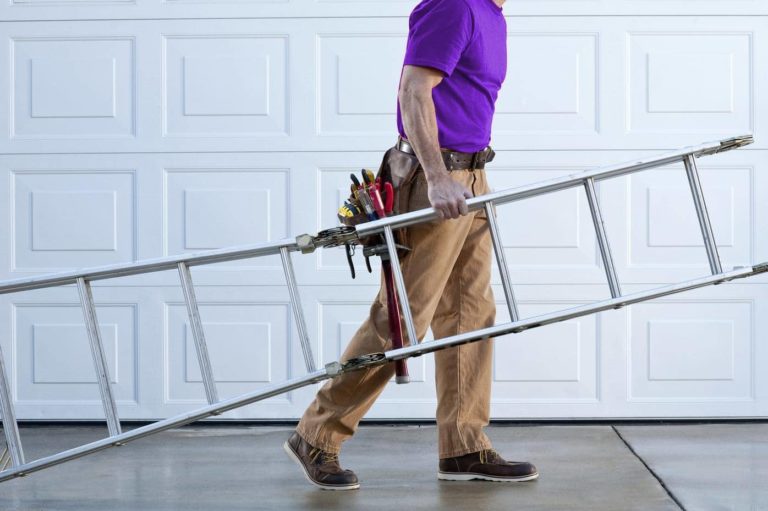
| A ladder | |
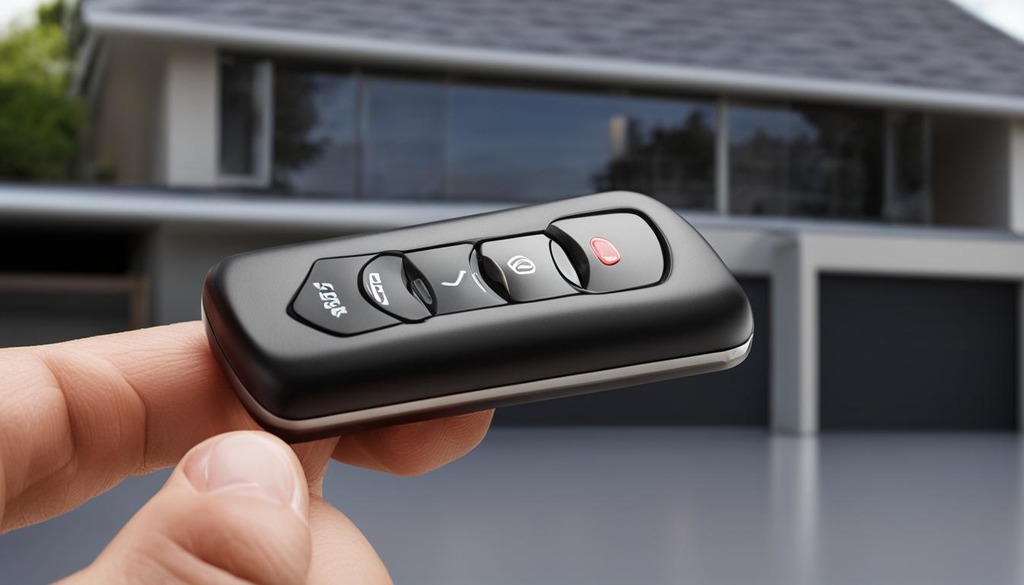
| The garage door remote | |
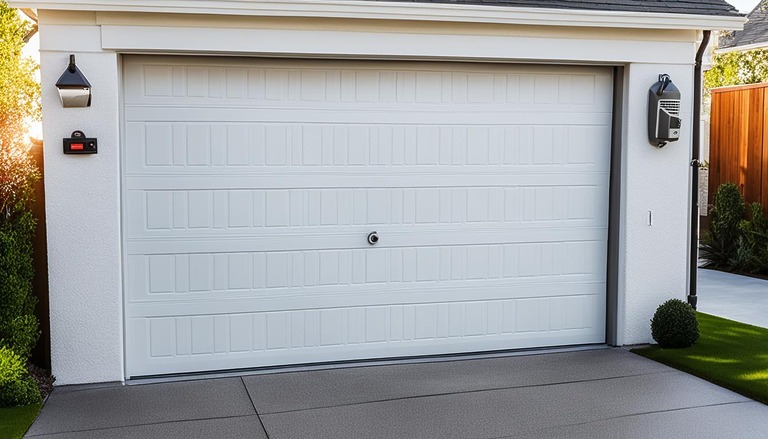
| The garage door opener unit | |
| A pen and paper |
Ensure all materials are within reach, as some steps require quick and easy access to both the remote and the opener unit. With all materials in hand, we can continue to the next step: locating the programming button.
Locating the Programming Button
Before programming your garage door remote, it’s crucial to locate the programming button on your garage door opener. This button’s location can vary depending on the manufacturer and model of your garage door opener, so it’s essential to check the owner’s manual or manufacturer’s website for specific information. Typically, the programming button is located inside the garage door opener unit on the same side as the antenna wire. It may be visible or concealed behind a panel, depending on the manufacturer’s design.
If you have difficulty finding the programming button, try using a flashlight to inspect the garage door opener’s back and sides. You can also consult a professional garage door technician to assist you in locating the button. Once you have located the programming button, you’re ready to move on to the next step.
To help you locate the programming button more easily, here’s an image that shows how it typically looks:

Programming the Remote
Now that we have located the programming button, it’s time to program the garage door remote. Follow these easy garage door remote programming steps to ensure you can operate your garage door with ease:
- Press and hold the programming button on your garage door opener.
- While holding down the button, press and hold the button on your remote control.
- Wait for the garage door opener to flash or make a clicking sound, indicating a successful program.
- Repeat steps 2-3 for any additional remotes you wish to program.
- Test each remote to ensure proper operation.
If you encounter any difficulties with programming, refer to our troubleshooting section or contact us for assistance.
If you prefer a more hands-on approach, try DIY garage door remote programming. Check the manufacturer’s instructions for specific guidance on your garage door opener remote programming guide. DIY programming can save you money and give you a greater sense of control over your garage door system.
Troubleshooting Remote Programming Issues
Programming your garage door remote can seem daunting, but even after carefully following the steps, it’s possible to run into some hiccups. But don’t worry, we’ve got you covered with our troubleshooting guide to help you resolve common issues.
| Issue | Possible Solution |
|---|---|
| The remote still doesn’t work after programming it. | Check the batteries in the remote. They may be low or dead. Replace them and try again. If the problem persists, try resetting the remote and reprogramming it. |
| The garage door opens but does not close. | There might be something blocking the door sensor. Look for any object that might be in the sensor’s path. Make sure the area around the sensor is clear. If the problem persists, try cleaning the sensors or adjusting their alignment. |
| The remote works intermittently. | This may happen due to radio frequency interference. Check if there are any nearby sources such as other electronic devices or wireless networks that might interfere with the remote’s radio signal. Alternatively, the remote may be malfunctioning; try reprogramming it, or contact the manufacturer for assistance. |
If none of the above solutions work, it might be time to call in a professional garage door technician to diagnose and fix the issue.
Testing the Garage Door Remote
After programming your garage door remote according to our remote programming guide, it’s essential to test its functionality to ensure everything works correctly. Testing your remote is simple, and with our garage door remote programming tips, you’ll know what to look out for.
First, stand inside your garage and close the door. Press the programmed button on your remote, and your garage door should start to close. Once the door starts to close, press the remote button again to open the garage door. This ensures that your remote is programmed and working correctly.
If the door doesn’t close or open, there may be an issue with the programming, signal interference, battery life, or something else. With our troubleshooting tips from Section 6, you’ll easily identify and fix any common problems.
It’s important to test your remote periodically to maintain its optimal performance. If you have any difficulties with the remote’s range or sensitivity, you might need to adjust its signal strength to achieve the best results. For additional tips on adjusting the remote’s signal strength and maintenance suggestions, check out our garage door remote programming guide in Section 8.
Remember: testing your garage door remote is a crucial step in ensuring its optimal performance and longevity.
Additional Tips and Maintenance Suggestions
Now that you have successfully programmed your garage door remote, it’s essential to maintain its functionality to prolong its lifespan.
You can start by replacing the batteries regularly. For optimum performance, use high-quality batteries and avoid mixing any used batteries with new ones. We recommend replacing them every year or as soon as the remote starts losing its range.
Another helpful tip is to avoid exposing your remote to extreme weather conditions. If you accidentally drop it, inspect it to ensure it’s not damaged.
If you’re going on vacation or won’t be using your remote for an extended time, remove the batteries to prevent potential damage from battery leaks.
Clean the remote regularly with a soft, dry cloth to remove any dirt, debris, or fingerprints, as this can affect its performance. Avoid using water, solvents, or abrasive cleaners as they can damage the remote.
To avoid interference issues, it’s important to test your remote occasionally to ensure it’s working correctly. If you experience trouble with the remote, try resetting it using the programming instructions in the previous sections.
To sum up, with proper maintenance and care, your garage door remote can serve you for many years to come, ensuring convenient and hassle-free access to your garage.
Upgrading to a Smart Garage Door Opener
If you’re looking to add advanced features and functionalities to your garage door system, upgrading to a smart garage door opener is an excellent option. Smart garage door openers provide enhanced security, remote access, and integration with smart home systems. With a smart garage door opener, you can control your garage door using your smartphone, tablet, or voice-activated personal assistant, giving you complete control from anywhere.
Some of the benefits of upgrading to a smart garage door opener include:
| Benefit | Description |
|---|---|
| Remote Access | Control your garage door from anywhere using your smartphone or tablet. |
| Enhanced Security | Receive alerts and notifications whenever your garage door opens or closes, ensuring you’re always aware of who enters your property. |
| Integration with Smart Home Systems | Integrate your smart garage door opener with your existing smart home system, including Amazon Alexa, Google Assistant, and Apple HomeKit. |
To program your garage door remote for a smart garage door opener, follow the manufacturer’s instructions. Make sure your remote is compatible with your smart opener, and ensure that both devices are connected to the same Wi-Fi network before beginning the programming process. If you encounter any issues during programming, refer to the user manual or contact the manufacturer’s customer support team for assistance.
Upgrading to a smart garage door opener provides numerous benefits, including enhanced security, remote access, and integration with smart home systems. Consider upgrading your garage door system to take advantage of these advanced features and functionalities.
Conclusion
Garage door remote programming can seem daunting, but our comprehensive guide has made it easy for you to understand and follow. By programming your garage door remote correctly, you can ensure smooth and efficient garage door operation. Remember to troubleshoot any issues you may encounter, and utilize our tips to keep your garage door remote functioning optimally.
Regular maintenance and upgrades to a smart garage door opener can further enhance the functionality and lifespan of your garage door remote. We hope our guide has been helpful in programming your remote, and we wish you the best of luck in your garage door endeavors.
Thank you for choosing our guide as your go-to resource for garage door remote programming.