Skip to content
Welcome to our comprehensive guide on troubleshooting common issues with your garage door. As industry professionals, we understand that dealing with garage door problems can be frustrating and overwhelming. That’s why we’ve put together a step-by-step solution guide to help you confidently identify and address any issues that may arise.
Key Takeaways
- Regular maintenance can extend the lifespan of your garage door and prevent future problems.
- Faulty sensors can cause your garage door to malfunction.
- Lubrication of the tracks and rollers is essential for smooth garage door operation.
- Understanding the function of each part of your garage door is crucial before attempting any troubleshooting.
- Adjusting garage door opener settings can impact overall performance and resolve issues.
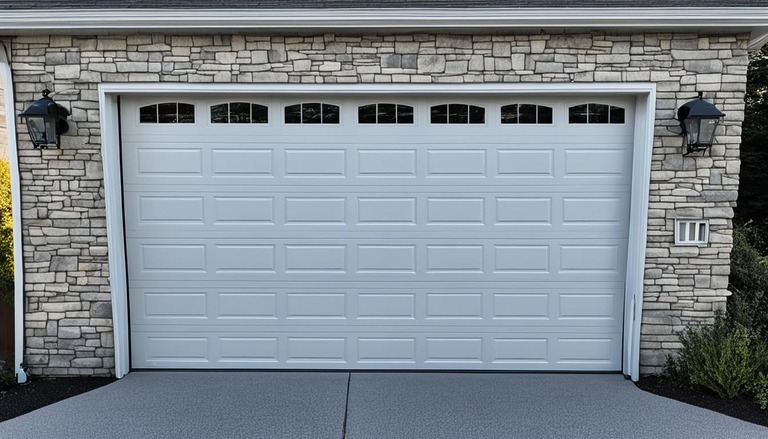
Understanding Garage Door Components
Garage doors consist of several components that work together to open and close the door smoothly. Each part plays a crucial role in the functionality and overall performance of the garage door.
The major parts of a garage door include:
| Component | Function |
|---|---|
| Tracks | Guides and directs the movement of the garage door |
| Rollers | Allows the garage door to roll along the tracks |
| Springs | Balances the weight of the garage door |
| Cables | Supports and controls the movement of the garage door |
| Opener | Controls the opening and closing of the garage door |
By understanding how each component functions, you will be better equipped to diagnose and troubleshoot common garage door problems. Whether you’re dealing with a malfunctioning sensor or a faulty opener, knowing the function of each part will help you pinpoint the issue and apply the correct solution.
Tip: Regular maintenance can prevent most garage door issues. Proper lubrication, regular inspection, and timely repairs can extend the lifespan of your garage door and minimize the need for troubleshooting.
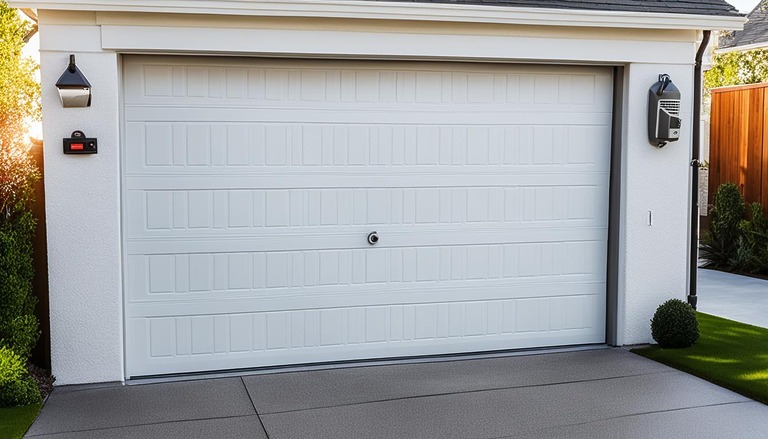
Checking Garage Door Sensors
If your garage door isn’t responding to your commands, it could indicate a problem with the sensors. Malfunctioning sensors pose a safety risk and may cause serious damage to your garage door. Follow our step-by-step guidance for troubleshooting your garage door sensors.
First, visually inspect the sensors to ensure they are clean and properly aligned. Check for any physical damage, such as cracks or dents, that may interfere with their function. Adjust the sensors if they are slightly off to ensure they face each other directly.
If the sensors are clean and aligned, use a level to determine if the sensors are even. Adjust the sensors’ position by slightly shifting them until they are level. Be careful not to move the sensors too much, as this may cause further problems.
If the sensors still do not work, check the wires that connect both sensors to the motor. Ensure they are tight, secure, and not damaged. If the wires are damaged, replace them with new ones.
To test the sensors, simply activate your garage door opener. The sensors should detect the motion and either open or close the door. If they do not work, it may indicate a faulty sensor, which needs to be replaced.
Remember, we always advise consulting with professional garage door repair services for complex issues or difficulties. When troubleshooting your garage door, it’s essential to have the right tools and knowledge. We hope our step-by-step guidance and professional guidance for garage door troubleshooting will help you resolve any sensor-related problems with your garage door.
Adjusting Garage Door Springs
Garage Door Springs are an integral part of your garage door mechanism. The springs bear the weight of the door and balance it to ensure smooth operation. However, if they are not adjusted correctly, they can cause problems like a noisy door or uneven movement.
To troubleshoot your garage door like a pro, we recommend that you follow these techniques for adjusting garage door springs.
Step 1: Identify the type of spring used in your garage door and its position. Garage doors usually come with two kinds of springs – Extension Springs or Torsion Springs, each located on opposite sides of the door.
Step 2: Determine the correct tension for the springs. Unscrew only one spring at a time to avoid accidents and compare its tension to the other. The spring’s length and torque should be equal. If not, adjust accordingly.
Step 3: Adjust the tension springs safely. An improperly adjusted spring can lead to dangerous situations. Use winding bars or other suitable tools recommended by the manufacturer to prevent accidents.
Expert tip: Adjusting the springs may seem challenging. If you’re not confident in your abilities, don’t hesitate to contact a professional garage door technician.
The table below illustrates some common garage door problems and potential causes related to garage door springs:
| Problem | Cause |
|---|---|
| Uneven door movement | Weak or broken torsion springs or extension springs |
| Noisy door | Over-wound springs, worn-out rollers, or cracked hinges |
| Door opens too quickly | Broken torsion springs |
By adjusting your garage door springs correctly, you can ensure your door’s smooth operation and prevent potential safety hazards. Troubleshooting your garage door like a pro requires patience, attention to detail, and, most importantly, following safety guidelines.
Lubricating Garage Door Tracks and Rollers
Regular lubrication of your garage door tracks and rollers is a vital maintenance task that can prevent many problems. We recommend lubricating these components every six months or as needed. Here are some best practices for garage door problem-solving:
- Use a silicone-based lubricant. Avoid oil-based products that can attract dust and dirt, leading to increased friction and damage to the components.
- Clean the tracks and rollers thoroughly before lubricating them. Use a dry cloth to remove any debris and dirt, then wipe them down with a damp cloth and allow them to dry completely.
- Apply the lubricant sparingly. Too much lubricant can attract more dirt and dust, causing more harm than good.
- Ensure you lubricate all parts of the rollers and tracks, including the hinges, bearings, and pivots.
Proper lubrication techniques can prevent common garage door problems, including noise, jerking movements, and stuck doors. Remember that over-lubrication is just as damaging as a lack of lubrication, so be careful when applying it. For more efficient garage door troubleshooting techniques, read the other sections of this article.

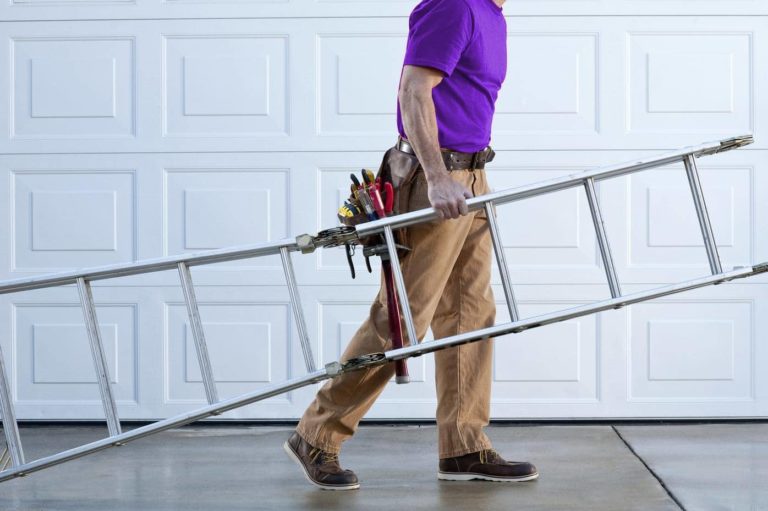
Adjusting Garage Door Opener Settings
The garage door opener plays an essential role in the smooth operation of your garage door. If it’s not working correctly, it can lead to issues such as door reversal, sensitivity, and more. In this section, we will explore how to adjust the opener settings to resolve these common garage door problems and ensure smooth functionality.
The first step is to locate the adjustment settings on your garage door opener. These may vary depending on the brand and model of your garage door opener. Once you locate the settings, use a ladder to access them. It’s essential to follow the manufacturer’s instructions and safety guidelines while adjusting the settings.
One critical setting to check and adjust is the garage door opener’s force setting. This determines how much force the opener uses to open and close the garage door. If the force is too high, the door can be challenging to open or close, and if it’s too low, the door may not close completely.
Another setting to check is the garage door opener’s speed setting. If the door is opening or closing too fast, it can be dangerous and lead to accidents. On the other hand, if the door is opening or closing too slowly, it can be frustrating and time-consuming.
Lastly, it’s essential to check and adjust the garage door opener’s sensitivity setting. This determines how sensitive the opener is to obstacles in the door’s path. If the sensitivity is too low, the door may not stop when it encounters an obstacle, and if it’s too high, the door may stop unnecessarily.
By following these steps and adjusting the garage door opener settings, you can troubleshoot common garage door problems and ensure smooth and safe door functionality.
Inspecting and Replacing Garage Door Cables
If your garage door cables are damaged or worn out, they can compromise your safety and cause malfunctions. Follow our professional guidance for garage door troubleshooting to inspect and replace cables safely and effectively.
Step 1: Begin by performing a visual inspection of the cables. Look for any signs of fraying, damage, rust, or excessive wear and tear. If you spot any of these issues, it’s time to replace the cables.
Step 2: Before starting the replacement process, ensure that your garage door is in the closed position and disconnect the power supply to prevent any accidents.
Step 3: Loosen the cable tension by removing the locking pliers from the track and unwinding the cable from the drum. Once you remove the cables from the pulley, take off the brackets securely holding the cables and allow them to hang down.
Step 4: Install new cables, ensuring they are the right length and thickness. One end of the cable goes onto the drum, while the other end goes onto the bracket on the bottom panel of the garage door. Make sure you wind the cable around the drum in the correct direction.
Step 5: Align the drum and cable against the garage door, and then remount the bracket to the bottom panel using the fasteners that came with the garage door. Wind the cable back onto the drum, but do not tighten it yet.
Step 6: To finish, adjust the cable tension by using pliers and winding the cable onto the drum until the garage door appears level. Make sure that both cables are adjusted to the same tension. Reconnect the power supply and test the door to ensure it’s working correctly.
By following these step-by-step garage door troubleshooting solutions, you can inspect and replace your garage door cables safely, efficiently, and effectively.
Troubleshooting Remote Control Problems
If you’re experiencing issues with your garage door remote control, don’t panic. There are simple troubleshooting techniques that you can apply to fix the problem like a pro.
The first step is to check the batteries. If they’re low, replace them with fresh ones and try operating the garage door again. If the issue persists, you may need to reprogram the remote control.
Pro tip: Check the user manual for specific instructions on how to reprogram the remote control. Usually, it involves pressing a sequence of buttons in a particular order.
If this still doesn’t work, you might need to replace the remote control altogether. But before doing that, ensure that the issue isn’t with the garage door opener by testing it with the wall switch or keypad.
Pro tip: When buying a new remote control, make sure it’s compatible with your garage door opener model. Look for the make and model number of your garage door opener, and choose a remote control that matches these specifications.
If you’ve tried all the troubleshooting techniques and the garage door still isn’t working correctly, it’s time to call in a professional. An experienced technician can diagnose the problem and perform the necessary repairs.
By applying these garage door troubleshooting techniques, you can save time and money by resolving common issues on your own. Stay tuned for our preventative maintenance tips to keep your garage door in optimal condition.
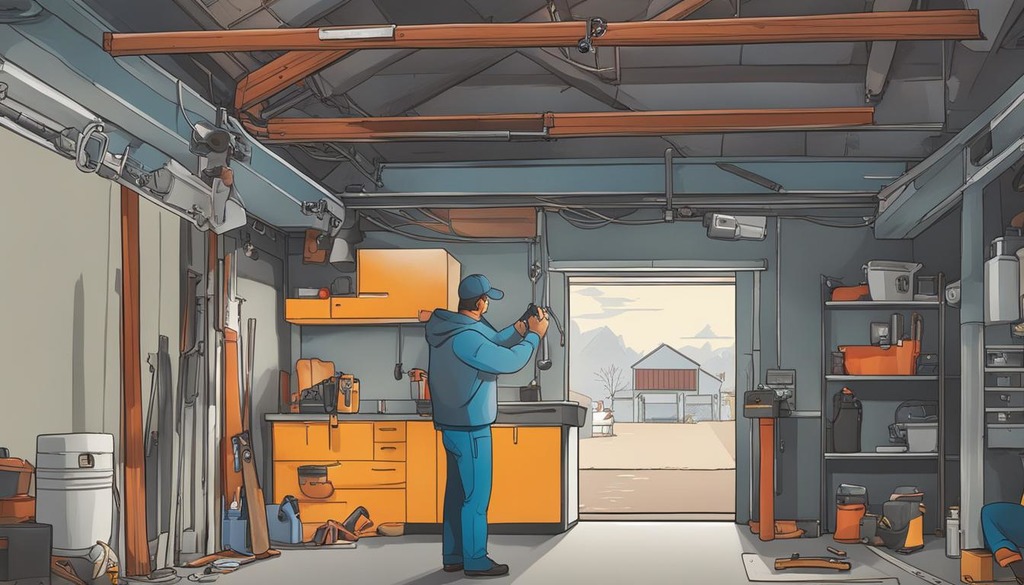
Preventative Maintenance Tips
Regular maintenance of your garage door is crucial to ensure it runs smoothly and avoids potential problems. In this section, we will provide you with essential preventative maintenance tips to keep your garage door in optimal condition.
“An ounce of prevention is worth a pound of cure.”
By following our maintenance recommendations, you can extend the lifespan of your garage door and reduce the likelihood of costly repairs.
Inspect hardware and moving parts regularly
It’s important to inspect the hardware and moving parts of your garage door for wear and tear, rust, or damage. Tighten any loose bolts and replace any worn-out parts promptly. Check the hinges, rollers, springs, tracks, and cables, and lubricate as recommended by the manufacturer.
Test the safety features
Make sure your garage door’s safety features, such as the auto-reverse and photo-eye sensors, are working correctly. Test them regularly to ensure they’re functioning as they should.
Clean and paint as needed
Keep your garage door clean and free of debris. Wipe down the surface, inside and out, with a mild detergent and a soft brush. Touch up any scratches or paint damage with a high-quality exterior paint that’s suitable for your garage door material.
Check weather-stripping
If your garage door has weather-stripping, inspect it regularly for damage or deterioration. Replace it as needed to keep out drafts and weather elements that could cause corrosion to your garage door.
Secure the hardware
Check the mounting hardware and ensure they’re securely fastened to the wall. Check the lock and replace it if it’s worn out or damaged.
Use caution when working with the door
Garage doors can be dangerous, so always exercise caution when working with them. Never attempt any repairs if you’re unsure of what you’re doing. Call in a professional to handle complicated repairs to avoid potential harm or further damage to your garage door.
Remember, preventative maintenance is crucial to keep your garage door in optimal condition and avoid costly repairs. Follow these tips to ensure your garage door stays in great shape for years to come.
Conclusion
Thank you for taking the time to read our expert advice on troubleshooting common garage door problems. We hope that our step-by-step solutions and best practices have provided you with valuable insights and guidance that you can use to confidently address any issues with your garage door. Remember, regular maintenance and preventative measures can go a long way in ensuring that your garage door operates smoothly and lasts for years to come.
Should you encounter any further difficulties with your garage door, don’t hesitate to refer back to this article for troubleshooting techniques and professional guidance. Our team is always here to assist you and answer any questions you may have. Just reach out to us, and we’ll be happy to help.
FAQ
What are the common issues with garage doors, and how can I troubleshoot them?
Common issues with garage doors include a door not opening or closing properly, strange noises, and sensor problems. To troubleshoot these issues, check for any obstructions, ensure the sensors are aligned, and lubricate moving parts regularly. If the problem persists, consult a professional.
What are the main components of a garage door, and how do they affect its operation?
The main components of a garage door include springs, cables, tracks, rollers, and an opener. Springs help with door balance, cables provide lifting support, tracks guide the door’s movement, rollers help with smooth operation, and the opener controls the door. If any of these components malfunction, it can affect the door’s operation.
How can I check and troubleshoot the sensors on my garage door?
To check and troubleshoot the sensors on your garage door, start by cleaning the lens and ensuring they are properly aligned. Check for any obstructions or debris that may be blocking the sensor’s path. If the problem persists, consult your garage door manual or contact a professional for further assistance.
What is the process of adjusting garage door springs, and is it safe to do it myself?
Adjusting garage door springs should only be done by trained professionals as they are under high tension and can cause injuries if mishandled. It is not recommended for homeowners to attempt adjusting the springs themselves. Contact a reputable garage door technician for safe and proper adjustment.
How should I lubricate the tracks and rollers of my garage door?
Lubricating the tracks and rollers of your garage door is important for smooth operation. Use a silicone-based lubricant and apply a small amount to the tracks and rollers. Wipe off any excess lubricant. It’s advisable to lubricate these parts every six months or as needed.
What settings on my garage door opener should I check and adjust?
The settings on your garage door opener can affect its performance. Check and adjust settings such as door reversal sensitivity, force limits, and remote control programming. Consult your garage door opener’s manual for specific instructions or contact a professional for assistance.
How do I inspect and replace damaged or worn-out cables on my garage door?
Inspecting and replacing damaged or worn-out cables on your garage door should be done by a qualified professional. Attempting to replace cables without the proper training and tools can be dangerous. Contact a reputable garage door technician to inspect and replace faulty cables.
My garage door remote control is not working properly. How can I troubleshoot and fix the problem?
If your garage door remote control is not working correctly, check the batteries and replace them if necessary. Ensure you are within the range of the opener and that there are no obstructions. If the problem persists, reprogram the remote control or consult a professional for further assistance.
What preventative maintenance tips can I follow to keep my garage door in optimal condition?
To keep your garage door in optimal condition, perform regular maintenance tasks such as lubricating moving parts, cleaning the tracks, checking the sensors, and tightening loose hardware. Inspect the door for any visible damage or signs of wear and tear. If you notice any issues, address them promptly to prevent further damage.