The perimeter seal joins the stationary frame to the moving door surface.
Find whether the gap is at the side, top, bottom or another interface before choosing weatherstripping. Match the seal and mounting arrangement without changing the door’s operating geometry.
Trace side and header gaps, distinguish a worn flexible flap from a door-position problem, and choose perimeter weatherstripping without forcing the door.
Follow the daylight, not the shopping label
A narrow line of light beside a closed garage door can be easy to ignore until wind carries dust through it. The obvious purchase is a new strip of weatherseal, but the location and shape of the gap matter. A torn flap, a loose rigid base and a door sitting unevenly in its opening require different responses.
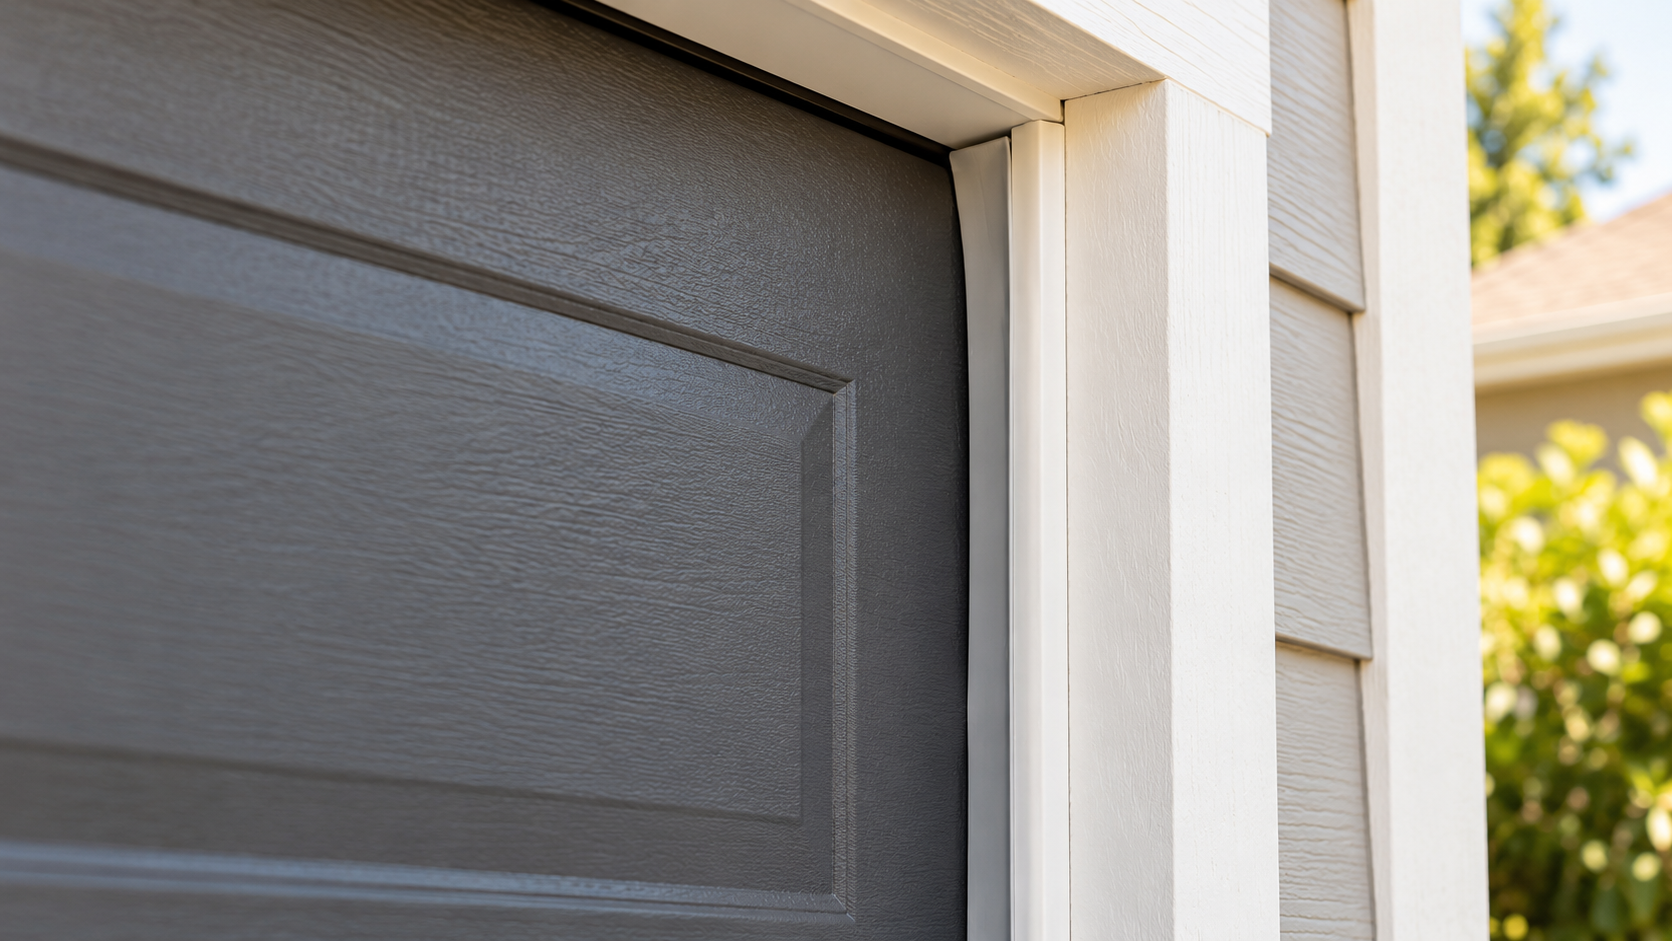
Garage door side and top weatherstripping belongs to the perimeter of the opening. Its job is to meet the closed door without preventing normal movement. The useful starting point is therefore a map of the gap, made while the door is closed and still—not an attempt to pull the door toward the frame or move its tracks.
Know which part you are looking at
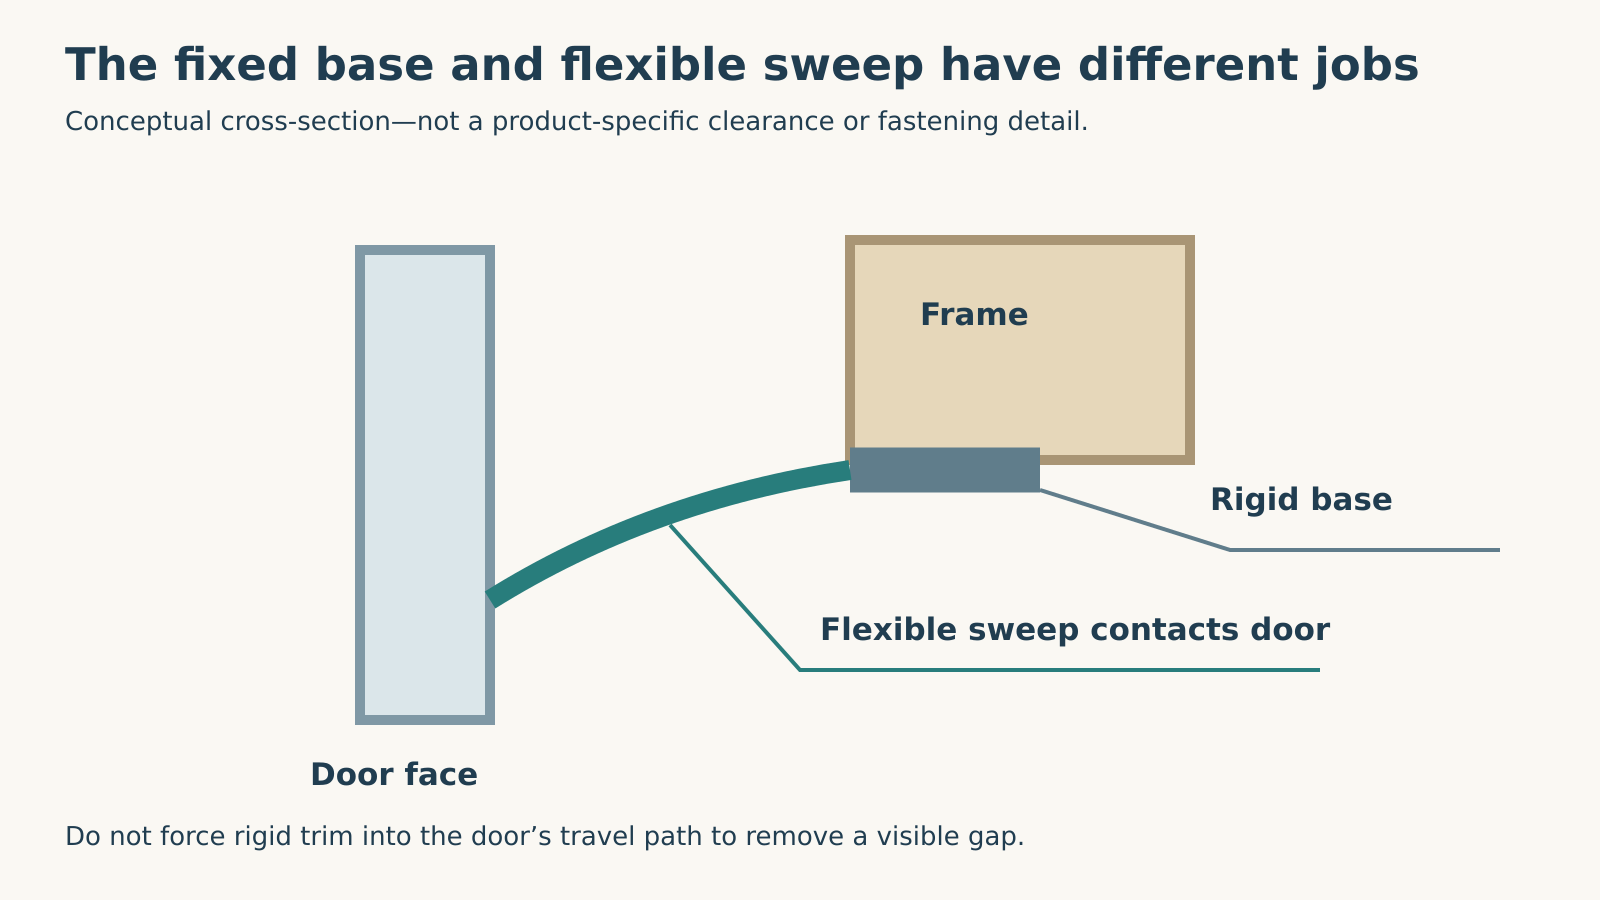
Many perimeter products combine a rigid base with a flexible sweep. Frost King describes its dual-vinyl side and top weatherseal in exactly that way: the fixed portion supports a softer sealing edge.[1] The base and flap have different jobs, even when they arrive as one piece.
The flexible edge should make the intended contact with the closed door. Frost King’s GR9 instructions place the header strip on the outside frame so its sweep flexes against the door, then address the side strips.[2] This is not the same as pressing a solid trim board into the door’s travel path. A product’s total width also does not tell you how much of it is flexible sweep.
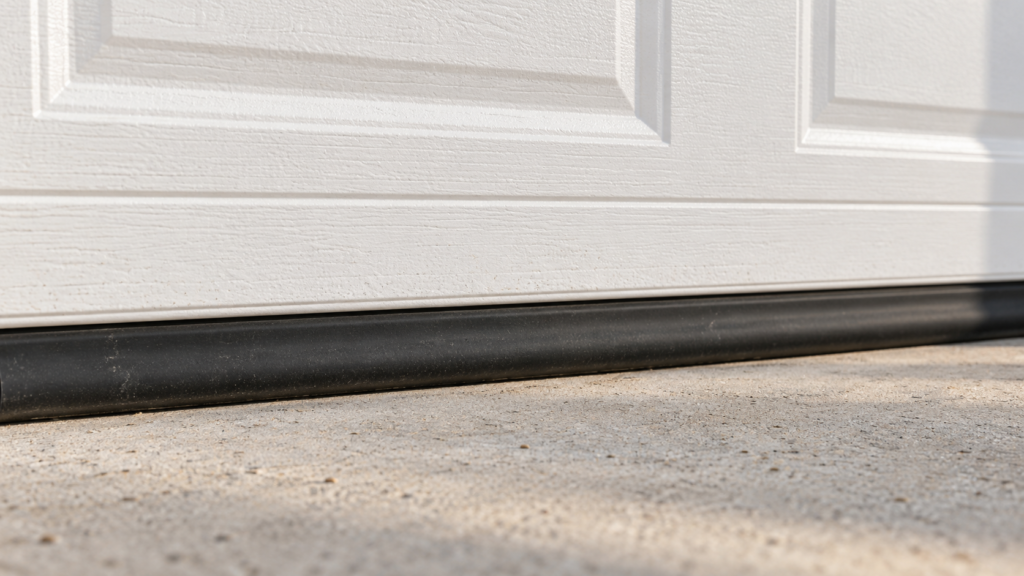
The bottom strip is a separate component attached to the door, while a threshold is fixed to the floor. If your gap is underneath the bottom edge, start with our bottom-seal identification guide. Adding side trim does not establish that the bottom strip or floor interface is correct.
 Select the diagram to view it at full size.
Make a simple gap map with the door stationary
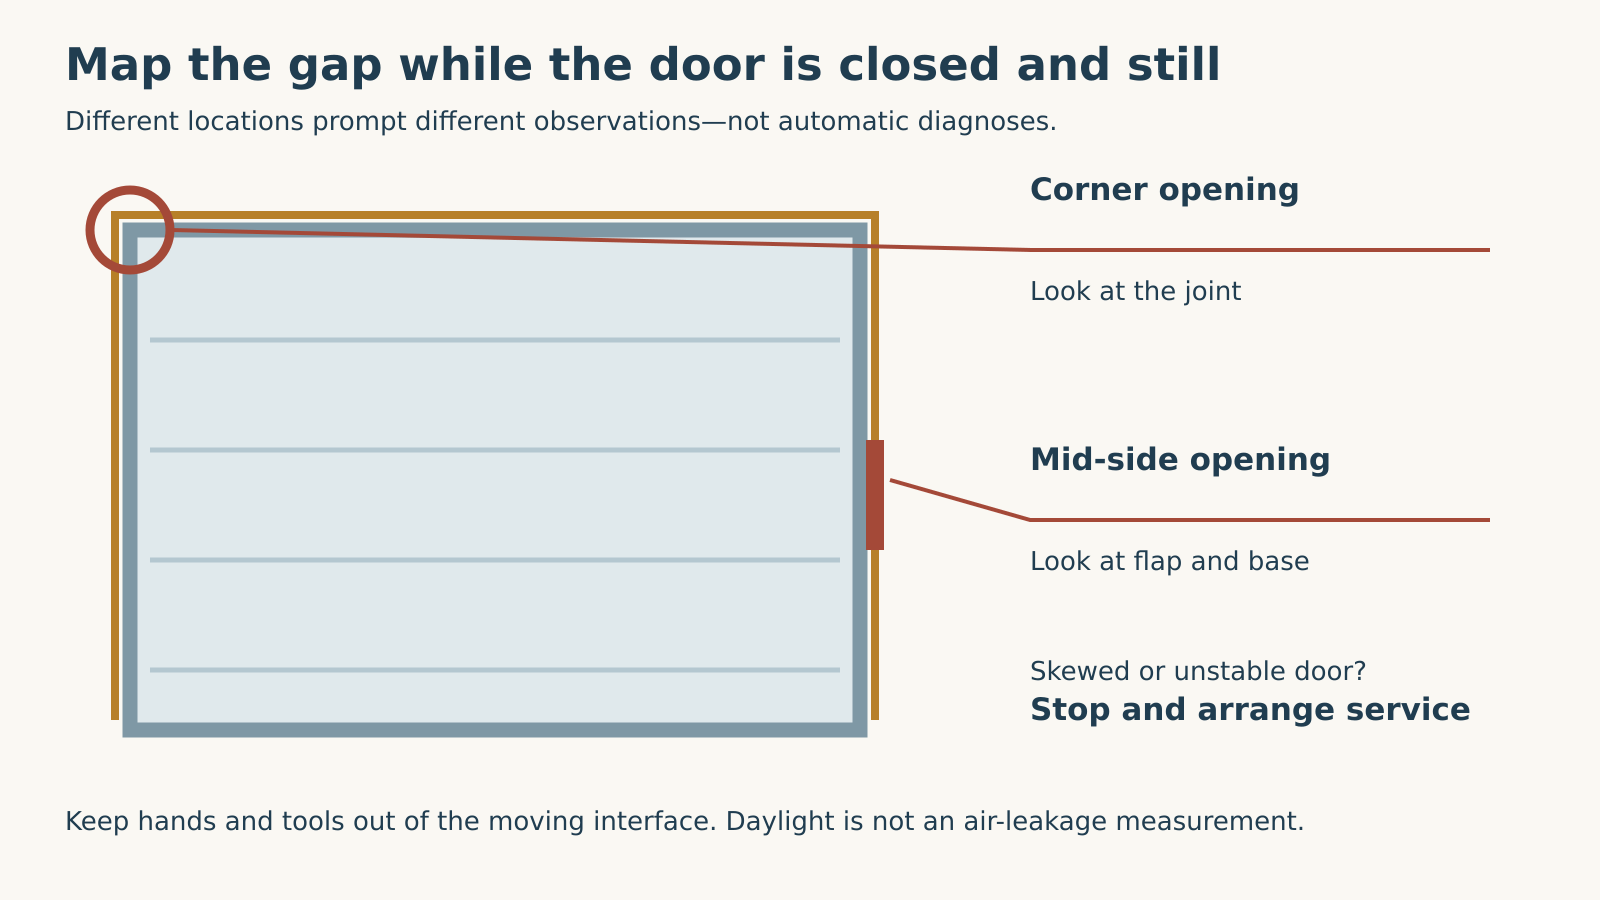
Choose a time when the door is normally closed and no one needs to operate it. From inside, look for daylight at the left edge, right edge and header. Keep away from hinges, rollers and pinch points. Do not use a hand or tool as a gauge while the door moves, and do not ask someone to operate it while you stand in the opening.
Describe the pattern in ordinary language: a short opening at one corner, a torn length midway down the side, or a tapering gap that grows toward the bottom. Photograph the affected area from a safe position. If the gap is too high to view without unsafe access, record its general location instead of climbing on a vehicle or improvised support.
Then look from outside at the corresponding strip. Is its flexible edge split or missing? Has the rigid base pulled away from the frame? Is there visible damage to the frame itself? This pairing of inside and outside observations is more useful than assuming that every line of light means the same part has worn out.
Overhead Door’s maintenance guidance uses visible gaps and damaged or warped perimeter seal pieces as inspection clues.[3] Daylight is a convenient locator, not a calibrated air-leakage measurement. It cannot tell you an energy-saving percentage or prove that the door will resist wind-driven rain.
 Select the diagram to view it at full size.
Choose the branch that matches the condition
A visibly torn or brittle flap with an otherwise sound supporting area makes replacement weatherstripping a plausible next step. Match the product’s application, attachment system and dimensions. If the base is loose, the supporting surface and existing fastening also need assessment; new flexible material alone cannot correct a failed attachment.
If the material looks intact but the door appears skewed, rubs during travel or has recently shifted, do not use new trim to conceal the symptom. Door position needs investigation. Stop normal use if the door is crooked or unstable, a cable hangs loose or hardware is displaced. Do not loosen track brackets, bottom fixtures or cable attachments to close a perimeter gap.
At the top corners, inspect the junction rather than only the straight runs. A split or poorly meeting flexible edge can leave a local opening even when the long strips look sound. The correct overlap or termination depends on the selected system; packing the corner with arbitrary foam is not evidence of a durable, compatible repair.
A gap appearing immediately after door work is useful history. Report whether the door or trim was recently replaced, whether new rubbing appeared and where the opening is largest. That helps separate a product-selection issue from an installation or movement issue without repeating unsafe operating tests.
Measure the opening and read the whole product description
Record the header span and both side lengths using safe access or reliable existing measurements. Treat the three runs separately. A package containing one long strip is not automatically a complete two-car-garage kit, and an attractive price for a single piece is not the cost of the whole perimeter.
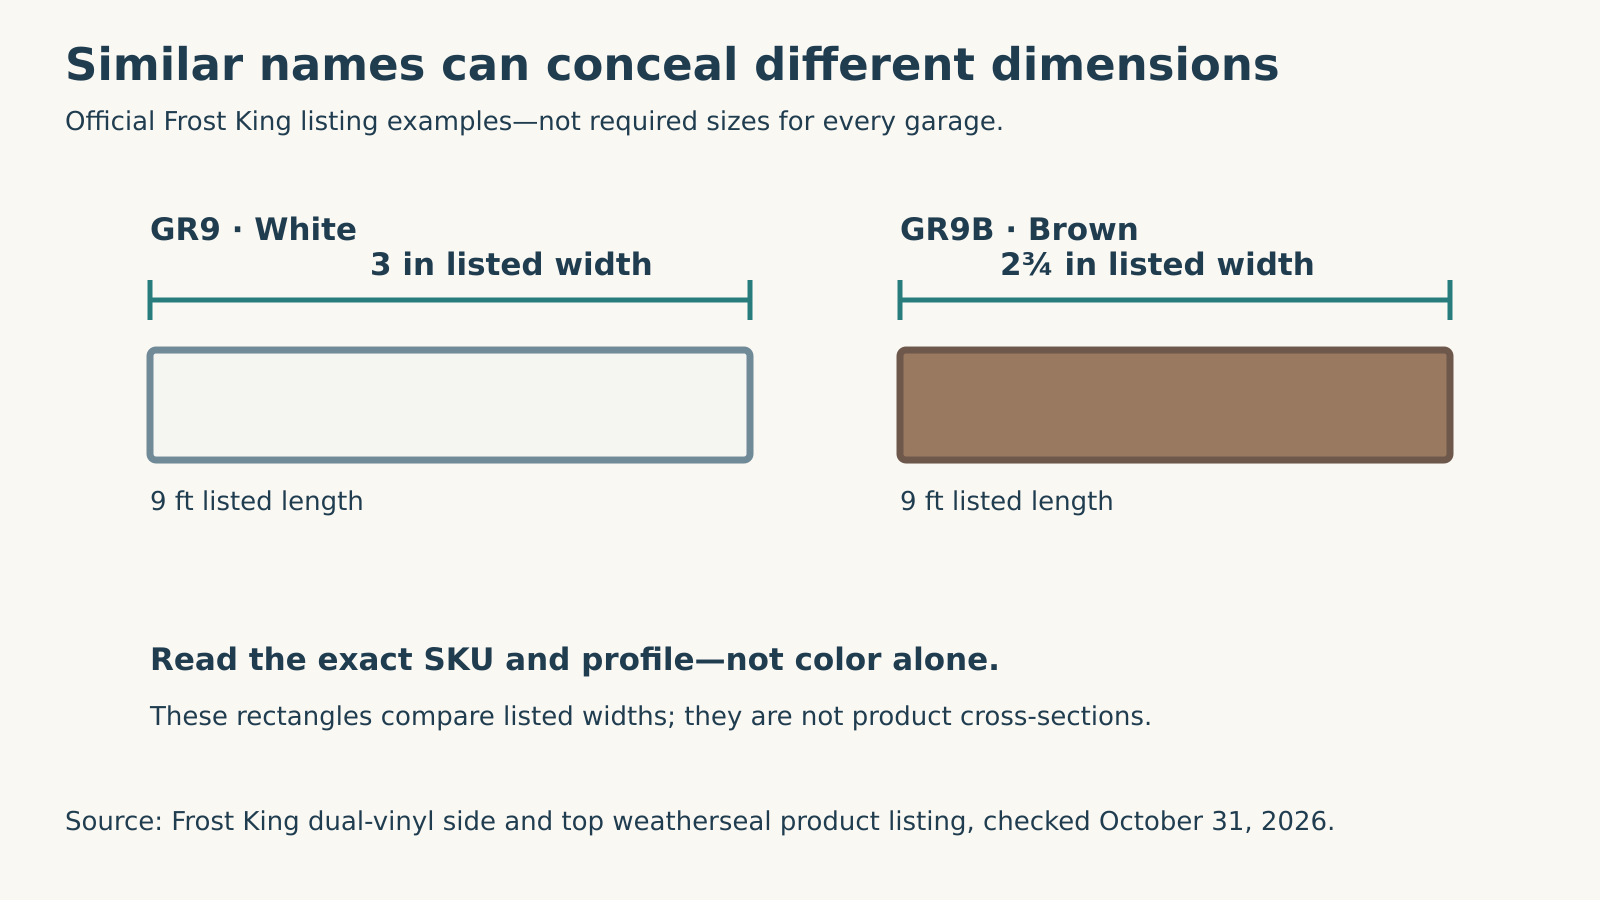
Frost King’s official listing illustrates another detail worth checking: its white GR9 is described as 3 inches by 9 feet, while the brown GR9B listing gives a different width specification.[1] Color variants and similar names should not replace reading the actual SKU. This is a product example, not a required size for your door.
Look at the cross-section to distinguish the rigid fastening base from the flexible reach. Confirm the intended frame material, attachment method and any joining details in the chosen instructions. If the seller supplies no drawing or usable instructions, resolve that before removing the existing strip.
Do not transplant a clearance number from another brand or installation. The goal is the product’s intended flexible contact with the closed door, not maximum pressure. A strip that reduces daylight but creates drag has introduced another problem. Increasing opener force is not the remedy.
 Select the diagram to view it at full size.
Keep cleaning, replacement and door adjustment separate
For a dirty but intact strip, gentle cleaning permitted by the manufacturer can make inspection clearer. Remove loose surface dirt with a soft cloth; do not scrape with a metal blade or soak the material in a solvent selected for some other garage component. The finish on the surrounding frame deserves the same care.
Replacement is a separate job involving access to the full header and sides, appropriate fixing to the frame and correct contact with the door. Frost King’s GR9 sequence begins with the header and continues with the sides,[2] but the exact product instructions—not this general article—control trimming, fixing and sealing details. Stop if the frame is unsound or safe access is not available.
Door adjustment is a third job. The perimeter strip is not a tool for moving a track, forcing a panel into alignment or compensating for damaged hardware. If normal movement is already compromised, have that fault addressed before judging whether new weatherstripping is the answer.
Before the work starts, make sure the person doing it understands the observed gap pattern. A request for “new seals” is less specific than “the right-side flap is split halfway up, the top-left joint shows daylight, and the door otherwise closes normally.” That description gives the repair a defined result to verify.
Check the result at the interface that was repaired
With the work complete and the door safely back in ordinary service, confirm that the replacement sits securely and makes its intended contact. The corner junctions should be addressed, not just the middle of each run. The door should not acquire new scraping, folding of the sweep or closing reversals.
If a newly fitted strip catches or rolls over, stop repeating cycles and have its fit assessed. A successful seal is not simply a photograph with no visible daylight; it also has to coexist with the moving door. Any changes to opener travel or related equipment require the applicable safety verification, not a force increase to overcome resistance.
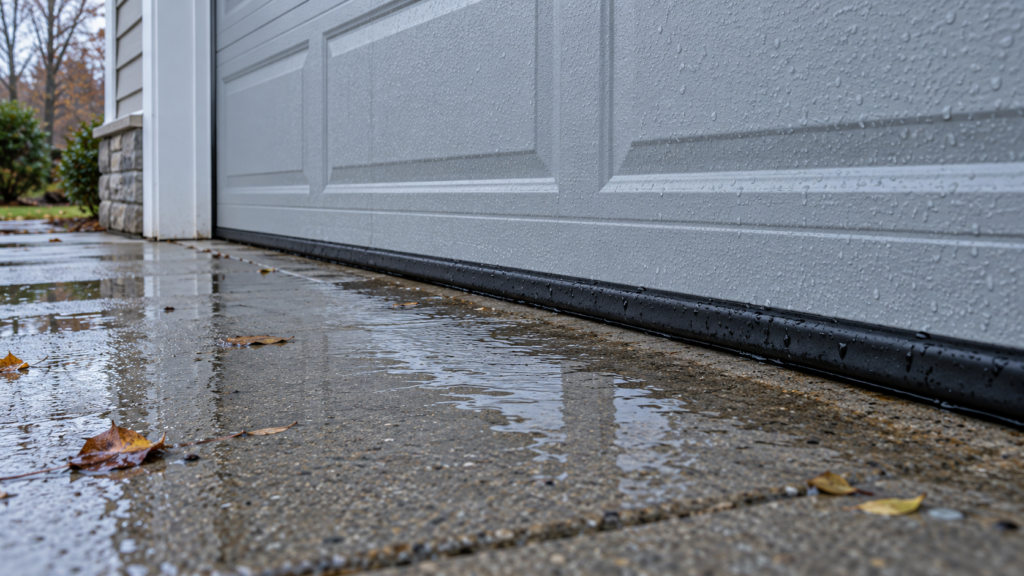
For moisture entering along the floor rather than the sides, the threshold and water-path guide explains a different decision. Keep those water observations separate from this perimeter inspection.
Local Garage Experts can assess unresolved gaps and associated door issues. Calls are answered daily from 6 a.m. to 11 p.m. at (323) 924-8777, with free estimates, free diagnostics and no service call fee. A good description of the gap makes it easier to repair the right interface without disturbing hardware that was not the cause.
Sources & manuals
Product-specific examples are labelled and should not be generalized.