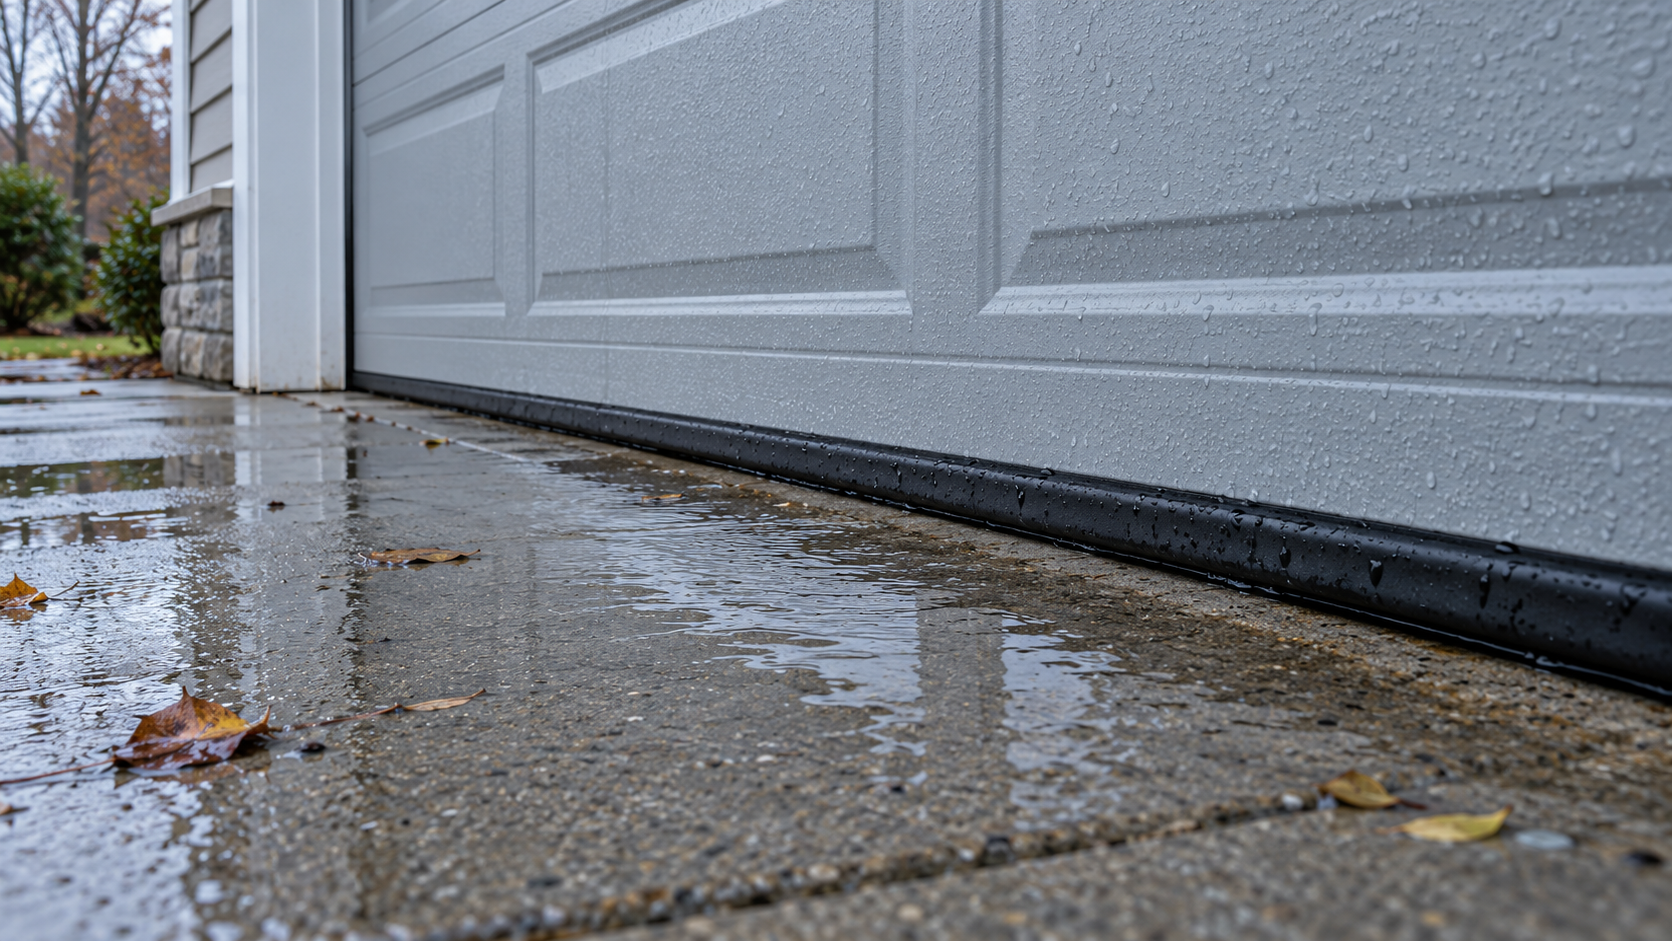
Trace the water route before deciding that a threshold is the answer.
A threshold seal may help at the floor interface, but it will not resolve every water-entry route. Trace drainage and the existing seals before choosing a product or changing the threshold.
A threshold can improve the door-to-floor interface, but it cannot diagnose every water leak. Trace the entry path, check the surface, and plan the fit.
A puddle is a starting point, not a product specification
Rainwater near a garage door makes a raised threshold strip look like an obvious solution. Sometimes the weak point really is the interface between the closed door and the floor. In other cases, water reaches the garage through a side opening, a crack or a runoff problem that a strip under the door will not resolve.
Before choosing a garage door threshold seal, find out where the water first appears. The wettest spot after a storm may be where water collected, not where it entered. A useful inspection follows the path backward without putting anyone in a moving-door opening or near wet electrical equipment.
This guide is about deciding whether a threshold belongs in the repair. It is not a flood-protection specification or a way to make an unsafe door press harder against the floor. The right outcome is a suitable seal on a suitable surface, with the original source of the water understood.
Observe the route during ordinary conditions
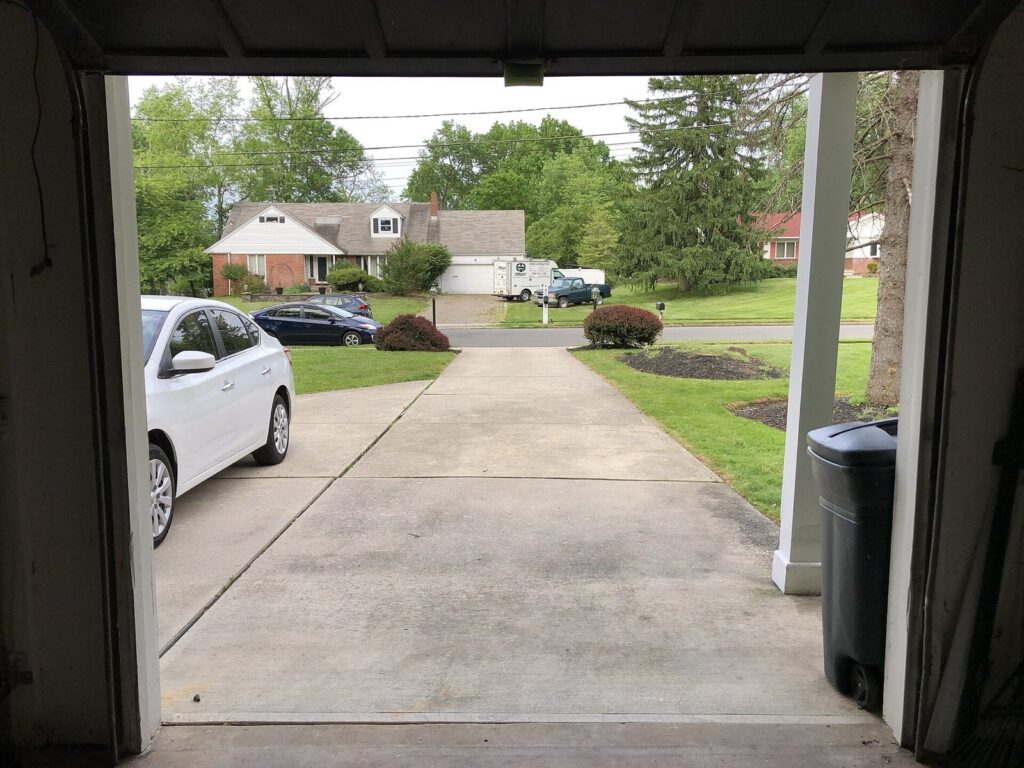
When it is safe to do so, photograph the doorway and the first visible wet areas during or soon after rain. Look from a clear, dry position. Does water approach the bottom edge across the driveway, appear beside a jamb or emerge farther inside? Note any obvious pooling outside the opening and whether a floor drain is obstructed by loose debris.
Do not create a deep pool or direct a high-pressure jet at the door to reproduce the problem. Do not touch an opener, extension lead or other electrical equipment that may be wet. Significant water, contaminated runoff or uncertain electrical conditions require a different response from a weatherseal inspection.
A simple sketch can be more informative than a photograph of the final puddle: draw the door line, the outside wet area, the first inside wet spot and any wall or floor crack nearby. Mark what you saw separately from what you suspect. “Water first appeared at the right jamb” is stronger evidence than “the whole seal is bad.”
If the door itself is crooked, unstable or failing to close normally, stop there and have that condition assessed. A floor strip should not conceal a door-position or closing fault. Our closing guide covers that separate branch.
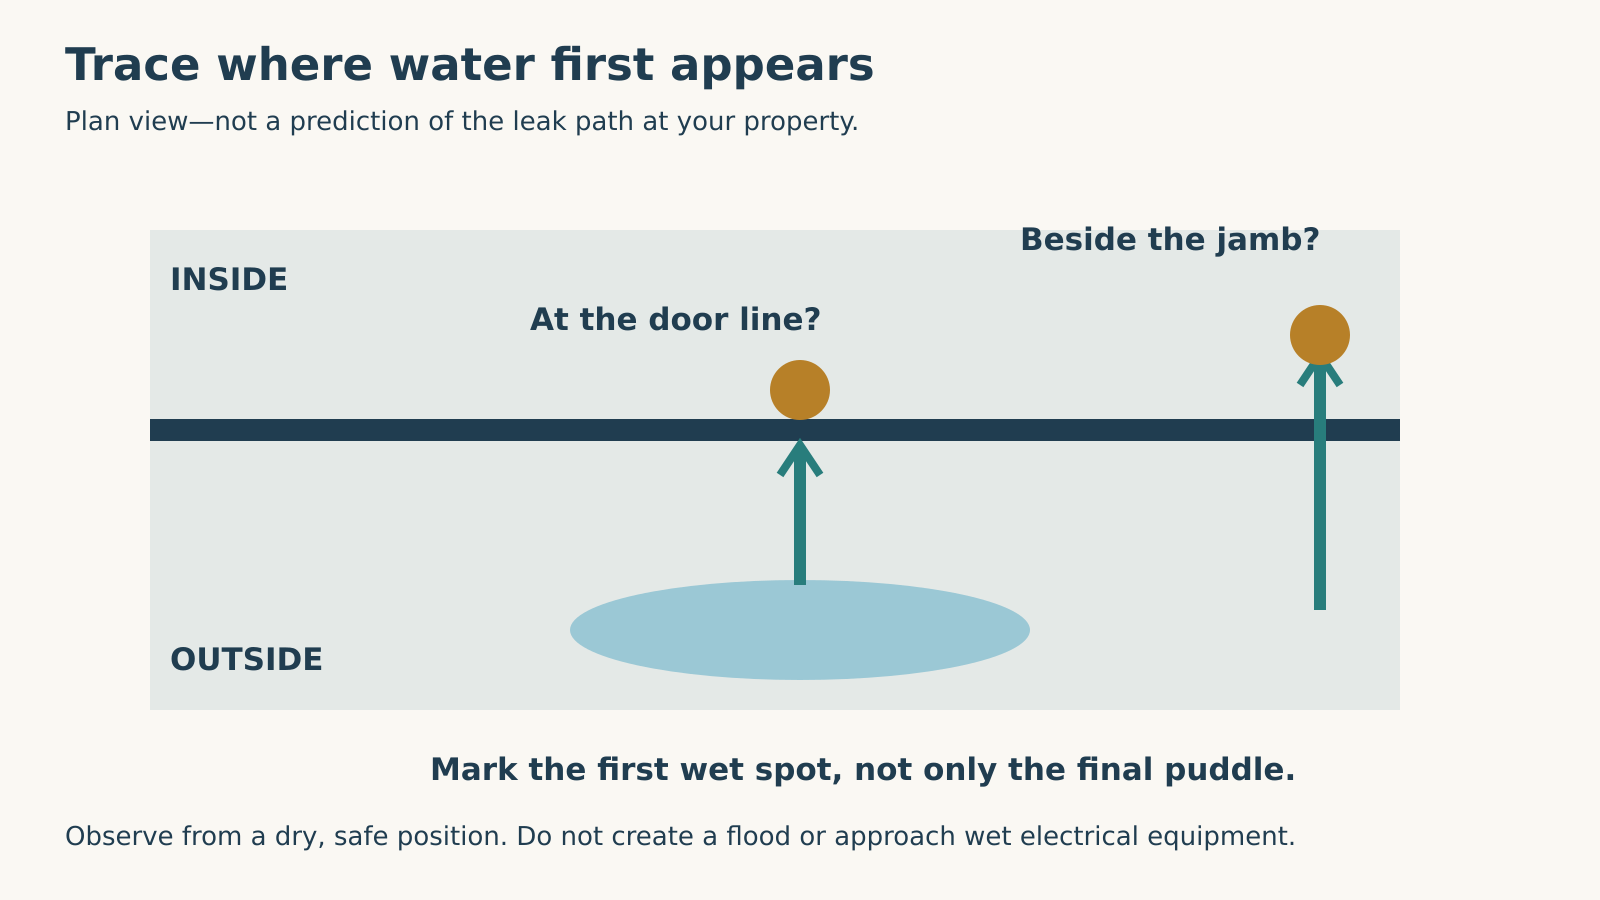 Select the diagram to view it at full size.
Understand what the threshold adds
A threshold is fixed to the floor; the bottom weatherstrip moves with the door. They meet at an interface, but they are not the same part. The floor product must suit the actual gap, the door’s intended contact and the available surface. A damaged bottom strip may need attention even if a threshold is also appropriate.
GaraDry’s selection guidance calls for checking the gap in several places rather than assuming it is uniform.[1] That is a useful model of the information needed: a center measurement alone can miss a larger gap at one end. Do not place fingers or measuring tools under a moving door, or raise a suspect door to obtain dimensions.
Choose a height and profile from the selected manufacturer’s compatibility guidance, not simply the tallest barrier available. A larger profile changes the crossing at the entrance and still needs to meet the door correctly. Its presence does not establish that water cannot pass around the ends or reach the building elsewhere.
Where the observations point to substantial outside pooling, an ineffective drain or a different building interface, have that water-management issue assessed before treating a threshold as the complete answer. This is a diagnostic boundary, not a claim that every puddle needs major construction. EPA’s moisture-control guidance likewise treats site drainage and building interfaces as parts of the larger moisture-management problem.[3]
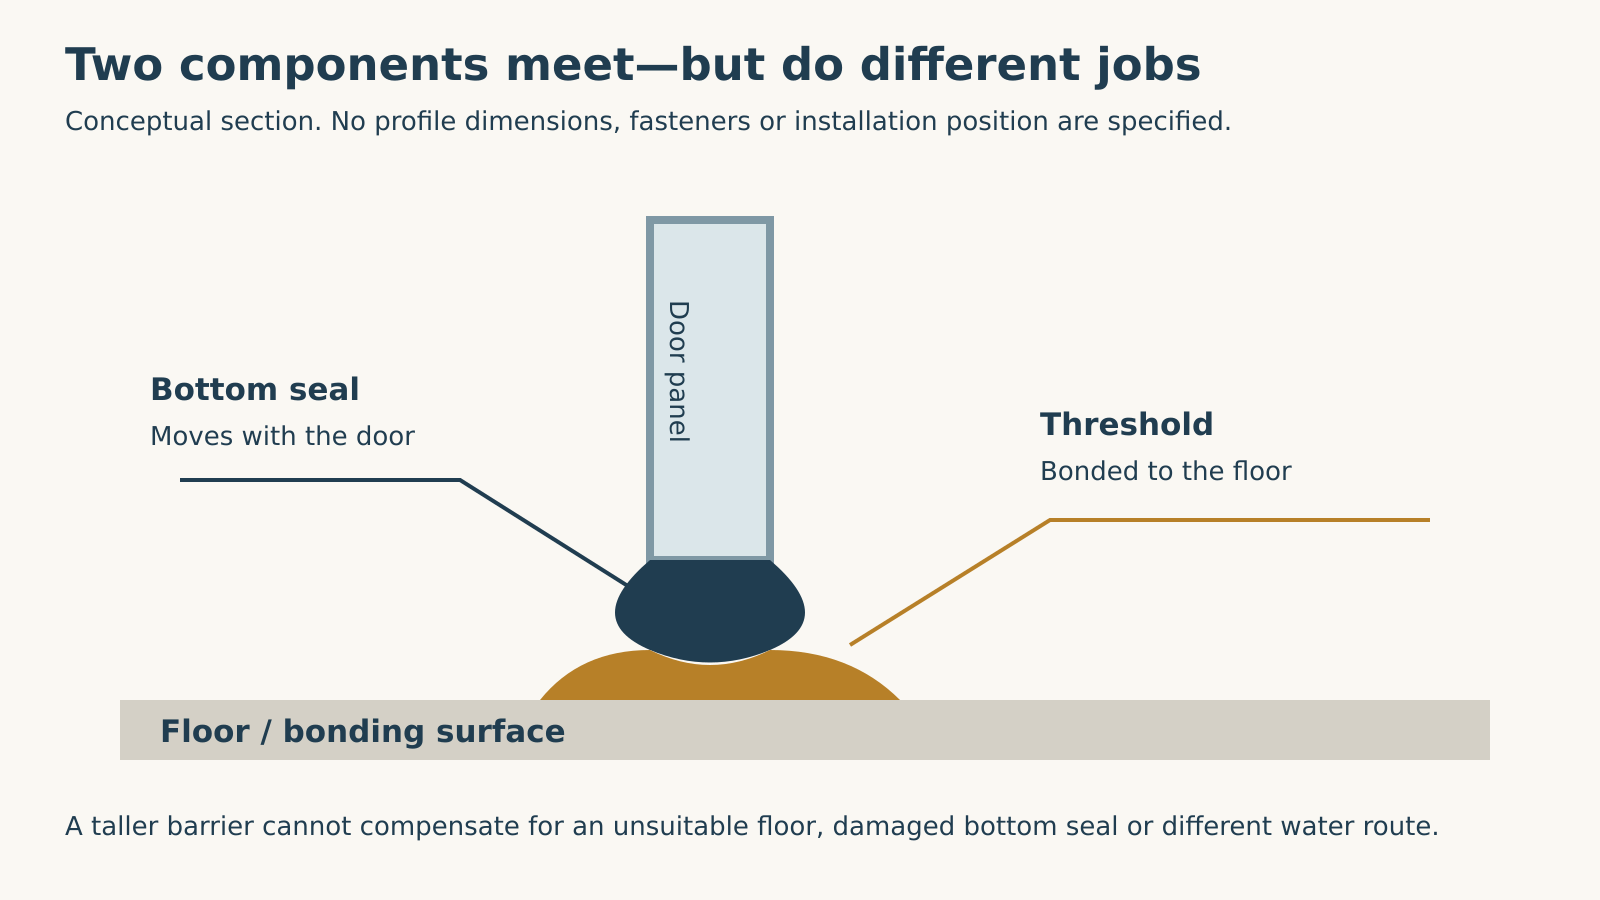 Select the diagram to view it at full size.
Check the floor before committing to adhesive
An adhesive can only perform on a surface it is designed to bond to. Loose debris is one problem; a powdery or failing substrate is another. GaraDry’s FAQ specifically excludes loose concrete or gravel and warns that a chalky concrete surface prevents proper adhesion. Its guidance also distinguishes solid non-porous surfaces from porous ones requiring preparation.[1]
Look at the proposed bonding area while it is accessible and dry enough to inspect safely. Is paint lifting? Is there loose concrete, oil contamination or an unknown coating? Record those conditions before buying a kit. Do not assume that a bead of adhesive will stabilize a deteriorating floor.
Surface preparation is product-specific. Some systems permit particular coatings or damp conditions; others have different requirements. Read the actual adhesive instructions and the floor-finish guidance together. Aggressive abrasion or solvent use can damage a coating, so a generic “clean it with whatever is in the garage” instruction is not adequate. GaraDry’s own adhesive page discusses cleaned, sound surfaces and preparation of the concrete rather than relying on the adhesive to repair the floor.[4]
This is also the moment to decide whether you can leave the entrance undisturbed for the required period. A suitable product poorly bonded because a vehicle crosses it too soon is not a fair test of its sealing performance.
Plan the fit while keeping the door’s movement intact
A dry fit establishes the relationship among the door, the bottom seal, the threshold and its ends before adhesive makes the position harder to change. GaraDry’s fitting guide locates its threshold against the back of the closed door and checks how the door meets the front face.[2] That is a defined product arrangement—not a universal direction for every floor seal.
The ends matter as much as the long central run. A threshold that looks continuous across the width can still leave an entry path around its junction with the frame. Follow the chosen system’s end and corner details rather than filling gaps beside tracks with an improvised pile of material.
Do not attach a floor seal to a moving panel, bridge a sensor beam with materials or alter track hardware to accommodate the profile. If the selected product cannot fit without interfering with the door or safety system, stop and reassess compatibility.
A useful installation plan identifies the product, its intended contact line, the condition of the bottom weatherstrip, surface preparation and the period when the opening cannot be driven over. It also identifies who will verify ordinary door operation and safety after the work. Those decisions belong before the adhesive tube is opened.
Treat temperature and curing time as real requirements
For a concrete manufacturer example, GaraDry’s current FAQ gives a 40–95°F application range for its adhesive, applying to both the environment and the substrate. Its fitting instructions specify allowing 24 hours before driving over the installed threshold.[1][2] Those values belong to that system; they should not be copied to a different adhesive.
Air temperature alone may not describe the concrete at the doorway. Likewise, “it feels stuck” is not the same as satisfying the product’s curing requirements. Plan around the instructions, the actual surface and the anticipated traffic rather than treating adhesive as immediately ready for use.
Keep the area clearly identified while work is in progress. The finished raised strip also changes the walking surface. GaraDry’s care guidance specifically warns about stepping over thresholds.[2] Consider pedestrians, carts and anyone with limited mobility when choosing a profile and discussing the installation.
If the door begins dragging, reversing or pressing abnormally after the threshold is fitted, do not increase force or repeat cycles until it closes. The contact relationship and any required travel verification need assessment under the opener’s own instructions.
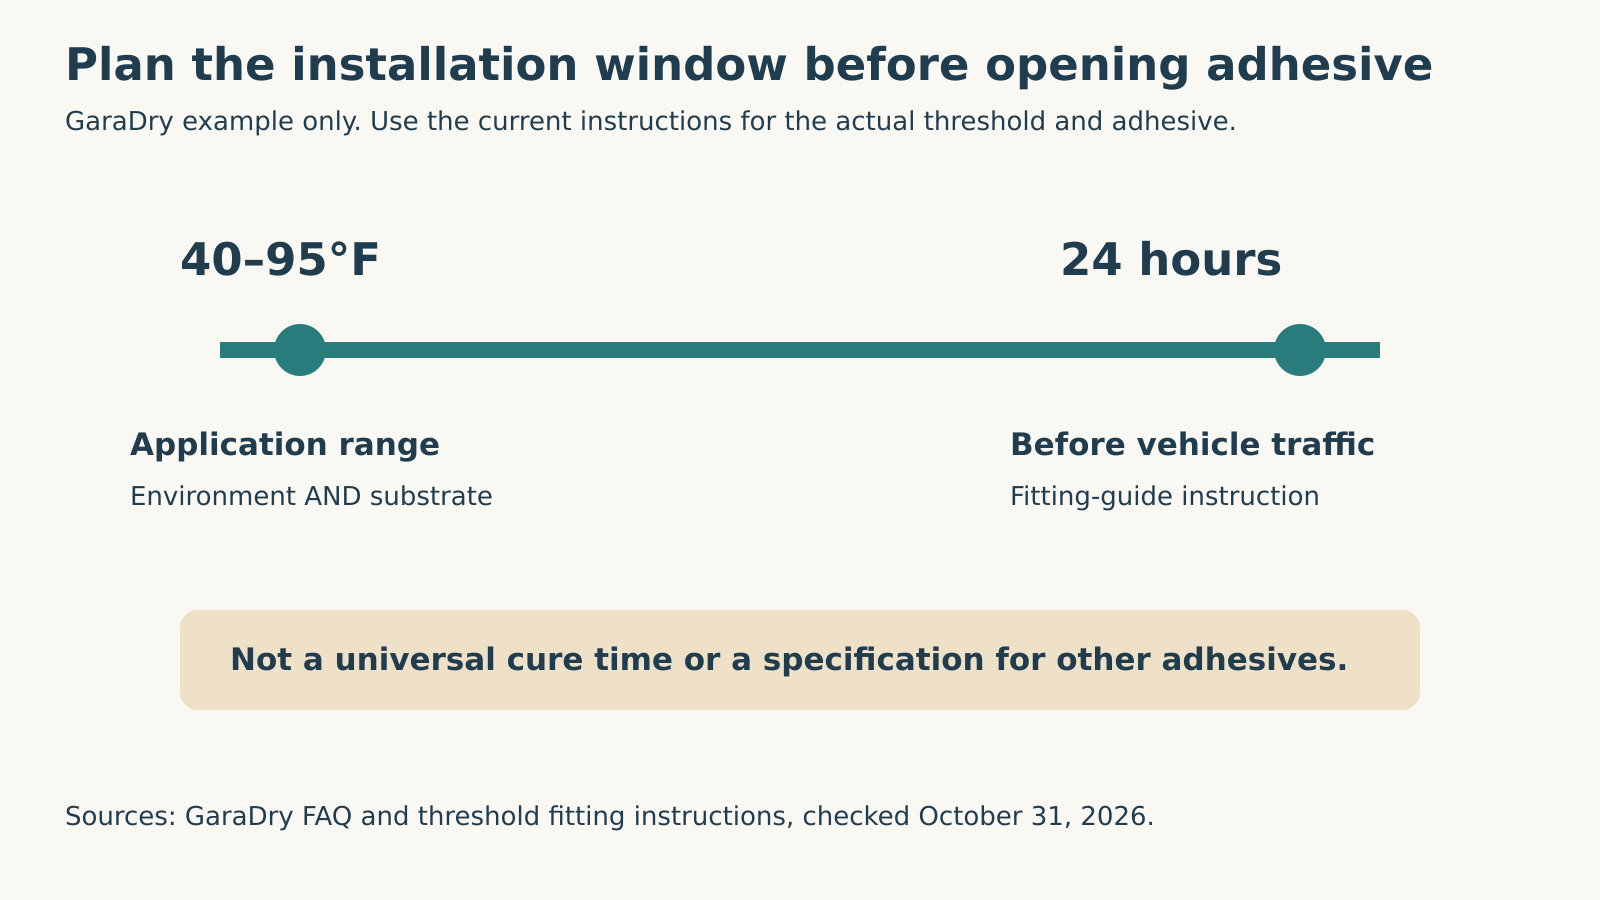 Select the diagram to view it at full size.
Verify the original problem—not just the appearance
When the system is ready for service, check the intended bond and the end details without prying at the new seal. Confirm normal door behavior through the installer’s handover and required safety verification. Then compare later water observations with the original sketch: did the entry at the door line stop, or is water now appearing from another route?
A manufacturer may provide a controlled water-check procedure after curing; use the actual product guidance rather than improvising a flood test. Do not spray electrical equipment or introduce water where it cannot safely drain. A dry photograph immediately after installation proves neither long-term adhesion nor performance in a later storm.
Maintenance also depends on the selected material. GaraDry’s fitting guide warns against pressure washing its seal and adhesive and describes gentle cleaning.[2] That is a useful reminder not to treat an installed threshold as an indestructible piece of concrete.
For a worn strip attached to the door, return to the bottom-seal guide; for water or daylight beside the frame, use the side and top weatherstripping guide. Local Garage Experts takes calls daily from 6 a.m. to 11 p.m. at (323) 924-8777, with free estimates, free diagnostics and no service call fee. Describe where the water starts, not only where the puddle ends.
Sources & manuals
Product-specific examples are labelled and should not be generalized.