Match the bottom seal to the retainer, door and observed gap.
A bottom seal must match the door’s retainer and profile, not just its width. Separate seal wear from door movement or alignment faults before choosing a replacement.
A bottom seal must match its retainer, not just the door width. Identify the profile, separate seal wear from door faults, and order with useful evidence.
A wide strip can still be the wrong seal
The replacement looks right in the package: black material, long enough for the opening and apparently wide enough to fill the gap. Then its edge will not fit the channel. The missing specification is often not length at all. It is the shape and size of the attachment edge that connects the flexible seal to the door’s retainer.
Garage door bottom seal types are best understood as a matching problem. First identify where the leak is and what holds the existing strip. Then compare the replacement’s attachment profile, material and intended application. Only after those points agree does cutting length become useful. A product labelled “universal” should not reverse that order.
Locate the failed seal before choosing a profile
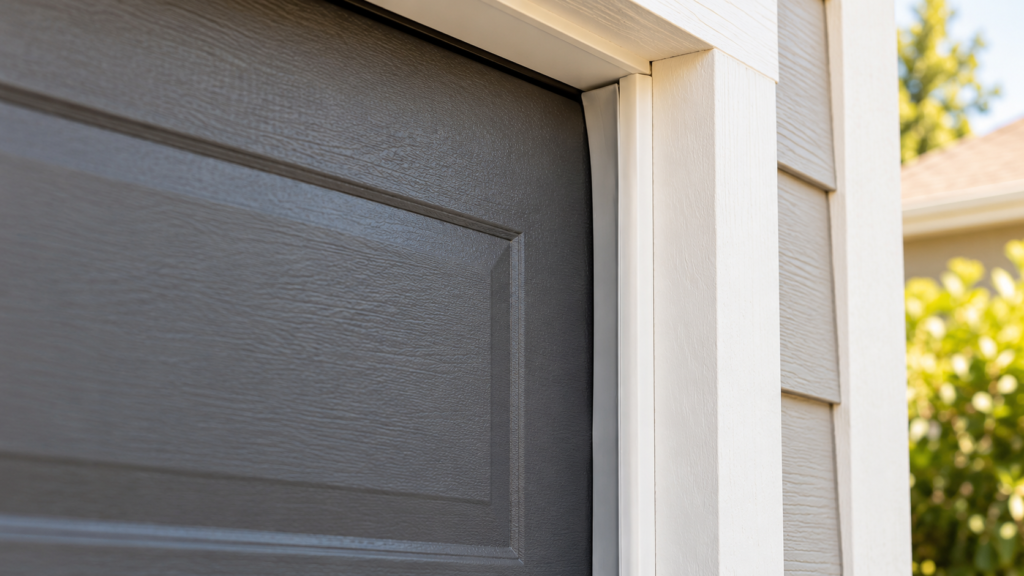
The bottom seal moves with the door and closes against the floor. Side and top weatherstripping belongs around the opening. A threshold is attached to the floor. Clopay distinguishes these three systems because they seal different interfaces.[1] Replacing one does not automatically repair a gap somewhere else.
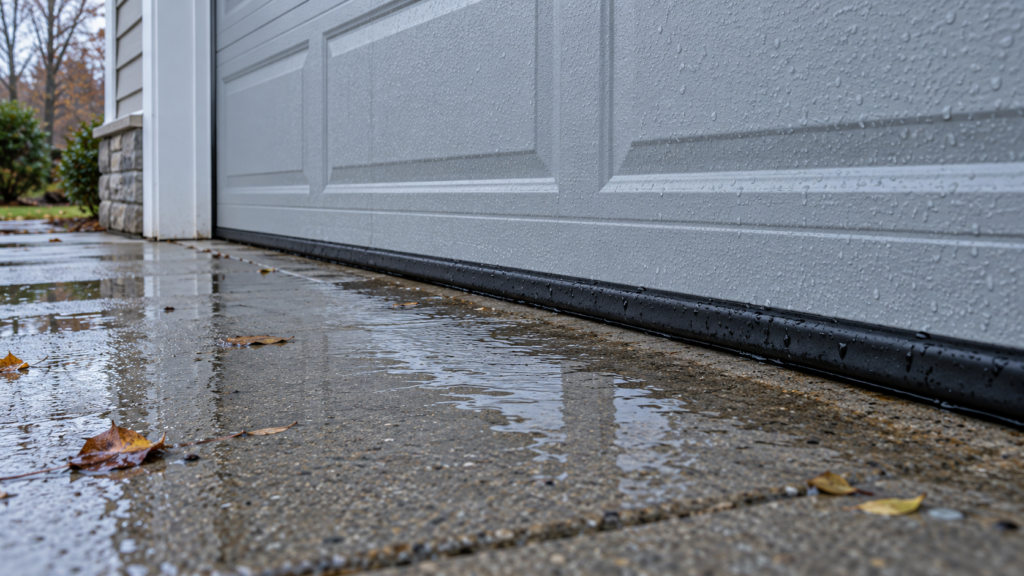
With the door normally closed and stationary, look from a clear position for a split, missing section or obvious deterioration along its bottom edge. If the door is crooked, hanging above the floor or refusing to complete closing, stop treating it as a seal-shopping problem. Our closing-symptom guide explains those separate paths.
A photograph of the gap can record its location without another operating cycle. Note whether it is central, concentrated at one end or runs across the opening. This is descriptive evidence—not proof that a thicker strip will solve it. Floor variation and door position also affect contact.
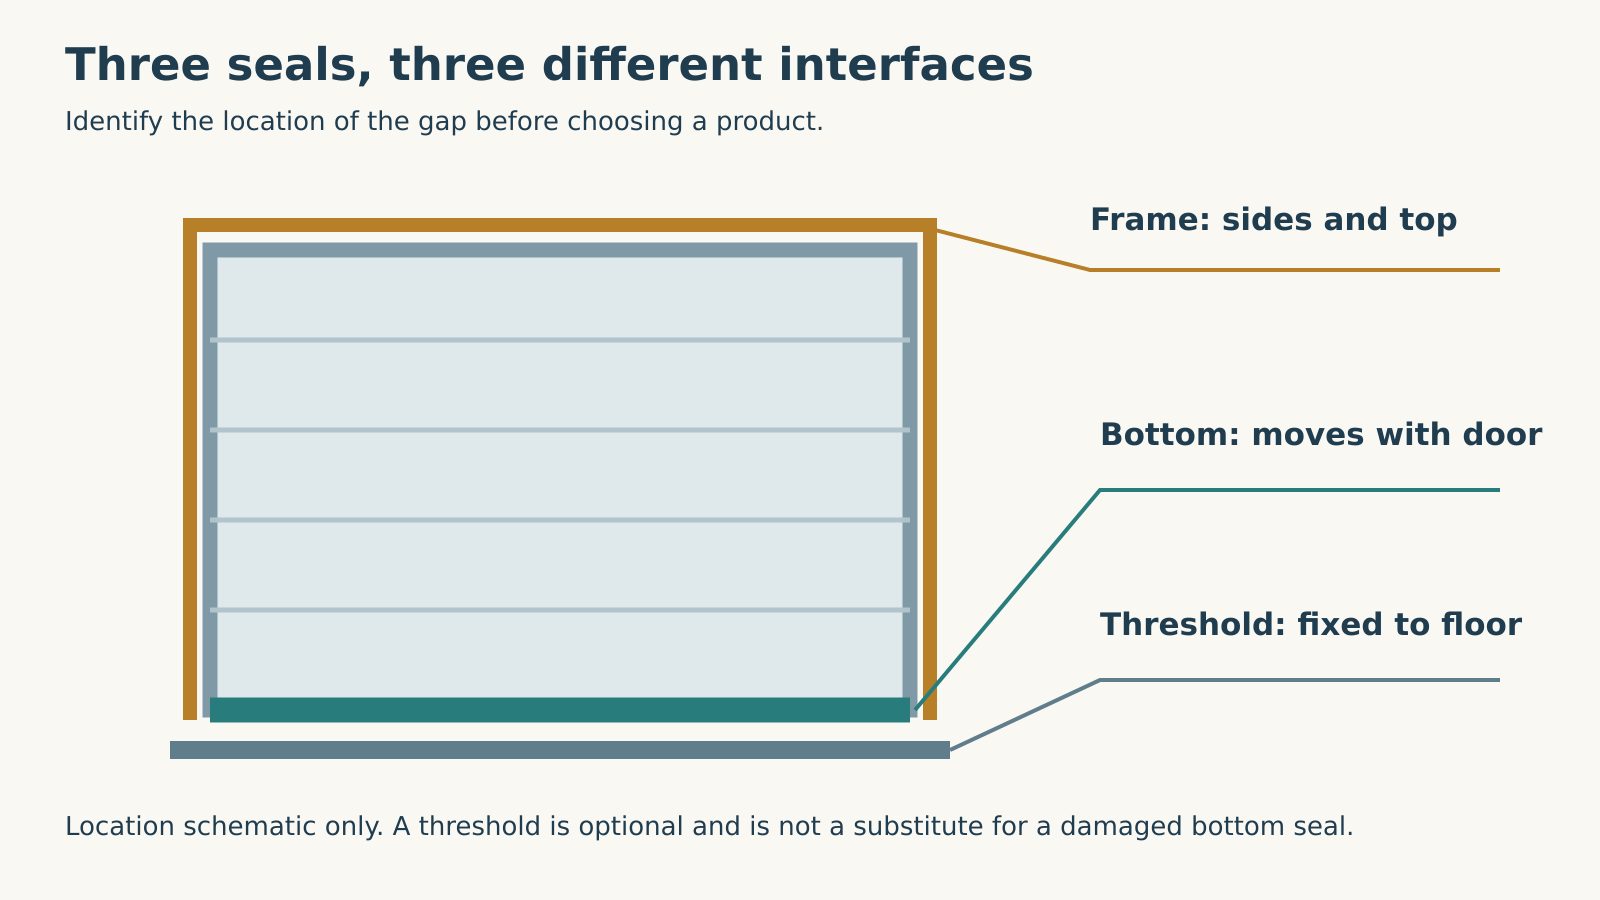 Select the diagram to view it at full size.
The retainer is the interface that decides fit
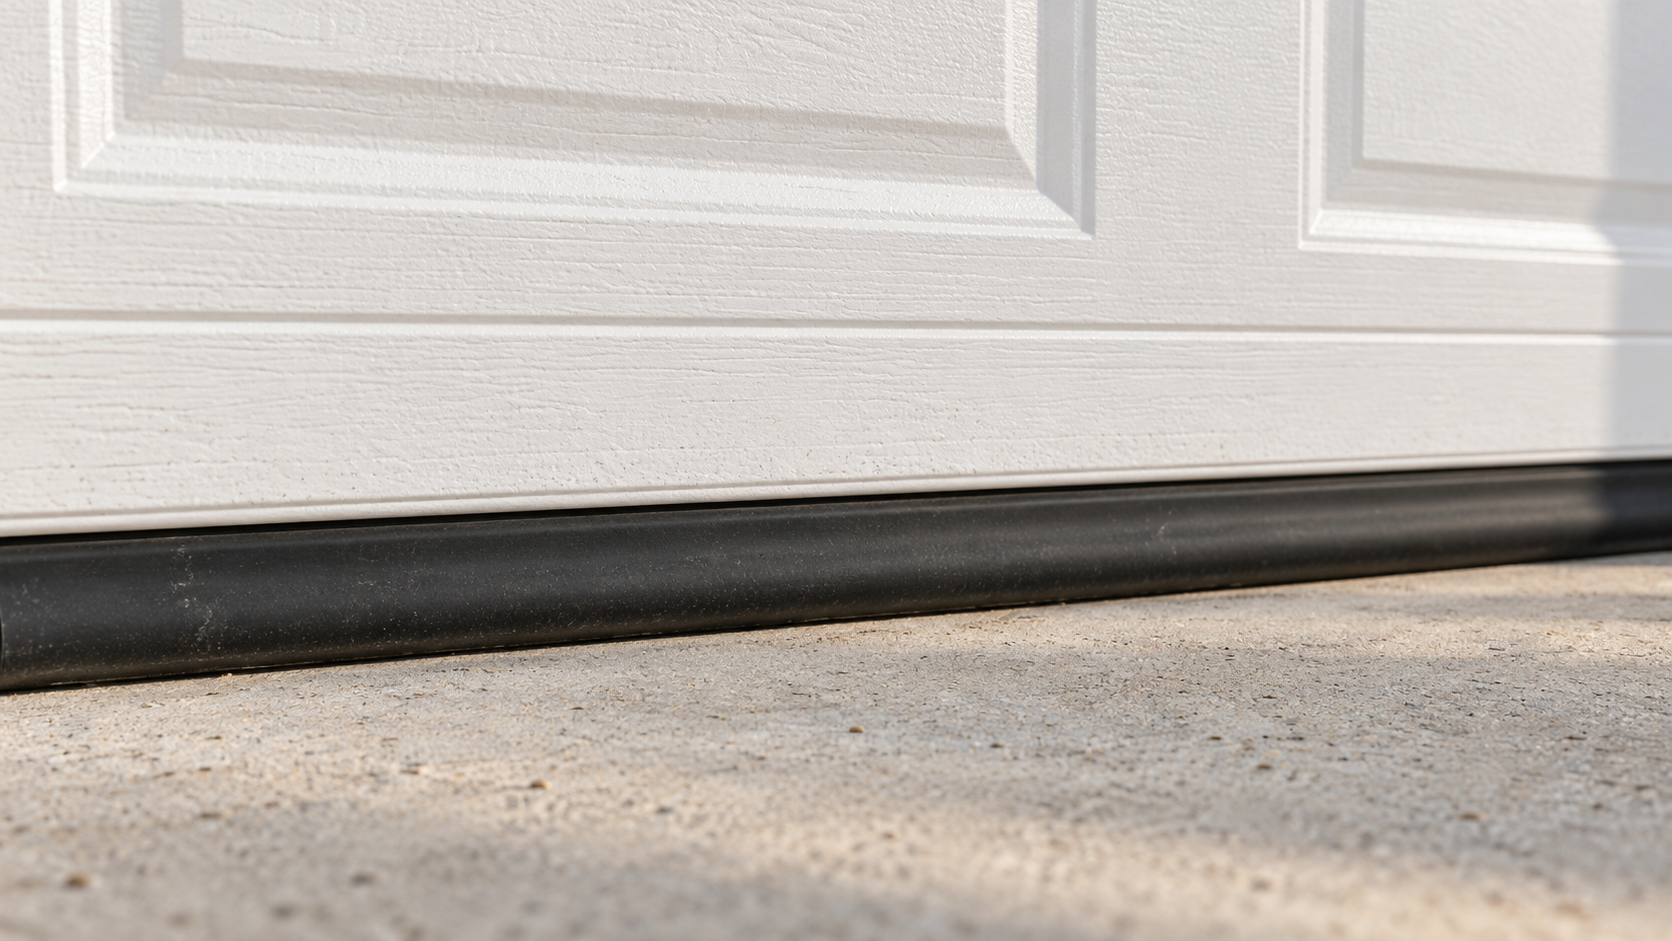
The flexible strip and its rigid retainer are different parts. The retainer provides the channel or attachment geometry. The visible bulb below it is only the part that meets the floor. Two seals may look similar from the driveway yet have incompatible edges concealed in their retainers.
The Clopay instructions provide a useful documented contrast. Part 0620131 forms a bulb with its joined edges entering one retainer slot. Part 0620100 uses separate T-shaped edges entering their respective slots to form a U-shaped seal.[2] Neither example means that all Clopay doors use that arrangement. The same document explicitly warns that retainer designs vary.
This explains why “U-shaped” and “T-end” can describe different aspects of the same item: one refers to the installed sealing shape, the other to its attachment edge. A listing title may therefore be insufficient to establish fit. Compare the actual profile drawing and the door’s specification.
Rounded bead profiles are another family described by Clopay’s guide.[1] Do not force a bead into a T-shaped slot or assume that the brand name alone identifies the retainer. Where the existing part cannot be identified safely, a dealer’s model lookup is a better next step than removing hardware to obtain a sample.
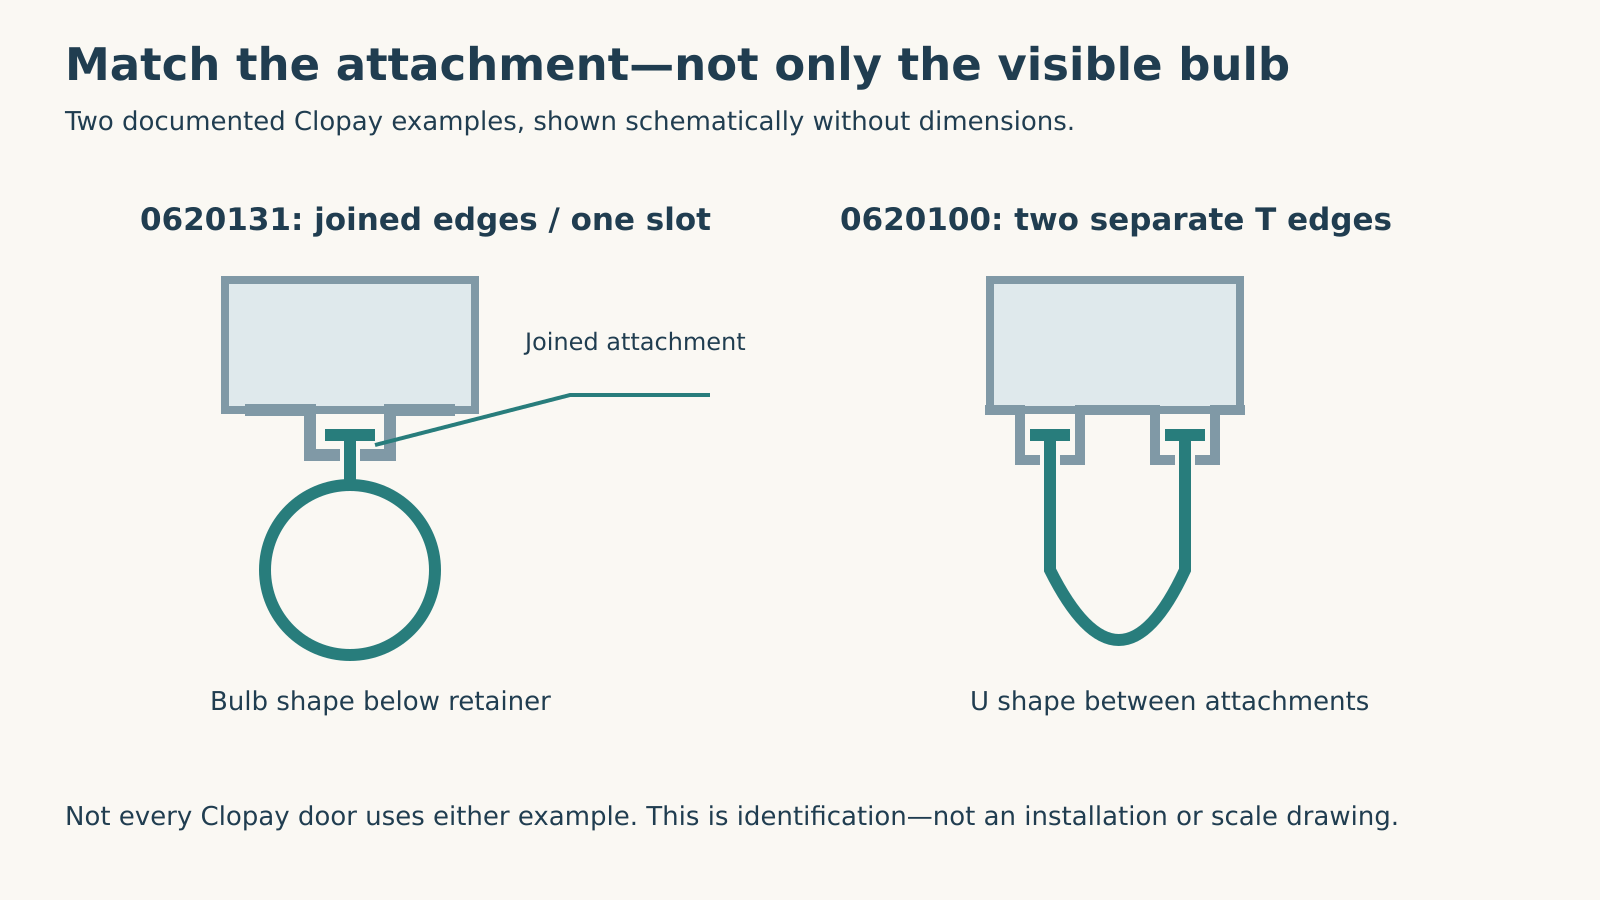 Select the diagram to view it at full size.
Collect the evidence without taking the bottom assembly apart
Start with the door’s existing model paperwork, invoice or a safely visible identification label. The opener label identifies the motor unit, not necessarily the door or bottom-seal system. Keep those two model records separate when asking for a replacement.
Useful photographs show the closed door, the affected part of the seal and any accessible end profile. Do not raise or support the door solely to obtain a close-up, put fingers under it, or remove fasteners to expose a channel. If the end profile is concealed by hardware, record that limitation and ask a technician to identify it.
The bottom corners can include cable attachments and other loaded components. A weather-seal task is not permission to loosen those parts. If the retainer itself is bent, corroded or loose, the scope may include assessing the supporting assembly, rather than sliding in fresh rubber and declaring the job finished.
You can still make a useful enquiry without an exact part number. Provide the door identification, the opening width from records or safe measurement, the gap photographs and a description of the visible attachment. A supplier can then ask for the missing detail instead of guessing from “black seal for a double garage.”
Width, material and wear each answer a different question
The overall strip length needs to suit the opening and the selected instructions. The flat width of a flexible strip is not necessarily its installed height, because the material may curl into a bulb or U. Likewise, attachment-edge dimensions are not interchangeable with the width of the sealing body. Keep these measurements labelled when comparing listings.
Material also needs context. Clopay’s guide discusses vinyl, rubber and other seal choices,[1] but choosing by a generic “best material” slogan skips the existing retainer and the product’s temperature and exposure limitations. Ask for the specified compatible replacement rather than treating a different material as an automatic upgrade.
Overhead Door’s maintenance guidance identifies cracks, cuts, tears, brittleness and missing sections as useful wear observations.[3] Those visible changes justify checking the seal. A smooth strip with a gap at only one location may need a different investigation. Neither finding should lead to increasing opener force so the door presses harder into the floor.
If a seal is dirty rather than damaged, gentle cleaning permitted by its instructions may make inspection easier. Do not use an aggressive solvent or lubricant simply because it works on metal hardware. The seal material and any adhesive need their own care guidance.
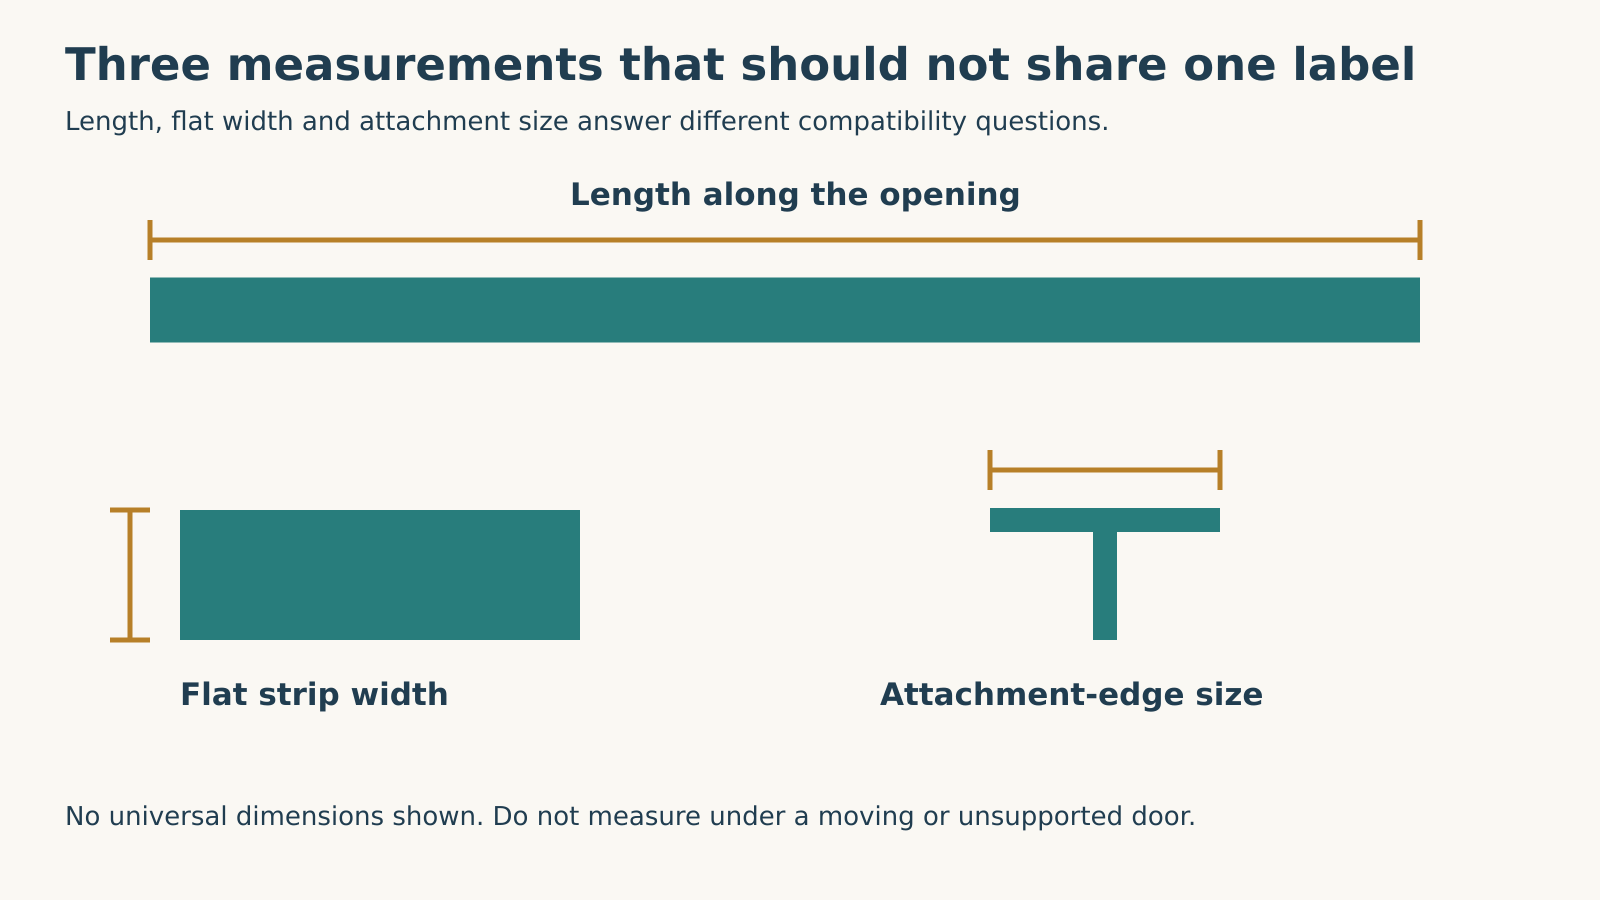 Select the diagram to view it at full size.
Read the listing as a set of compatibility claims
Imagine two listings that both offer enough length for your opening. One shows two T-shaped attachment edges; the other shows joined edges entering a single channel. The same advertised length does not make them substitutes. Next, imagine two T-edge products with different attachment dimensions. The family name still does not prove that either fits your retainer. These are hypothetical comparisons, not product recommendations.
Look for a profile drawing, named compatible door or retainer, the manufacturer’s part identifier and a clear description of what is supplied. A flexible strip alone is different from a kit that also replaces the retainer. If a listing only states length and color, the missing profile information is a reason to ask before ordering—not a reason to assume that trimming will make it fit.
Check whether the quoted measurement describes a flat strip, its installed bulb or the channel attachment. A compressed old seal can also be a poor reference for its original shape. That is why the combination of a model record and a profile image is stronger than one dimension copied from worn material. Do not dismantle a sound retainer merely to make a measurement more convenient.
Finally, identify the problem the replacement is expected to solve. A split strip and an uneven floor are not the same condition. Clopay’s model-specific instructions note that special weatherseal may be available for non-level floors.[2] That supports a compatibility enquiry; it does not establish that any oversized bulb will safely close every gap. Keep door alignment and floor conditions separate from the parts order.
Know what a complete replacement should resolve
A correctly selected strip should fit its intended retainer without an improvised attachment, remain in position and make the intended contact when the door closes normally. The work should not introduce dragging, folding or a new closing reversal. Any change in door behavior after fitting deserves investigation, not repeated closing attempts.
Replacement instructions can include securing an open door and working close to its lower hardware. This guide deliberately stops at identification and selection; it is not a substitute for the exact procedure or the ability to make that work safe. If the door’s condition is uncertain or the retainer needs work, arrange professional service.[4]
For gaps at the sides or header, continue with our perimeter-weatherstripping guide. For a proposed floor-mounted strip, use the threshold-seal guide before buying. These are related parts, not interchangeable fixes.
When contacting Local Garage Experts, describe the gap and the door’s behavior as well as the seal. Calls are answered daily from 6 a.m. to 11 p.m. at (323) 924-8777, with free estimates, free diagnostics and no service call fee. The best replacement starts with a correct match, not the biggest strip on the shelf.
Sources & manuals
Product-specific examples are labelled and should not be generalized.