Skip to content
Garage doors play a vital role in enhancing the security and convenience of our homes. However, a malfunctioning garage door can be frustrating and even pose potential safety hazards. One of the key components of a garage door is the spring. A loose or worn-out spring can lead to various operational issues and even jeopardize the security of your home. Therefore, it’s essential to know how to tighten your garage door spring safely and effectively.
At Local Garage Door Experts, we have the expertise to guide you through the process every step of the way. In this section, we will provide you with a simple and comprehensive guide on how to tighten your garage door spring safely and easily. By following our expert tips, you can avoid potential safety hazards and ensure that your garage door operates smoothly and efficiently.
Key Takeaways
- Garage door springs play a critical role in the overall functionality of your garage door.
- A loose or worn-out spring can cause various operational issues and even pose potential safety hazards.
- Knowing how to tighten garage door spring safely and easily is essential for maintaining the functionality of your garage door.
- By following our expert guide and prioritizing safety, you can ensure the optimal performance of your garage door for years to come.
Understanding Garage Door Springs
Garage door springs play a crucial role in the operation of your garage door. They work to counterbalance the weight of the door, making it easy to open and close. However, over time, springs can lose tension and require tightening to maintain optimal performance.
There are two common types of garage door springs: torsion springs and extension springs. Torsion springs are typically found above the garage door and wind up to store energy. Extension springs, on the other hand, are positioned alongside the garage door and stretch to provide energy.
Regardless of the type of spring you have, it’s essential to tighten it safely. When springs are not tightened correctly, they can cause significant damage to your garage door and create a hazardous situation.
That’s where we come in. Our step-by-step guide will walk you through the process of tightening your garage door spring safely and effectively. But first, it’s essential to understand the role of garage door springs and why they need tightening.
Safety Precautions
When it comes to tightening garage door springs, safety should always come first. Follow these essential safety precautions to prevent accidents or injuries during the process:
- Wear Protective Gear: Always wear safety glasses, gloves, and sturdy work boots. This can help protect you from flying debris, pinching hazards, and other potential dangers.
- Disconnect the Power: Make sure the garage door opener is unplugged or that the power is turned off to prevent the door from accidentally moving.
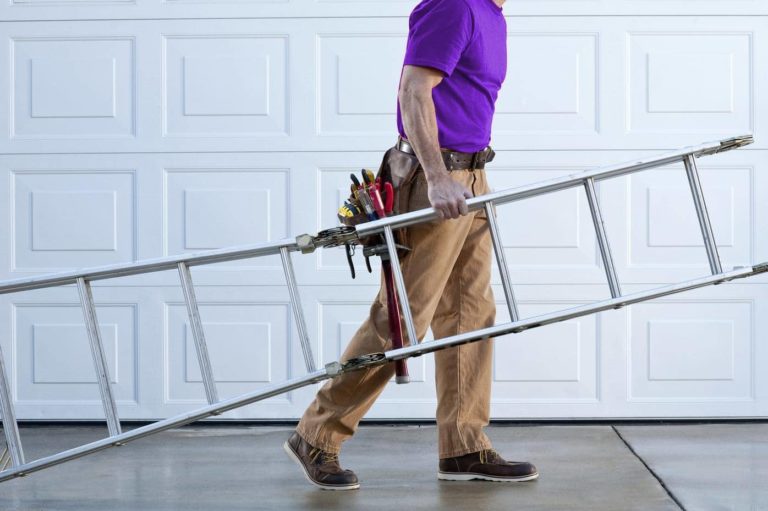
- Use a Stepladder: You’ll need a stepladder to reach the garage door assembly. Make sure it’s on a level surface and that you’re standing securely before leaning in.
- Have a Helping Hand: Garage door springs are heavy and challenging to work with. It’s important to have someone assist you during the tightening process.
- Know Your Limits: If you’re uncertain about the process or don’t have the necessary tools, consider hiring a professional. Attempting DIY garage door spring tightening without proper knowledge and equipment can result in severe injuries.
By following these steps to tighten a garage door spring, you can ensure the safety of yourself and those around you. Now that you’re aware of the safety precautions, let’s move on to the tools required for the process.
Tools You’ll Need
To ensure that you can properly tighten your garage door spring, you will need to gather a few essential tools. Here’s what you’ll need:
| Tool | Usage |
|---|---|
| Winding bars | Used to manipulate the garage door spring during the tightening process. |
| Adjustable wrench | Used to loosen and tighten nuts, bolts, and screws on your garage door. |
| Vice grips | Used to grip onto the garage door track to hold the door in place while you work on the spring. |
| Protective gear | Includes safety glasses, work gloves, and sturdy shoes to ensure your safety while performing the tightening process. |
With these tools, you’ll be able to safely and effectively complete the tightening process on your garage door spring.
Locating the Garage Door Spring
Before you begin tightening your garage door spring, it’s crucial to find its location. The garage door spring is usually located above the door, parallel to the ceiling.
Pro tip: Most garages have two springs, if that’s the case for your garage, we recommend tightening both springs evenly to ensure optimal performance.
Use a ladder to reach the spring. Remember to prioritize safety and use a sturdy ladder that can reach the spring without posing any risks.
Pro tip: Use a flashlight to illuminate the area, making it easier to find the spring.
Once you’ve located the spring, ensure that you can easily access it without any obstructions. Remove any objects or debris using a broom or vacuum cleaner, ensuring that your workspace is clutter-free and safe.
Adjusting the Tension
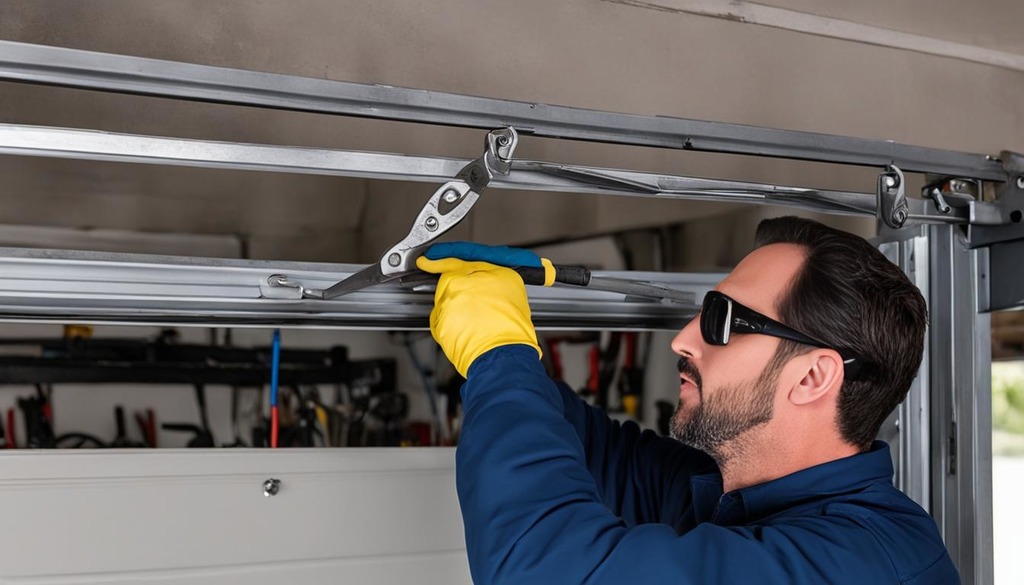
Now that you have identified the location of your garage door spring (as explained in Section 5), it’s time to properly adjust the tension for optimal performance. Follow these step-by-step instructions to achieve the desired tightness:
- Using a winding bar, loosen the setscrews on the torsion spring. You can do this by inserting the winding bar into the setscrew hole and turning it counterclockwise half a turn.
- Once the setscrews are loosened, position another winding bar in a different hole on the same torsion springs.
- Gradually tighten the setscrews while holding the winding bar in place until the tension is satisfactory.
- Place the second winding bar in the next hole, and repeat the previous step until you’ve tightened all the setscrews on the torsion spring.
- Test the door to ensure it is properly secured, and adjust the tension again if necessary.
It’s important to remember that over-tightening the garage door spring can cause tension imbalances, leading to potential safety hazards.
Tip: If you’re not comfortable adjusting the tension yourself, it’s best to hire a professional to avoid accidents or injuries.
Testing the Garage Door
Now that you’ve successfully tightened your garage door spring, it’s time to test the functionality of your garage door. This will allow you to ensure that the door operates smoothly and without any issues.
Begin by opening and closing your garage door a few times to check if it’s properly aligned and balanced. Your garage door should operate without any unusual noises or jerky movements that may indicate problems.
You can also inspect the hardware and tracks to ensure everything is in good condition and tightened properly. If you notice any worn-out or damaged hardware, such as rollers or hinges, replace them to ensure smooth and safe operation.
It’s crucial to remember that safety should always be your top priority while testing your garage door. Keep your hands and fingers away from the door’s moving parts and make sure you aren’t standing in the door’s way when it’s opening or closing.
By following these simple steps and precautions, you can ensure that your garage door is functioning correctly and safely after tightening the garage door spring.
Regular Maintenance Tips
Now that you’ve successfully tightened your garage door spring, it’s important to follow proper maintenance techniques to ensure it stays secure. Here are some valuable tips on how to perform regular maintenance and avoid potential issues:
- Inspect your garage door frequently: Check your garage door once a month, including the spring, to ensure everything is in good condition. Look for signs of wear and tear and address them immediately.
- Lubricate moving parts: Apply lubricant to the moving parts of your garage door, such as the springs, rollers, and hinges, every six months to keep them operating smoothly.
- Check the balance: Test the balance of the garage door by disconnecting the opener and manually moving the door halfway up. If it stays in position, it’s balanced. If it falls, it might cause potential stress on the spring and opener.
- Secure the hardware: Tighten the screws and nuts on your garage door hardware every six months, as they have a tendency to loosen over time with daily usage.
By following these maintenance tips, you can avoid potential issues and ensure your garage door operates smoothly for years to come. Remember to schedule regular maintenance with a professional if you face daunting challenges as they are more technical and specific.
Conclusion
In conclusion, tightening your garage door spring is an important aspect of maintaining your garage door’s functionality. By following our step-by-step guide and prioritizing safety precautions, you can ensure that your garage door operates smoothly and safely for years to come.
Remember to always use the necessary tools and to take your time during the tightening process. If you’re unsure about anything, don’t hesitate to consult a professional for assistance.
Lastly, regular maintenance is key to avoiding potential issues with your garage door spring. By implementing our maintenance tips, you can ensure that the tightness of your garage door spring remains intact and your garage door continues to function flawlessly.
Thank you for choosing our guide to learn how to tighten your garage door spring safely and easily! We hope it has been helpful.