Choose the coating system before committing to the color.
Confirm the door’s finish, coating compatibility and preparation requirements before painting. A failed adhesion test is a reason to stop and resolve the cause, not to cover it with more paint.
A garage door can often be repainted, but “exterior metal paint” is not enough information to choose a coating. The answer depends on the door’s actual finish, any overlays, the condition of the existing coating and the manufacturer’s instructions. A product that works on one steel door may adhere poorly to another finish from the same brand.
Before buying paint, establish whether you are changing the color of an intact surface, repairing a small damaged area or trying to cover a finish that is already failing. Those are different jobs. This guide helps you make that decision for factory-finished metal and composite-faced doors; natural wood requires its own finishing plan.
Identify the finish, not just the door material
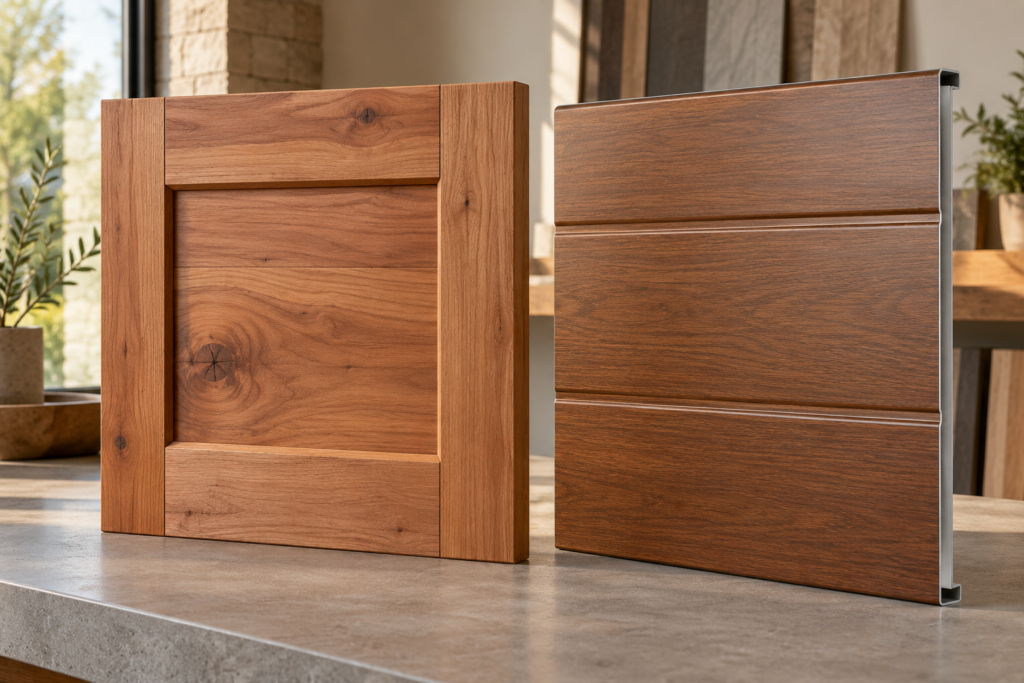
Look for the original invoice, collection name and an accessible identification label. Record the model, factory color and any finish name. Photograph the face and an inside label without reaching into the mechanism. “White steel door” is useful visually but not specific enough to establish paint compatibility. A matte specialty finish, a printed wood-grain surface and a conventional painted skin can look like variations of the same product while requiring different treatment.
Previous repainting is another unknown. A manufacturer’s factory-finish instructions do not identify what a previous owner applied. Look for records or leftover labelled containers, rather than guessing from sheen. If no history exists, tell the painter explicitly that the topcoat is unidentified. That uncertainty belongs in the preparation assessment, not under a new coat of paint.
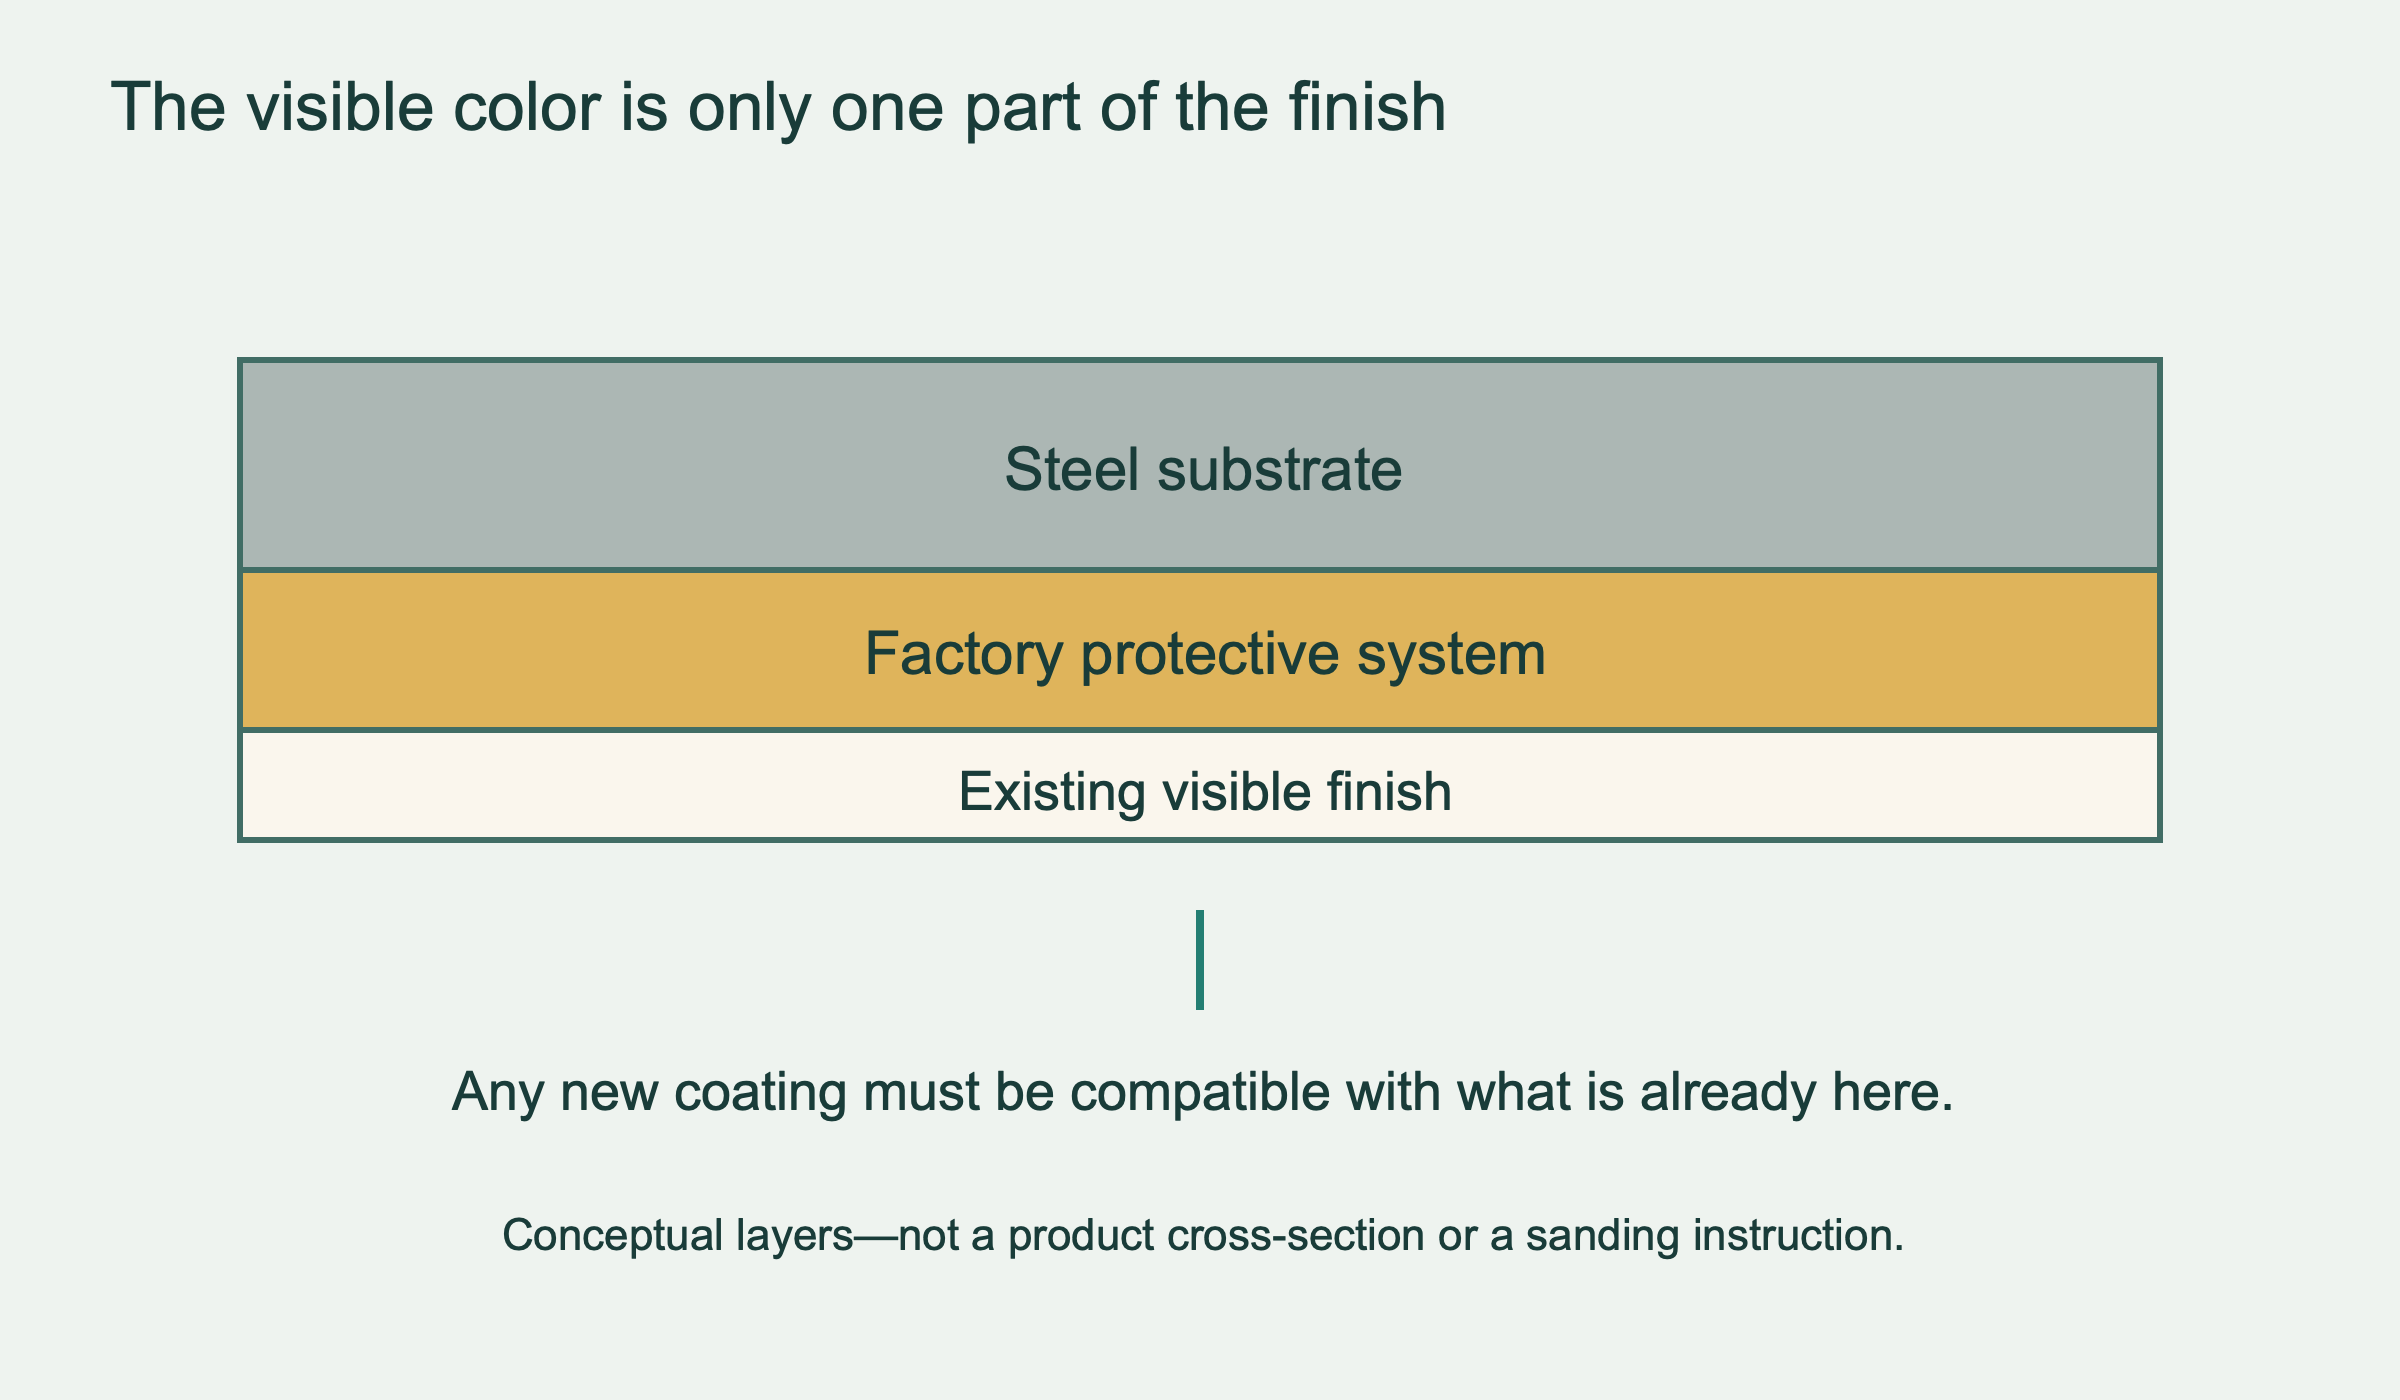 Select the diagram to view it at full size.
Read a real manufacturer example before generalizing
Clopay’s steel care manual for Classic Steel, Gallery Steel, Bridgeport Steel and Modern Steel specifies high-quality 100% acrylic latex exterior paint in flat, satin or semi-gloss finishes. It excludes oil-based and alkyd-modified paint and advises against repainting Lustra finishes because of adhesion and appearance concerns. These are instructions for the named product families—not a paint prescription for every garage door.
The same manual cautions that sanding steel can remove rust-inhibiting compounds. That is why a blanket instruction to “sand the whole door first” is poor advice. It also recommends solar-reflective paint, particularly for dark colors in direct sun or high heat. A preferred color still needs to fit the manufacturer’s finish requirements.
Use the example as a way to read your own documentation. Find the allowed paint chemistry, excluded finishes, surface preparation and color restrictions. If a paint store recommends a product, take the exact door instructions with you. A general exterior-use label does not resolve a door-specific restriction, and a color-match code does not establish coating compatibility.
When instructions conflict, stop before purchasing the full quantity. Ask the door manufacturer to resolve the door-finish question and the coating supplier to resolve the paint-system question. Save their written answers with the product names. “They said it should be fine” is difficult to act on if the finish later peels.
Decide whether the surface is ready for a color change
Examine the closed door in good light from a safe standing position. Note peeling, blisters, scratches, exposed metal and previous patch repairs. Take an overall photograph and a closer photograph of each problem. This is not a structural inspection, but it tells you whether the project is an intact-finish repaint or a repair-and-repaint job.
A dirty surface and a detached coating can both look dull from the driveway. Cleaning according to the finish instructions may reveal that the original appearance is acceptable. Conversely, paint that is separating from its underlying layer will not become sound simply because a new color covers it. The preparation plan needs to address the failing layer before the appearance decision matters.
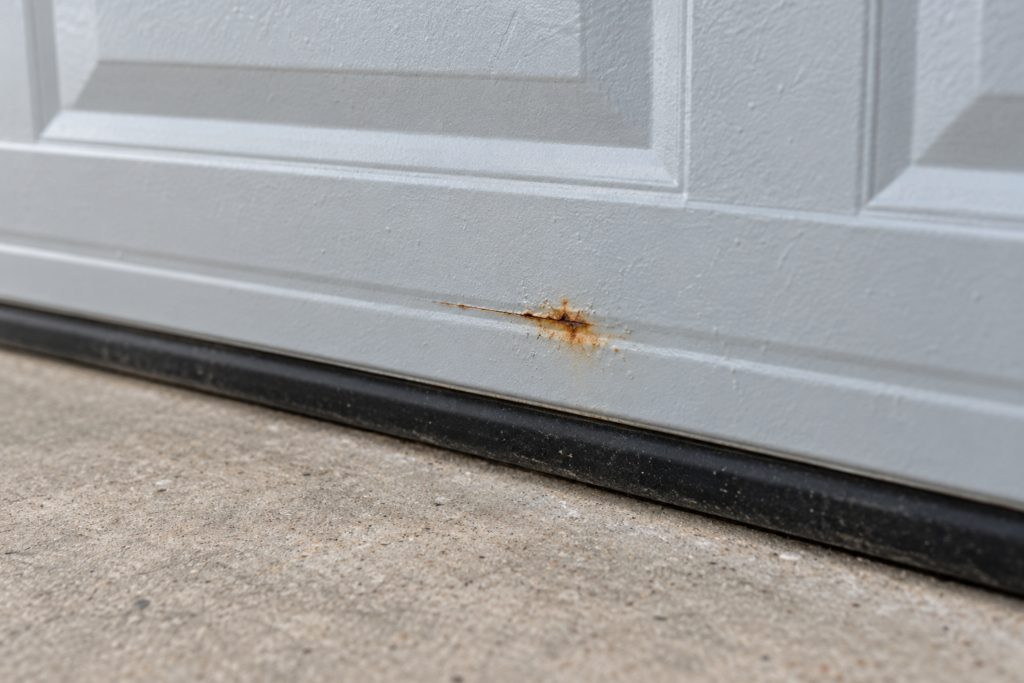
Rust near a panel scratch needs a different assessment from corrosion on a cable, spring, bracket or supporting track. Do not scrape operating hardware to “see how bad it is.” Visible deterioration around those parts, a loose attachment or abnormal door movement moves the project out of cosmetic work. Have the mechanism assessed before planning access or operating the door for painting.
Make the small test meaningful
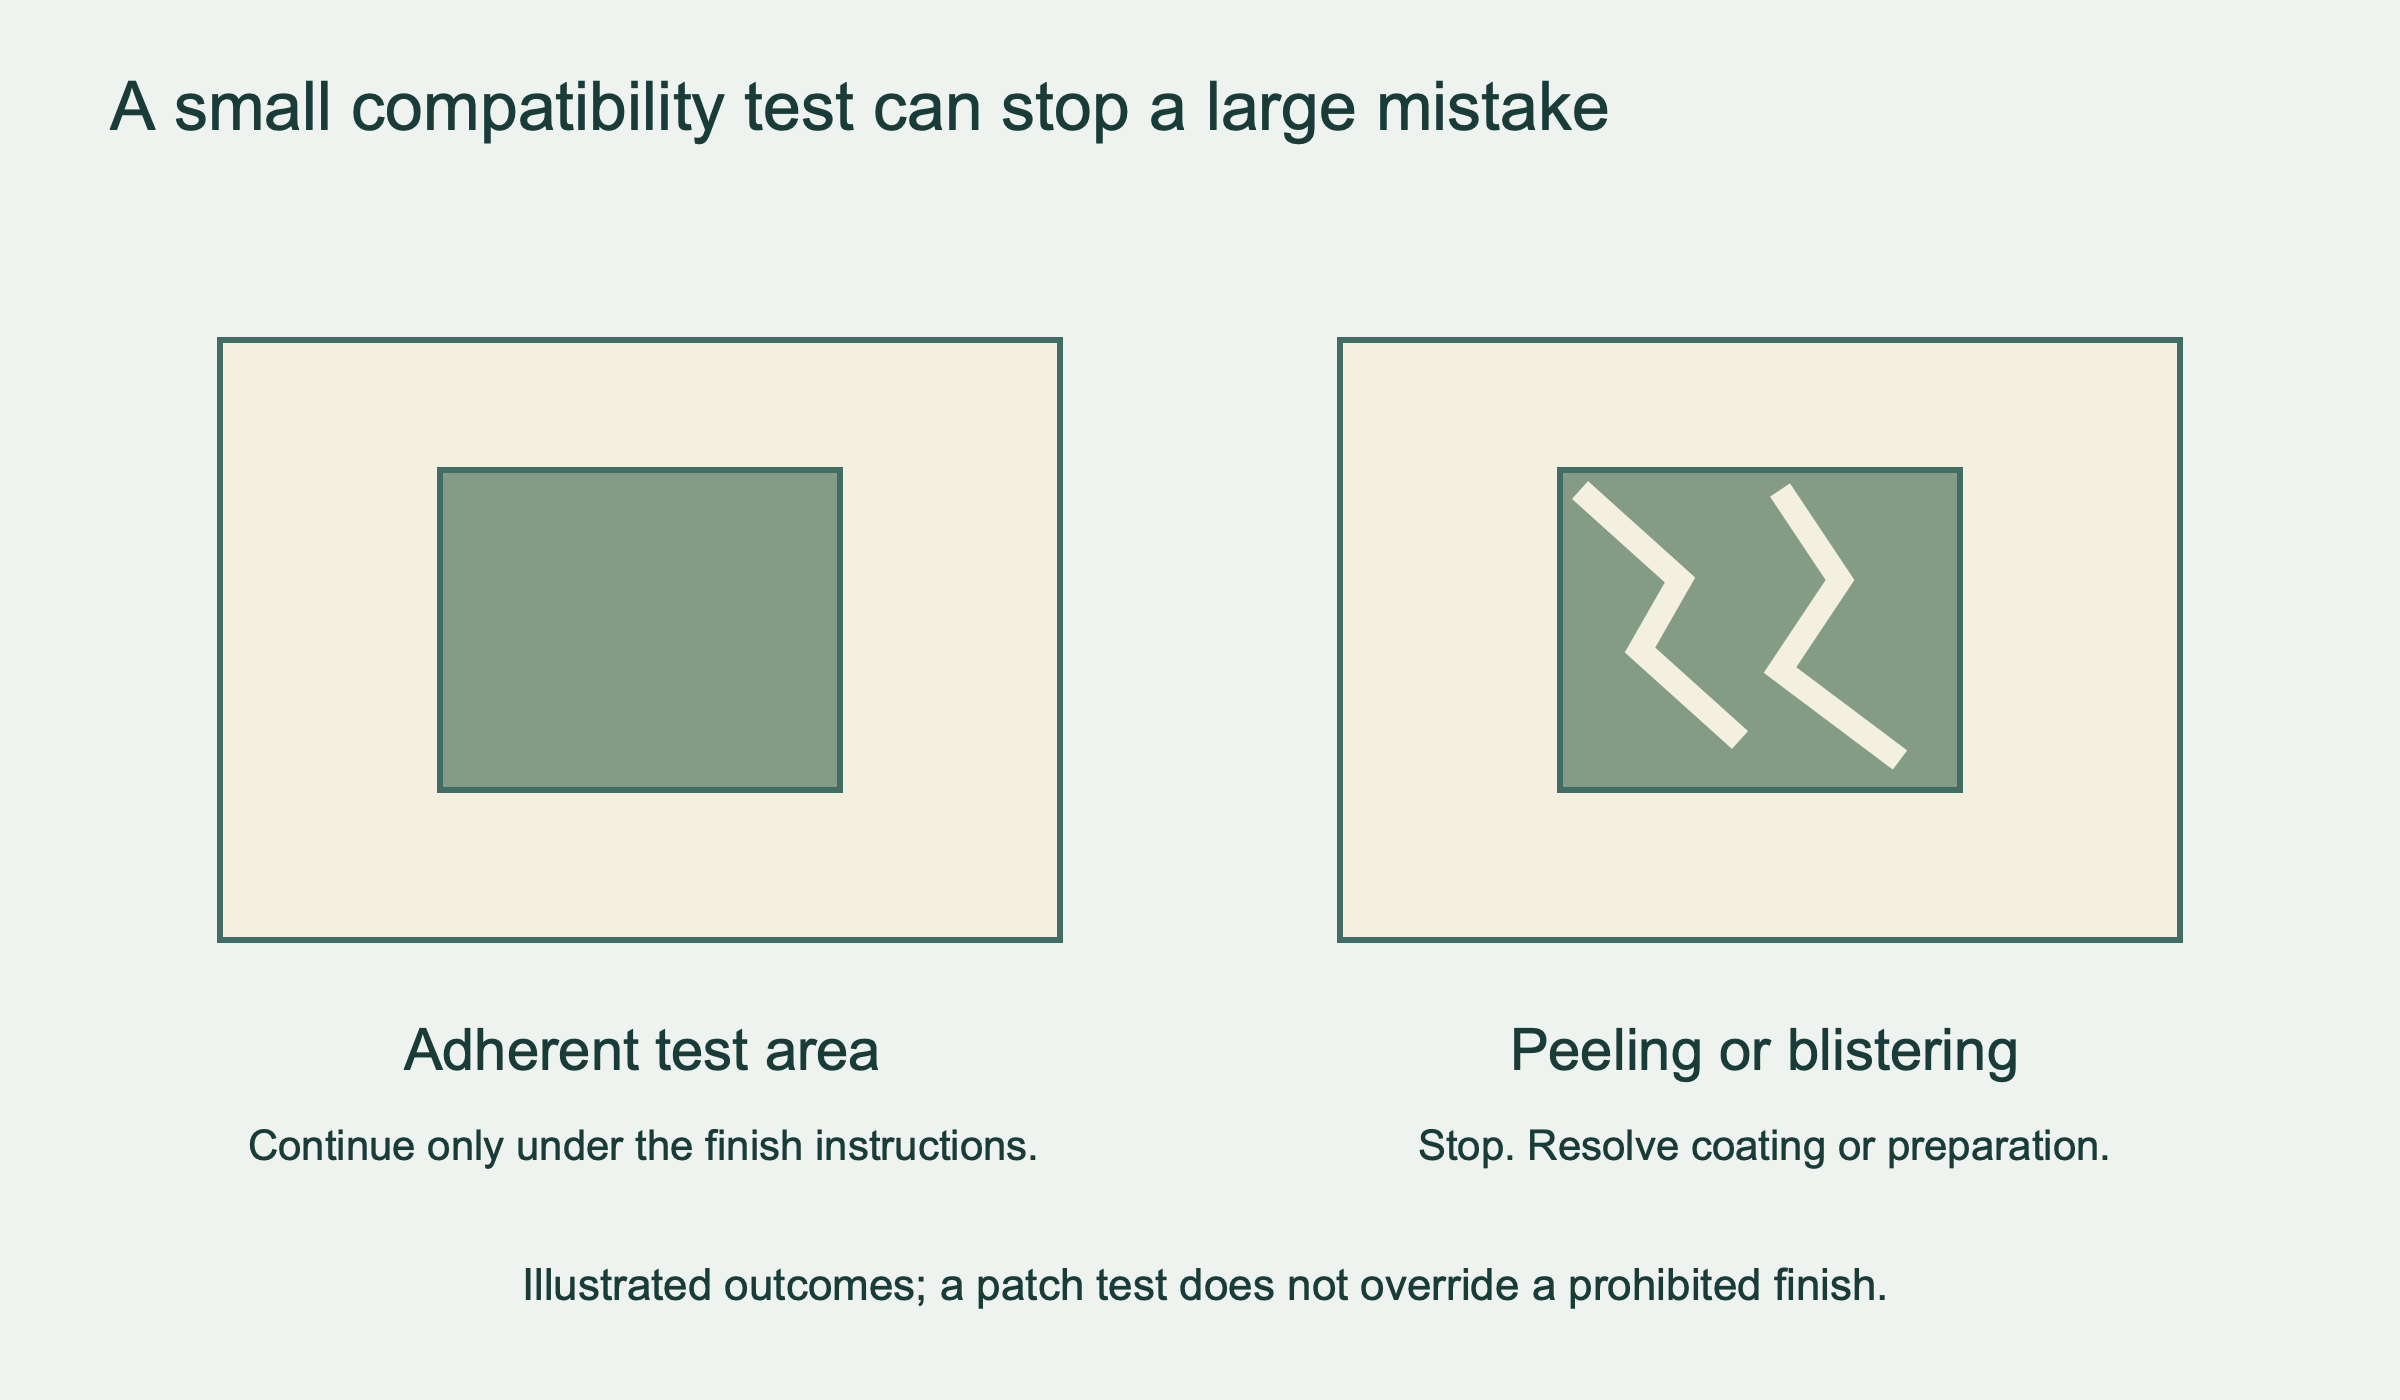
A test area should use the actual proposed coating and the preparation required for your finish. Testing a different primer or skipping a preparation stage does not answer whether the final system will work. Choose the location and test method from the door instructions; do not invent a destructive scratch test on an undamaged factory coating.
Clopay’s referenced manual calls for a small paint test, drying and an adhesion check before the entire door is coated. Blistering or peeling is a reason to stop. The useful lesson is not merely “try a patch.” It is to set a clear acceptance point before the large, expensive part of the job begins.
Record the product, batch or color identification, preparation and date. Follow the coating’s drying and application conditions rather than deciding readiness by touch alone. If the test fails, change the plan with the relevant manufacturer or painter; applying thicker coats to hide the failure does not establish adhesion.
 Select the diagram to view it at full size.
Plan access, weather and the surfaces that stay unpainted
Before work starts, agree how the door will remain safely out of use and how people will enter the garage. Keep remote users and household members informed. Do not improvise props or disconnect a questionable door to reach its upper sections. If the job requires unsafe overhead access or changes to the door’s operating arrangement, use a qualified professional with an appropriate access plan.
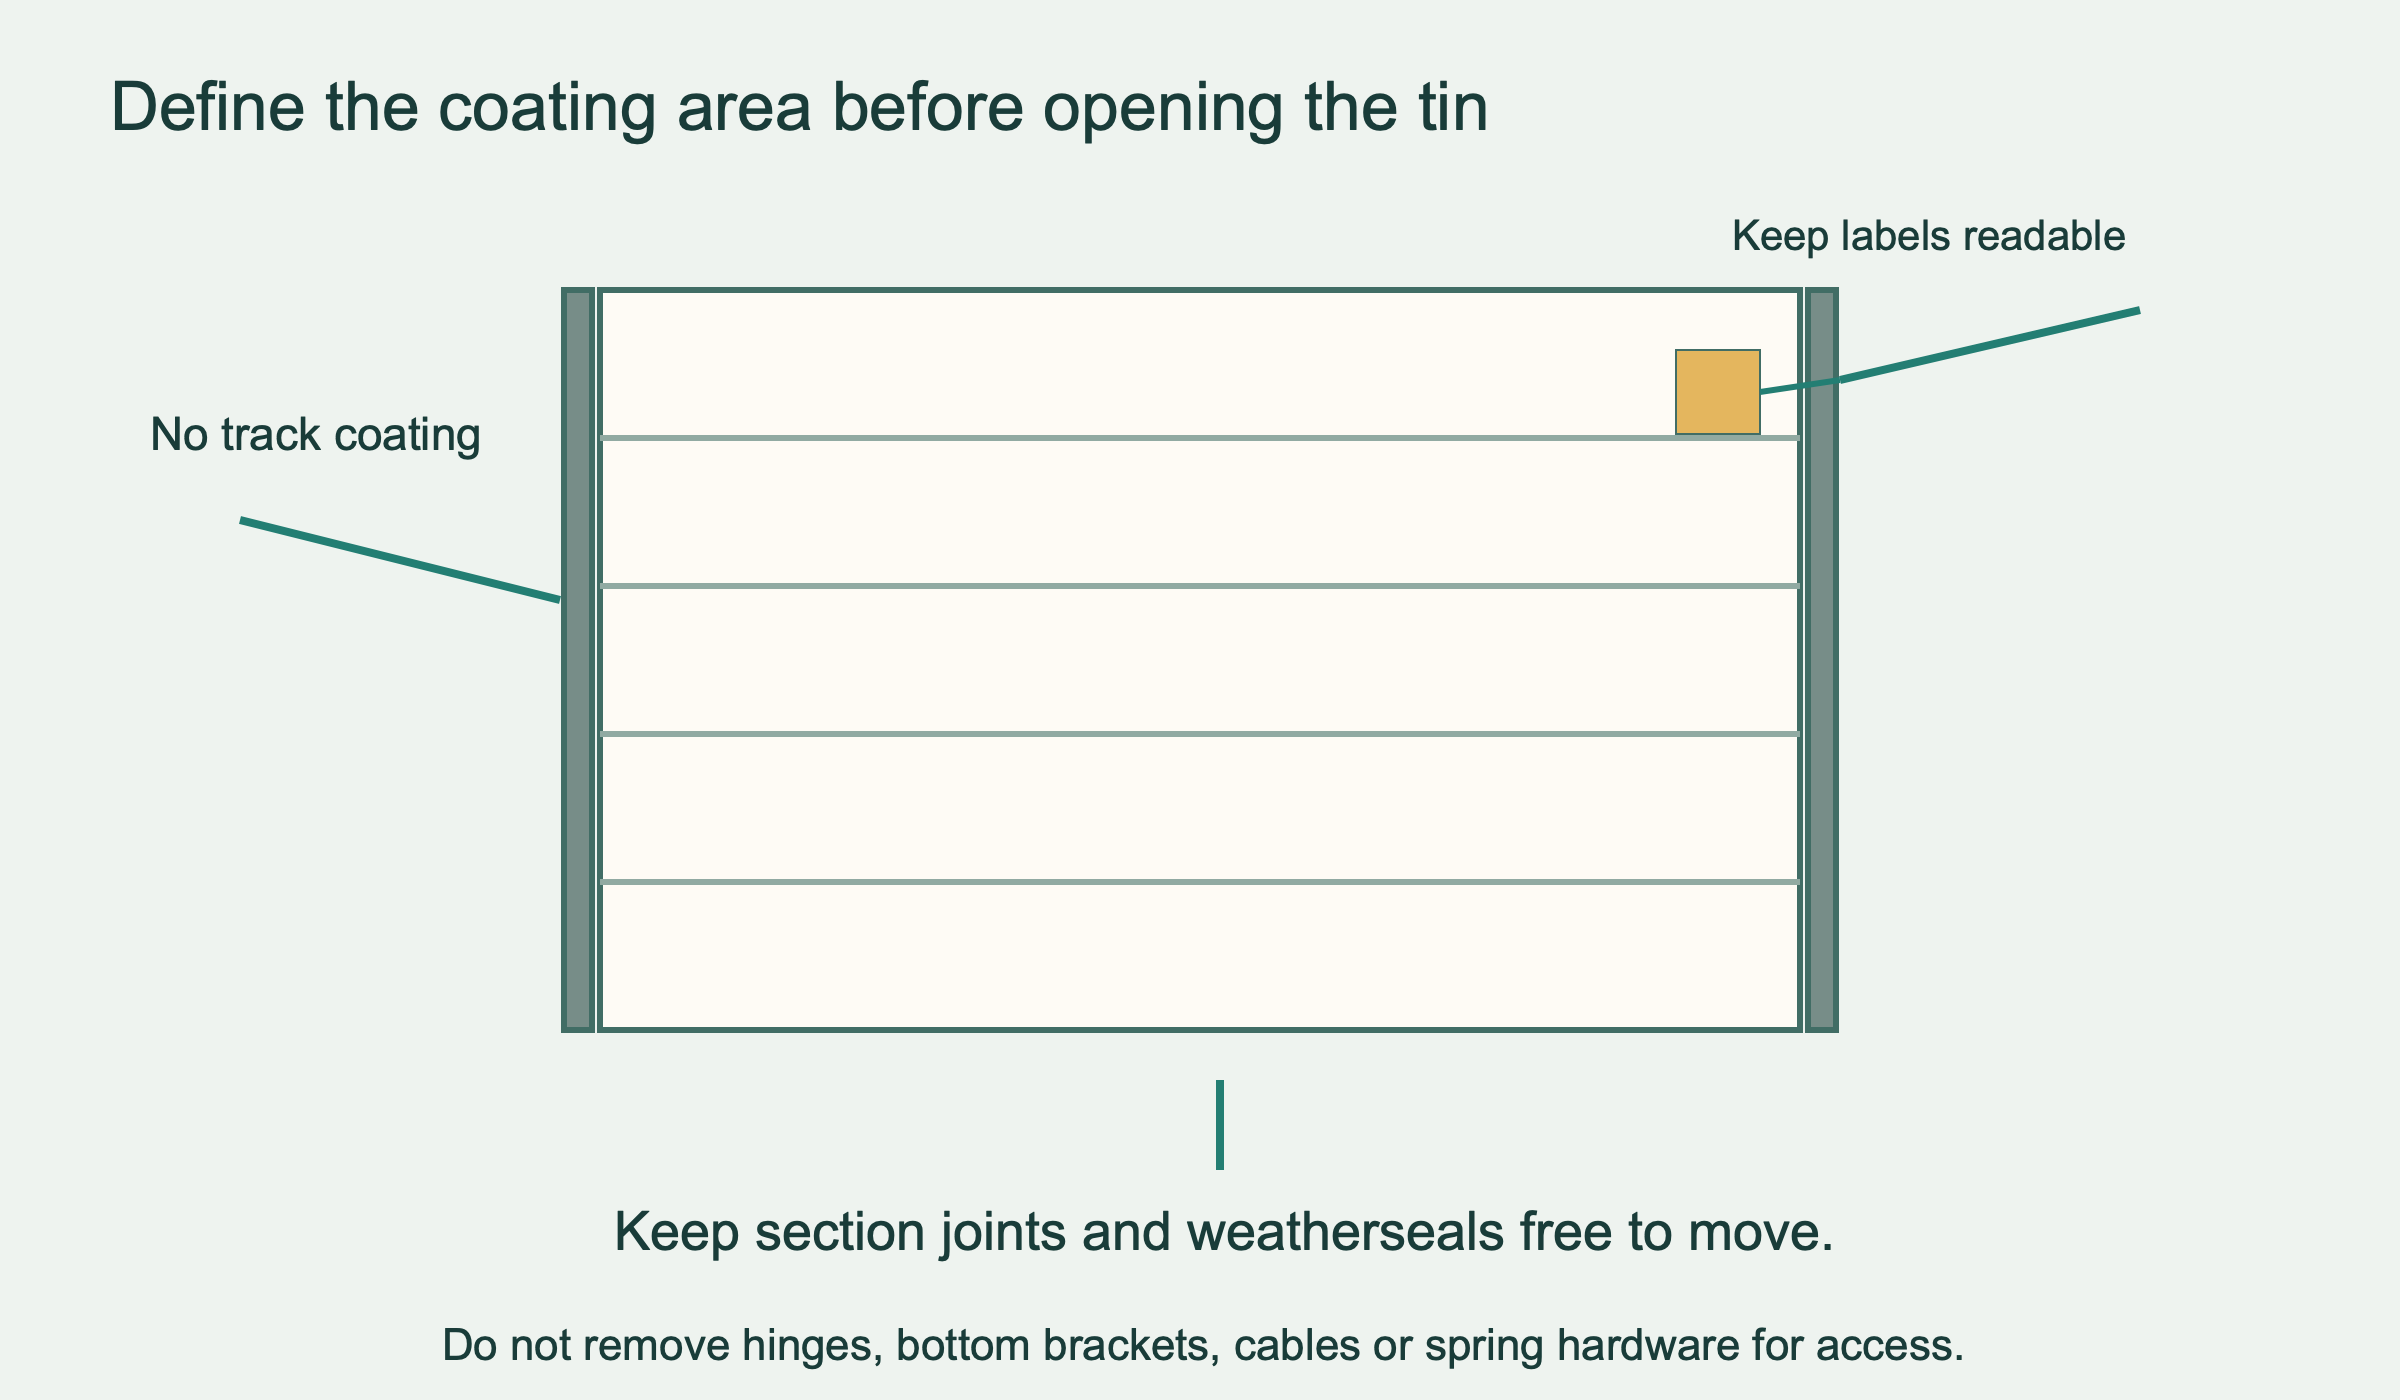
Make a written boundary for the coating: the intended exterior faces, any approved trim and any separately approved window frames. Preserve identification and warning labels. Keep paint out of tracks, rollers, joints, seals and safety-sensor lenses. A neat-looking finish is not successful if it bridges a moving joint or obscures a warning needed for future service.
Weather planning means more than checking whether rain is forecast. Use the paint manufacturer’s application and curing requirements, including its door-surface temperature limits. A sunny metal surface and the surrounding air need not be the same temperature. Do not substitute an arbitrary “warm afternoon” rule for the product instructions.
Preparation products deserve the same care as paint. Follow their labels for protective equipment, ventilation and disposal; never mix cleaning chemicals. Some specialist preparation methods involve flammable solvents. If that is outside your experience or cannot be done safely in the work area, hand that stage to a professional rather than improvising a household substitute.
 Select the diagram to view it at full size.
Finish with a record, not just a photograph
Keep the before photographs, exact coating details, manufacturer guidance and invoice together. Ask the painter what future touch-up should use and how the new finish should be cleaned. The care routine for the old factory surface may not describe the new coating, especially where a specialty product was used.
Review the written warranty before altering the finish. Do not assume repainting always voids it, or that any exterior paint preserves it. Ask about the exact proposed change and retain the response. If you are already considering a claim for peeling or corrosion, document the condition and contact the warranty provider before covering the evidence.
The decision is straightforward once those questions are answered: an identified finish, an approved coating system, a sound prepared surface and safe access make a repaint a defined project. Unknown coating history, failing material or operating damage calls for assessment first. For concerns about the door itself, a door compatibility and replacement assessment can separate a finish problem from a door that needs more than new paint.