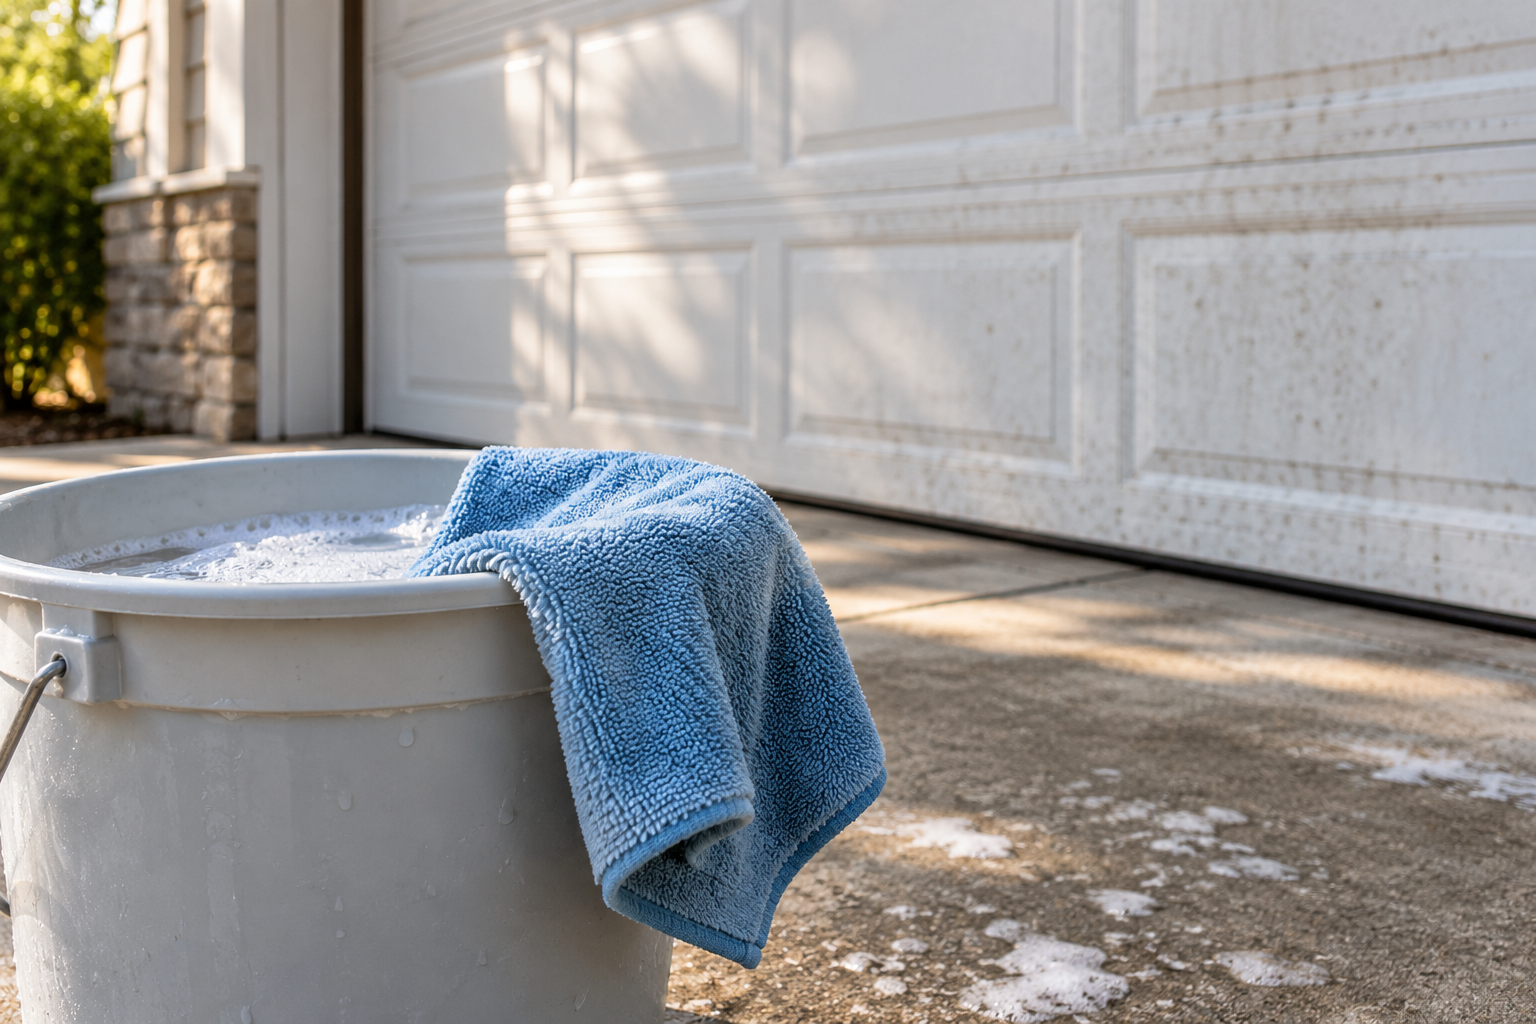
Gentle tools and an identified finish come before a stronger cleaner.
Identify the door’s finish and cleaning instructions before selecting a cleaner. Use the specified method, check a small area where required, and assess the dry result before continuing.
Clean the right surface with the right method: identify the finish, compare real manufacturer recipes, protect windows and stop when a mark is damage.
Start with the finish, not the strongest cleaner
A garage door can look dirty for several different reasons. Dust may be sitting on an intact coating, a window may carry a film of grime, or the finish itself may be fading or peeling. Those conditions can look similar from the driveway, but they do not call for the same treatment. The goal of garage door cleaning is to remove unwanted material without taking the protective surface with it.
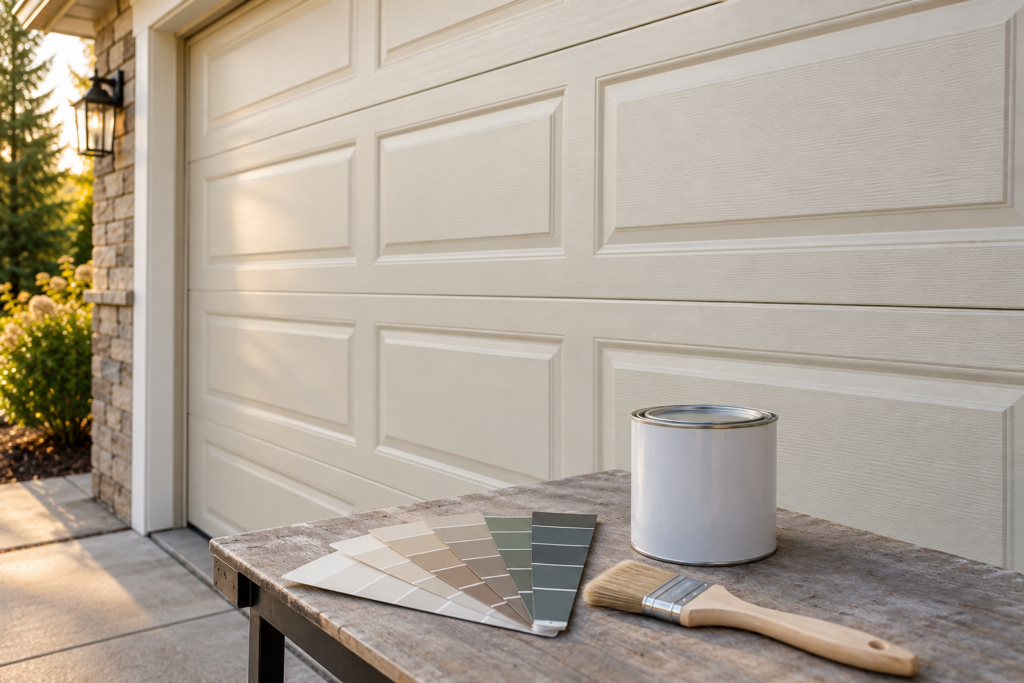
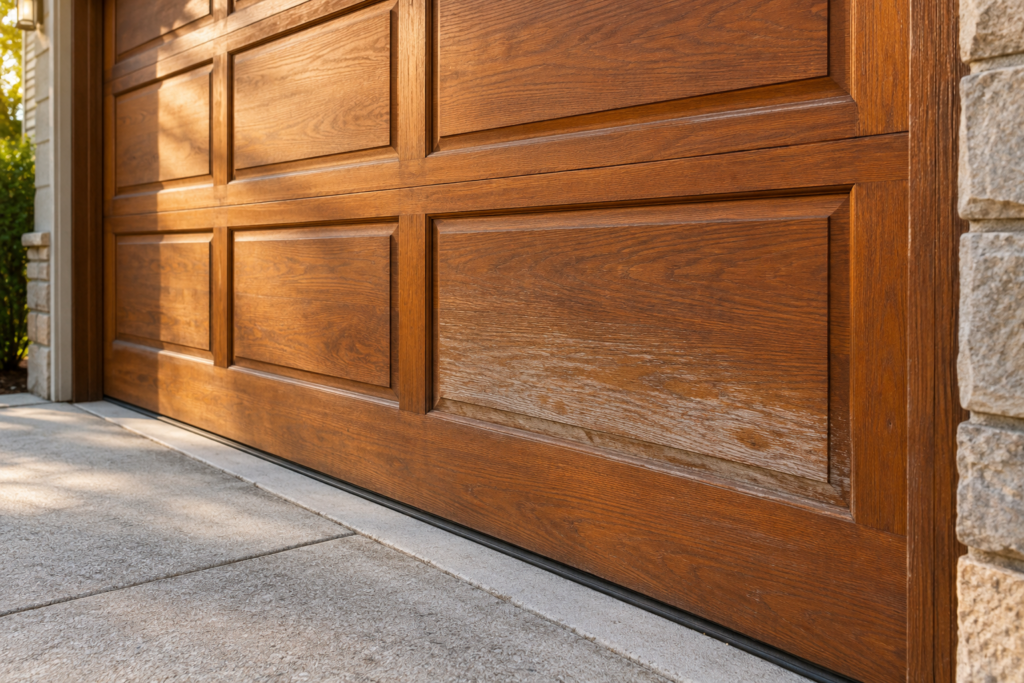
If you are searching for how to clean garage door surfaces, begin with three facts: the door collection, the material you are touching and the finish currently on it. A white panel is a color, not a material specification. A wood-grain appearance does not prove that the door is wood, and a clear window is not necessarily glass.
This guide leads through ordinary exterior cleaning of an intact, stationary door. It does not cover stripping, repainting, mold remediation or mechanical maintenance. When a mark turns out to be damaged finish rather than dirt, stopping is a successful diagnosis—not a failure to scrub hard enough.
Identify the separate surfaces on your door
Find the manufacturer and collection in your purchase paperwork or an accessible label, without climbing or moving an unsafe door. If the door has been repainted, keep the coating information as well: the original factory instructions may not describe the new surface. Unknown finish history is a reason to use a conservative approach and ask for identification before applying a specialty chemical.
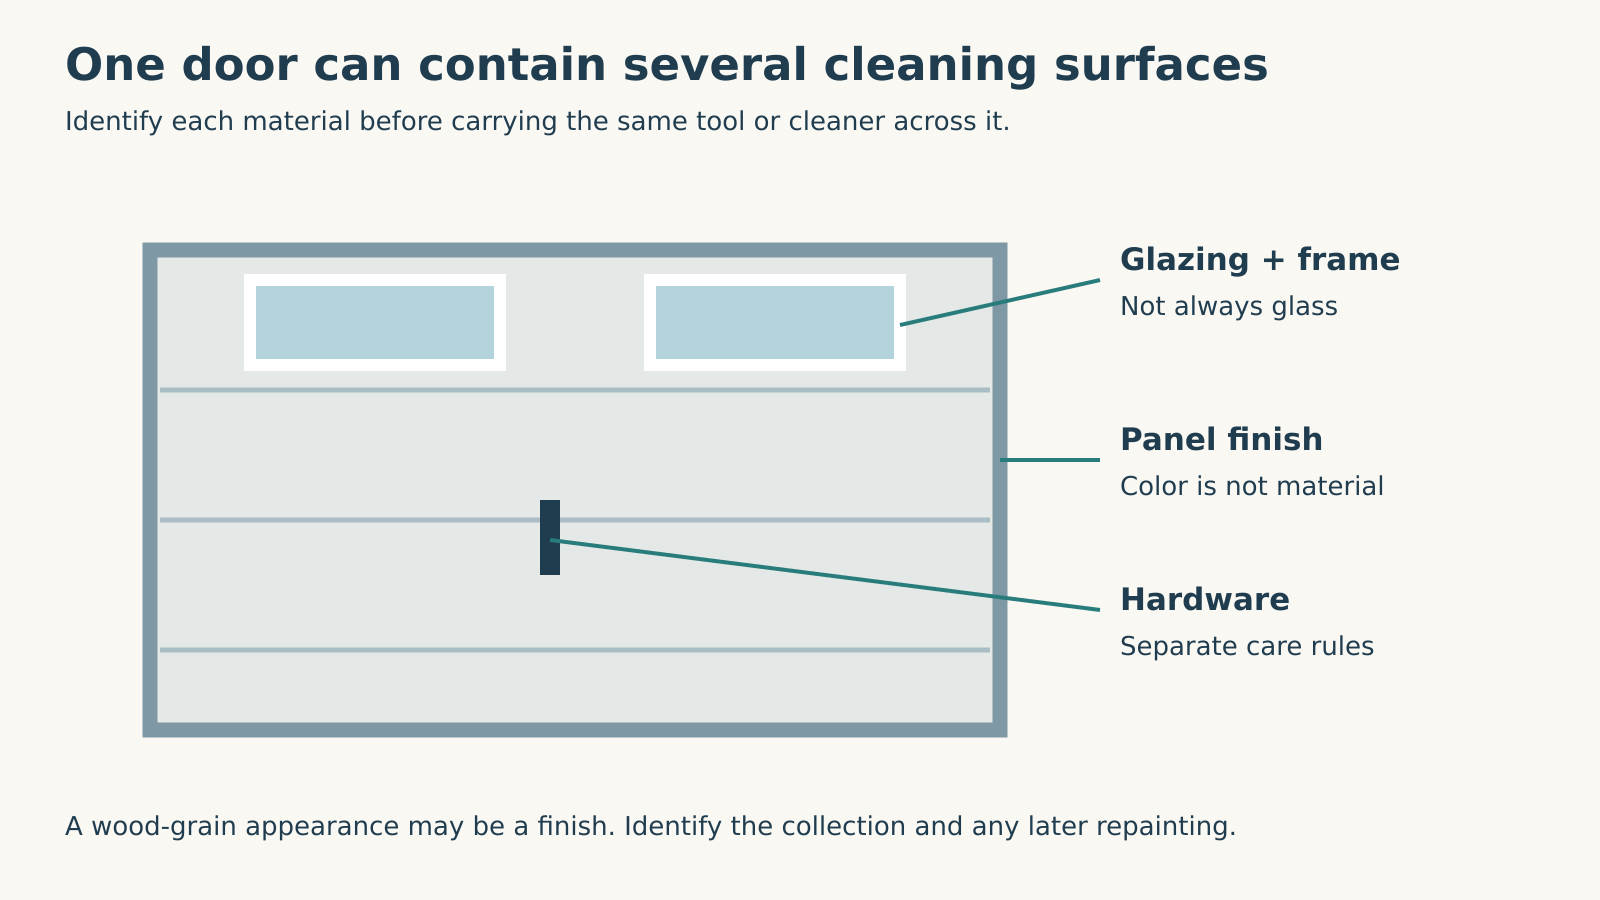
Make a small surface list: main panels, overlays, window glazing, window frames and decorative hardware. These can have different care requirements on the same door. A brush accepted for a panel may be unsuitable for its window, while a wax specified for steel may not belong on decorative trim.
The distinction is especially important with transparent plastics. Overhead Door’s Impression Fiberglass Collection manual identifies separate acrylic cleaning requirements and excludes window-cleaning fluids, solvents and gritty cloths for that glazing.[2] Do not decide that a household glass cleaner is suitable merely because the window is transparent. If the glazing is unidentified, establish what it is before treating it.
 Select the diagram to view it at full size.
Set up a small, controlled cleaning area
Keep the door fully closed and stationary during exterior cleaning, and make sure other household members will not operate it. Keep remotes and app controls out of use while someone is working against the door. This is not a reason to pull the emergency-release cord or detach any hardware. An unstable, skewed or visibly damaged door needs assessment before cleaning begins.
Work from a stable ground-level position. If an upper area cannot be reached safely with a suitable soft tool, arrange appropriate help rather than standing on a bucket or overreaching from an improvised platform. Keep the wet working area clear enough that you can step back without tripping over containers.
Gather clean soft cloths, a nonabrasive sponge, the approved cleaner, measuring equipment and a gentle rinse source. Reserve a separate clean cloth for windows so grit collected from lower panels is not transferred to glazing. This simple separation gives you more control than using one increasingly dirty rag over every surface.
Choose conditions in which the cleaner will not dry immediately on the door. Overhead Door’s wood-care guidance specifically excludes application in direct sun or elevated temperatures.[3] Check the instructions for your own finish as well. A cool-looking photograph is not a substitute for checking the actual working surface.
Mix the specified solution—not an internet average
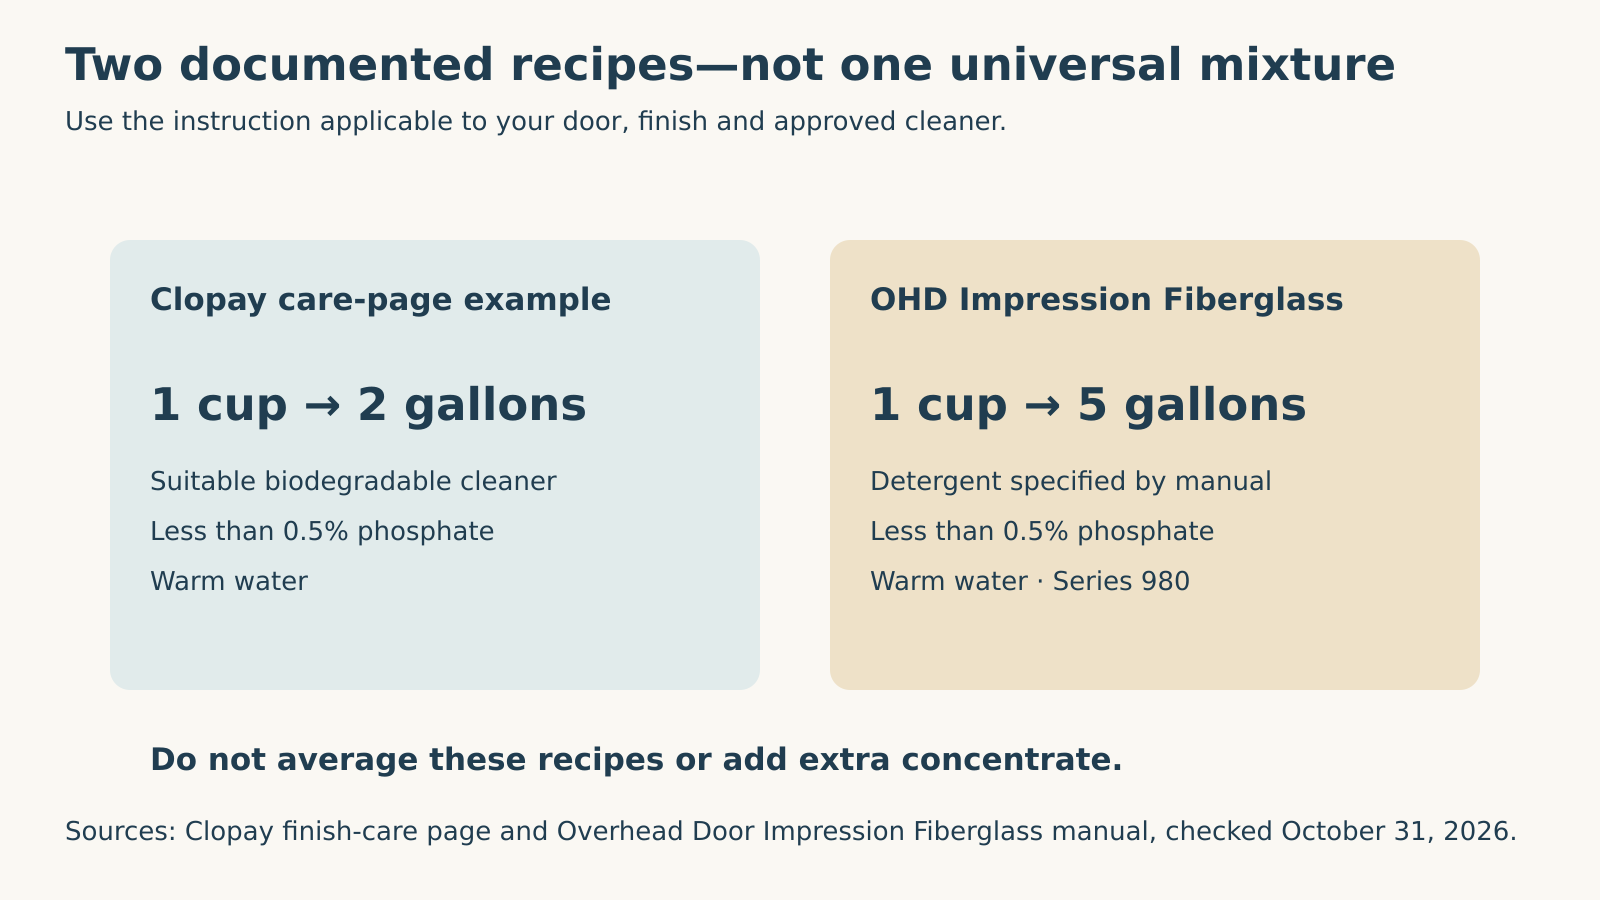
Manufacturer recipes are not interchangeable. Clopay’s care page gives one example using one cup of a suitable biodegradable cleaner with less than 0.5% phosphate in two gallons of warm water.[1] The Overhead Door Impression Fiberglass Collection manual gives one cup of detergent with less than 0.5% phosphate in five gallons of warm water for its steel and fiberglass cleaning guidance.[2]
Those are two different documented instructions, not a range from which to invent your own stronger mixture. The door finish, cleaner identity and applicable manual all belong in the decision. Measure the approved recipe rather than adding extra concentrate because the door looks especially dirty.
Read the cleaner label alongside the door instructions. If either excludes the surface or the proposed method, do not use the combination. Keep different cleaning products separate; the Overhead Door guidance explicitly warns against mixing cleaners or detergents with bleach.[2][3]
For an unfamiliar but approved combination, begin on a small inconspicuous area, rinse it and allow it to dry before proceeding. You are checking for an unwanted change in appearance, not proving long-term compatibility through a quick test. A test spot does not override a manufacturer’s prohibition.
 Select the diagram to view it at full size.
Wash gently, rinse completely, then judge the dry result
Remove loose grit with the gentle rinse method permitted for the finish before wiping it across the surface. Overhead Door’s wood-care instructions describe a warm-water pre-rinse, mild diluted soap applied with a soft microfiber cloth or nonabrasive sponge, and a thorough clean-water rinse.[3] This is ordinary cleaning, not a pressure-washing or surface-stripping process.
Work in manageable areas so you can rinse away cleaner before it dries. Keep water directed at the exterior surface rather than into electrical devices, joints or the garage interior. Do not pry weatherstripping away, push fingers into section joints or remove trim to reach a stain. Cleaning should not become an unplanned repair operation.
Use the washing direction in the applicable care guide. Clopay’s page describes a top-to-bottom approach; another product manual may organize the task differently.[1] The important point is to follow one relevant method rather than combining fragments from several unrelated doors.
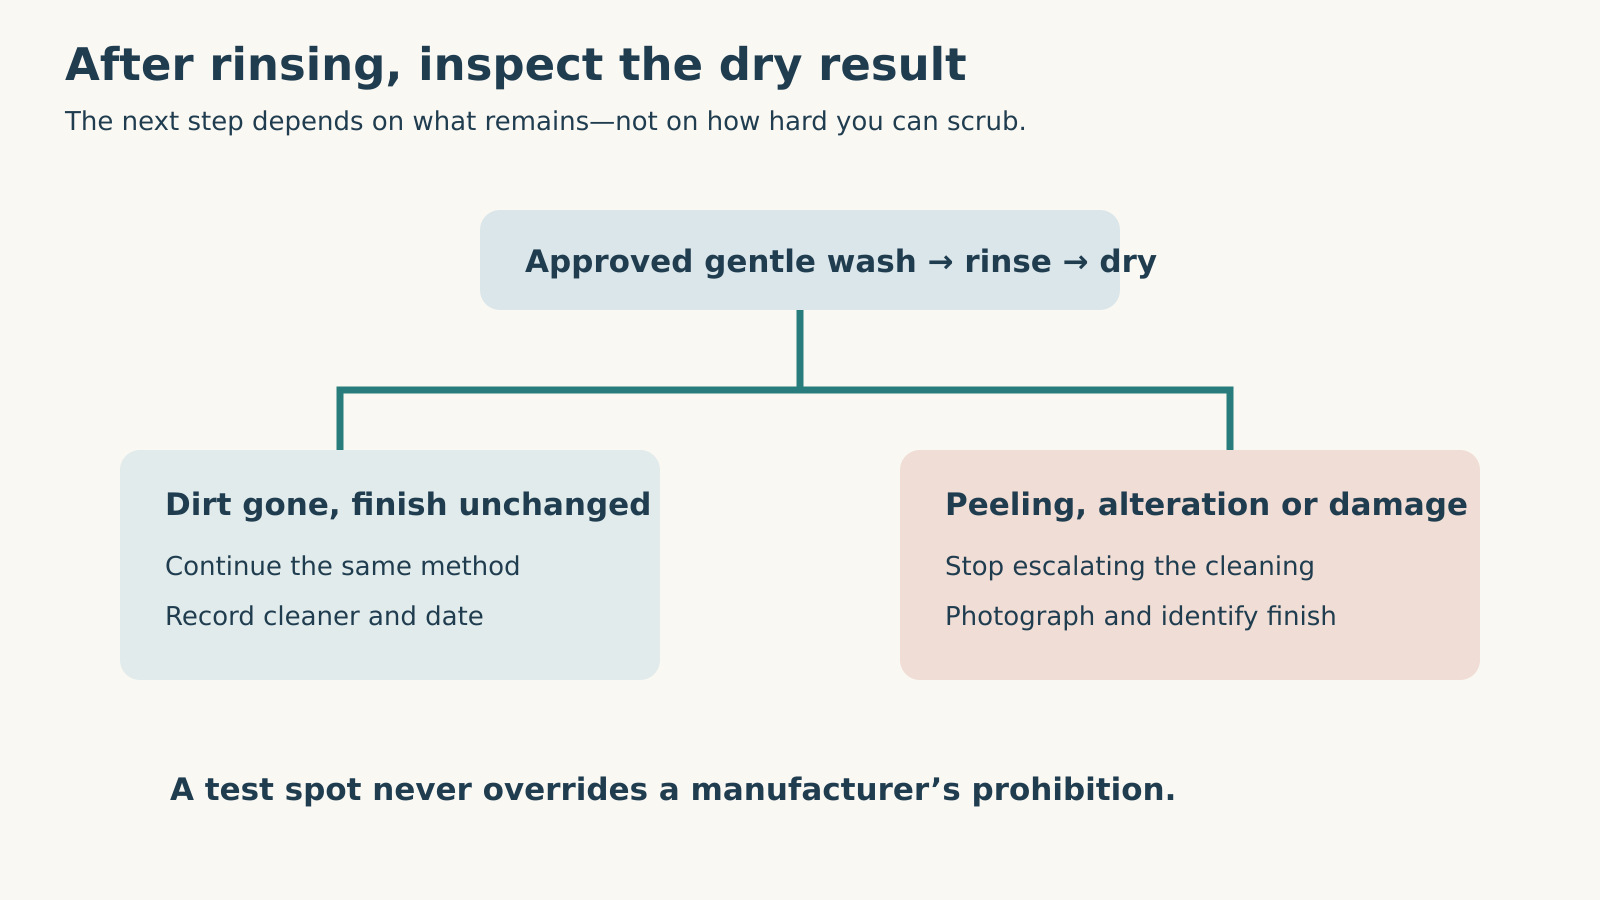
After rinsing, inspect the area when dry. A wet surface can temporarily hide differences in gloss or color. If the ordinary dirt is gone and the coating looks unchanged, continue with the same controlled process. If the surface becomes streaked, softened or visibly altered, stop instead of increasing pressure or concentration.
Give windows a separate cleaning pass
Use the glazing instructions, not merely the panel instructions. Clopay’s polycarbonate guidance calls for mild soap, lukewarm water and a clean sponge or soft cloth, and specifically excludes brushes or scrubbing.[1] That is a useful example of why a panel-cleaning brush should not automatically move upward onto the windows.
Look at the cloth before it touches glazing. A visible particle is a reason to rinse or replace it, not to press through the dirt. Avoid scraping an unidentified clear surface with a razor or using an abrasive pad to remove a stubborn spot. Scratches can create a new problem even when the original dirt disappears.
Do not remove glazing beads or window components simply to clean the exterior. A mark between layers, inside a sealed assembly or beyond safe reach needs a different assessment. Record where the mark is visible and whether it changes after the accessible surface has been gently cleaned; that observation helps distinguish a surface-cleaning issue from a window problem.
When the mark remains, change the question
A persistent mark does not automatically call for a stronger product. Look at its edges and the surrounding surface without scraping. Does it sit on top of the coating, or does it coincide with peeling, blistering, exposed material or a crack? Is the discoloration localized near an attachment, or spread evenly across a sun-exposed area?
If cleaning reveals coating damage, take a clear photograph and identify the finish before choosing a repair. Overhead Door’s wood guidance treats finish condition and wood integrity as inspection subjects separate from ordinary washing.[3] Do not sand, bleach or seal a questionable area just to make it disappear from view.
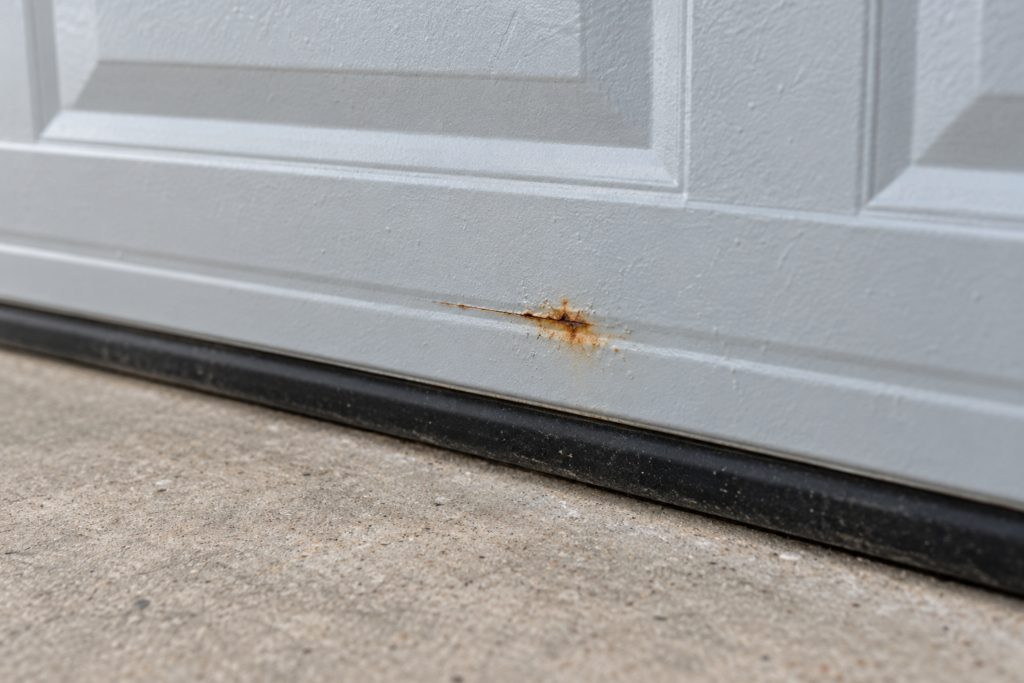
The same boundary applies to rust-colored staining. Color alone cannot establish whether the problem is surface contamination, damaged coating or deterioration of a component. Leave high-tension hardware and attachment points untouched. If you see a loose attachment, cable damage or a crooked door, stop using the door and arrange professional assessment rather than continuing cosmetic work around it.
For someone wondering how to clean white garage door panels, this is the most useful distinction: a brighter cleaner cannot replace missing finish. Judge success by the condition of the surface, not by whether every visible mark can be erased in one session.
 Select the diagram to view it at full size.
Finish with a record, not a universal wax treatment
Waxing is a separate, finish-specific decision. Clopay identifies selected collections whose steel portions receive liquid wax and warns against getting it on decorative hardware.[1] That does not authorize waxing every overlay, plastic window or newly painted surface. Confirm the actual collection and product instructions before adding a protective treatment.
Write down the date, the cleaner and dilution used, and any area that did not respond normally. A simple before-and-after photograph taken from the same position is more useful than a claim that the door is “like new.” The record also prevents the next person from unknowingly trying a second incompatible product on the same mark.
For issues beyond ordinary cleaning, describe the location and visible change when requesting help. Local Garage Experts takes calls daily from 6 a.m. to 11 p.m. at (323) 924-8777 and offers free estimates, free diagnostics and no service call fee. A clean door is easier to inspect—but cleaning is not a substitute for resolving a damaged section, unsafe attachment or closing problem. If movement is abnormal, use the door-not-closing guide before operating it again.
Sources & manuals
Product-specific examples are labelled and should not be generalized.