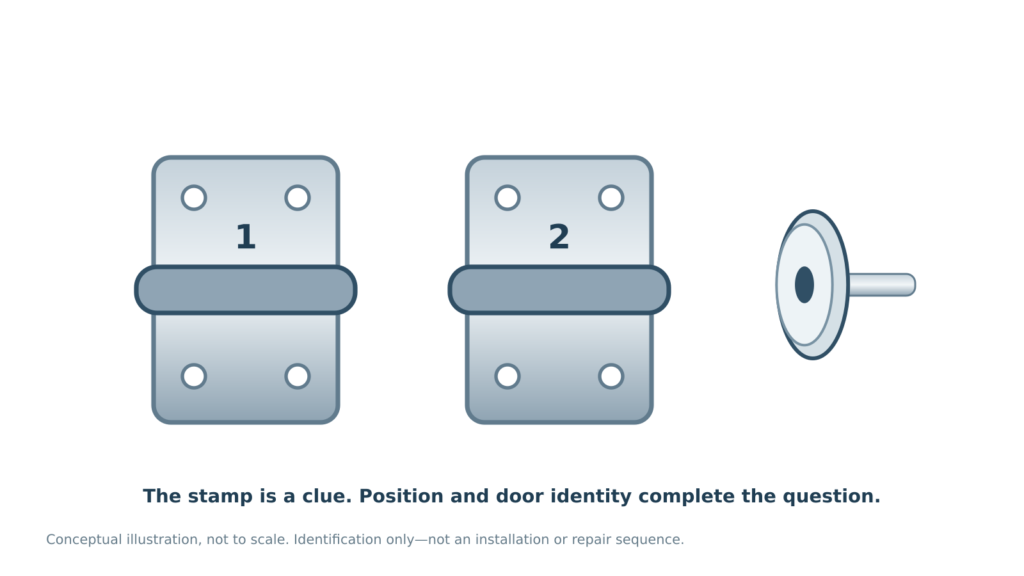
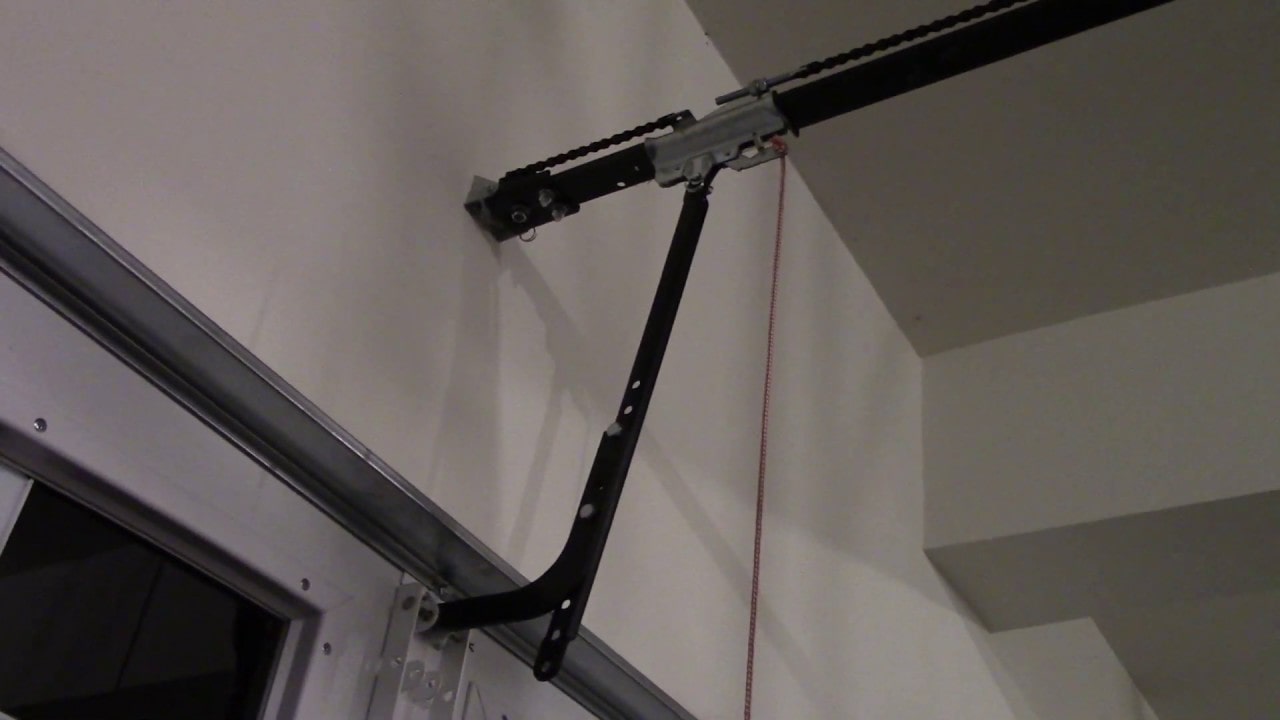
The opener arm connects to the door near its top. This view identifies the connection; it does not certify the installation.
Garage door brackets have different jobs and loads. Identify the damaged bracket and supporting material before deciding on a repair; bottom brackets and spring-related hardware require professional attention.
“Garage door bracket” can mean several very different parts. The bracket connecting an opener arm to a door is not the same as a bottom bracket connected to a lifting cable. Treating them as interchangeable is where a simple-looking repair can become dangerous.
Before buying a replacement or picking up a wrench, identify the part, the door model and what the bracket supports. This guide is for recognition and repair planning—not removing load-bearing or spring-connected hardware.
The most important distinction: connected to a cable or spring?
If a bracket connects to the counterbalance system, do not loosen it. That includes bottom brackets where lifting cables attach and supports associated with the spring assembly. Damage or a loose fastener is a reason to stop using the door and request professional assessment, not to tighten whatever looks loose.
Genie’s safety guidance warns against adjusting springs or components attached to them, including brackets and cables. Paint color is not a reliable permission system: a fastener without a warning color can still be hazardous.
Common garage door brackets and what to identify
| Part you may be looking at | Useful identifying clue | What to do with that information |
|---|---|---|
| Opener door bracket | The opener arm connects to the door at this point. | Check the door and opener documentation before discussing replacement or reinforcement. |
| Opener reinforcement | Additional support at the opener’s attachment area. | Confirm the required configuration for the door model, not merely the bracket’s appearance. |
| Bottom bracket | Located at a lower corner, commonly associated with a roller and lifting cable. | Do not loosen or remove it. Report visible damage from a safe distance. |
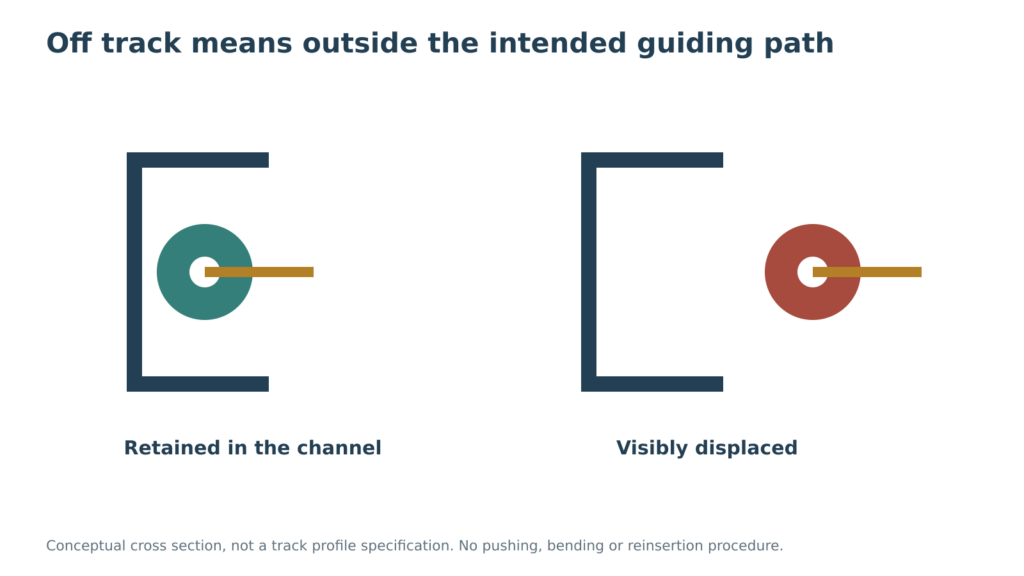
| Track support or hanger | Secures the track to the structure. | A displaced support needs inspection; do not try to realign a loaded track. |
| Spring-system support | Part of the assembly supporting the spring shaft or related hardware. | Leave adjustment and repair to a trained door technician. |
This table describes common sectional-door arrangements. It is not a parts diagram for every installation. Low-headroom, commercial and other specialized configurations need their own documentation.
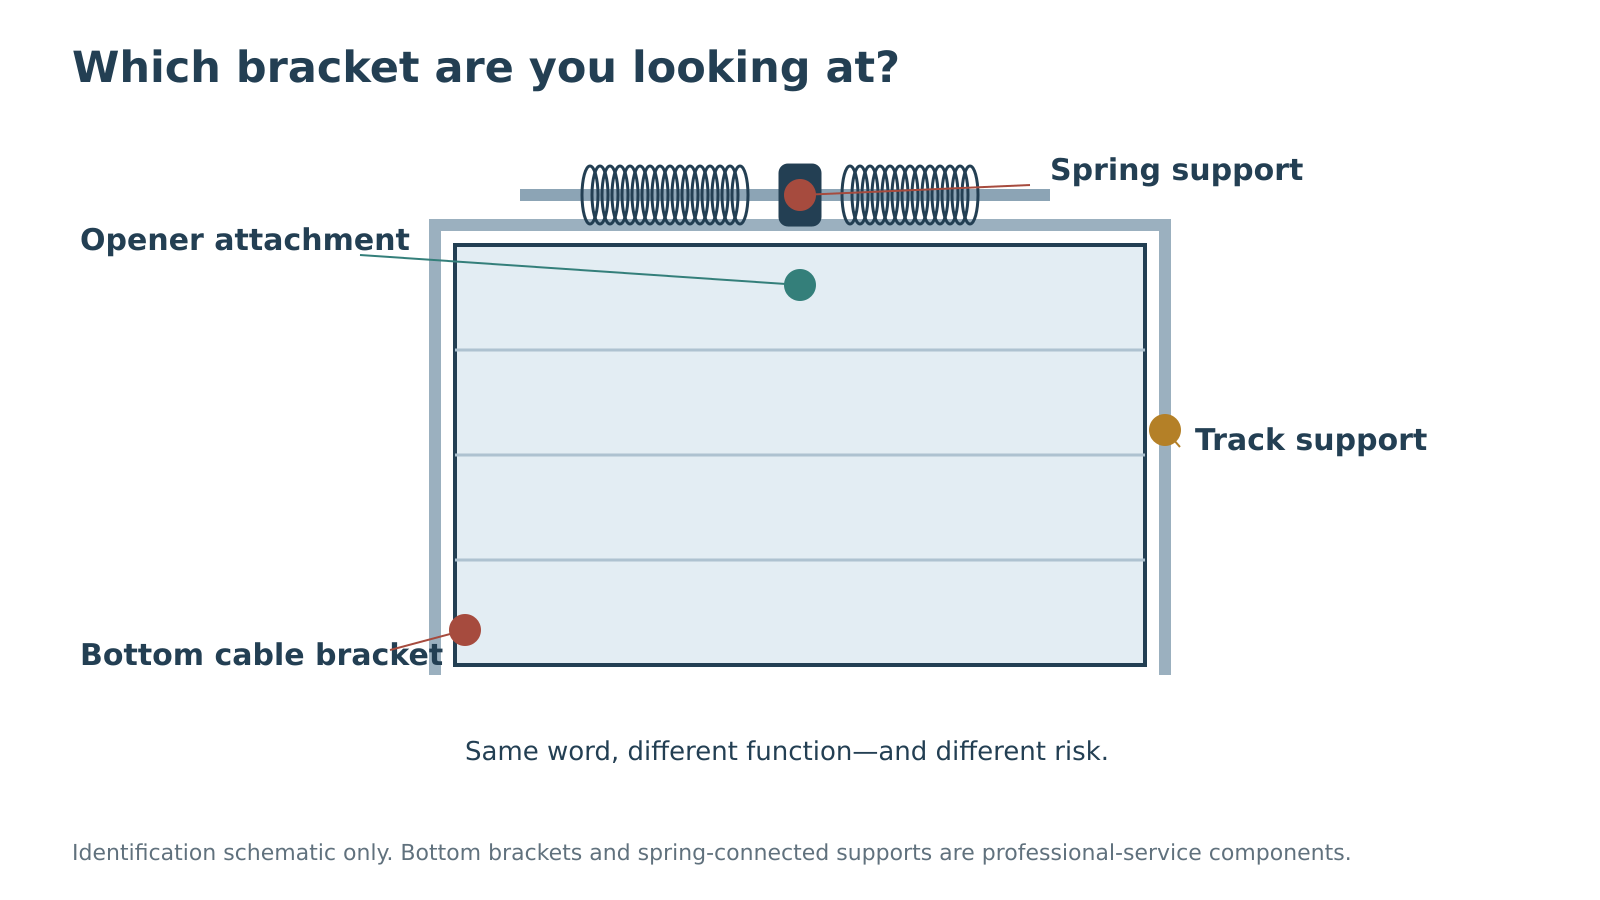 Select the diagram to view it at full size.
Why an opener bracket cannot be chosen by size alone
A bracket that fits the available holes may still be wrong for the door. Ask which door model it is intended for, what reinforcement is required and whether the proposed attachment follows the door manufacturer’s instructions.
Clopay’s safety checklist specifically calls for the proper opener reinforcement configuration for the door model and size. The practical lesson is not “add more metal.” It is to match the installation to the documented door construction.
If the opener attachment has pulled away, photograph the surrounding panel as well as the bracket when safe. Ask whether the supporting door section is still suitable for the proposed repair. Replacing only the visible bracket may not answer that question.
Follow the connection, not the nickname
A useful description starts with where the part is and what it connects. “The piece at the center of the top section where the opener arm attaches” is more precise than “the garage bracket.” “The lower corner where the cable meets the door” describes a very different risk even though both parts are made from stamped metal.
Also distinguish the bracket from its supporting surface. An intact bracket attached to a torn door section is not an intact attachment. A straight track supported by damaged structure is not cleared merely because the metal channel looks straight. This is why the useful inspection area extends beyond the small part a homeowner first notices.
Reinforcement is a specified arrangement, not a general upgrade
The opener arm applies its load through the door attachment. How that attachment is supported depends on the door’s construction and the manufacturer’s instructions. A horizontal strut, a vertical reinforcement member and the small arm bracket do not automatically substitute for one another.
The correct question is whether the complete attachment meets the requirements of the identified door and opener. Adding a second bracket beside the first, drilling another set of holes or choosing a thicker-looking plate does not answer that question. It can also obscure the original damage the technician needs to assess.
When reviewing a proposed repair, ask for the distinction between replacing a failed attachment and correcting an inadequate supporting arrangement. If the proposal uses reinforcement to retain a damaged section, ask why that section remains suitable and how the recommendation is supported. This is a scope question, not an invitation to design your own fastening pattern.
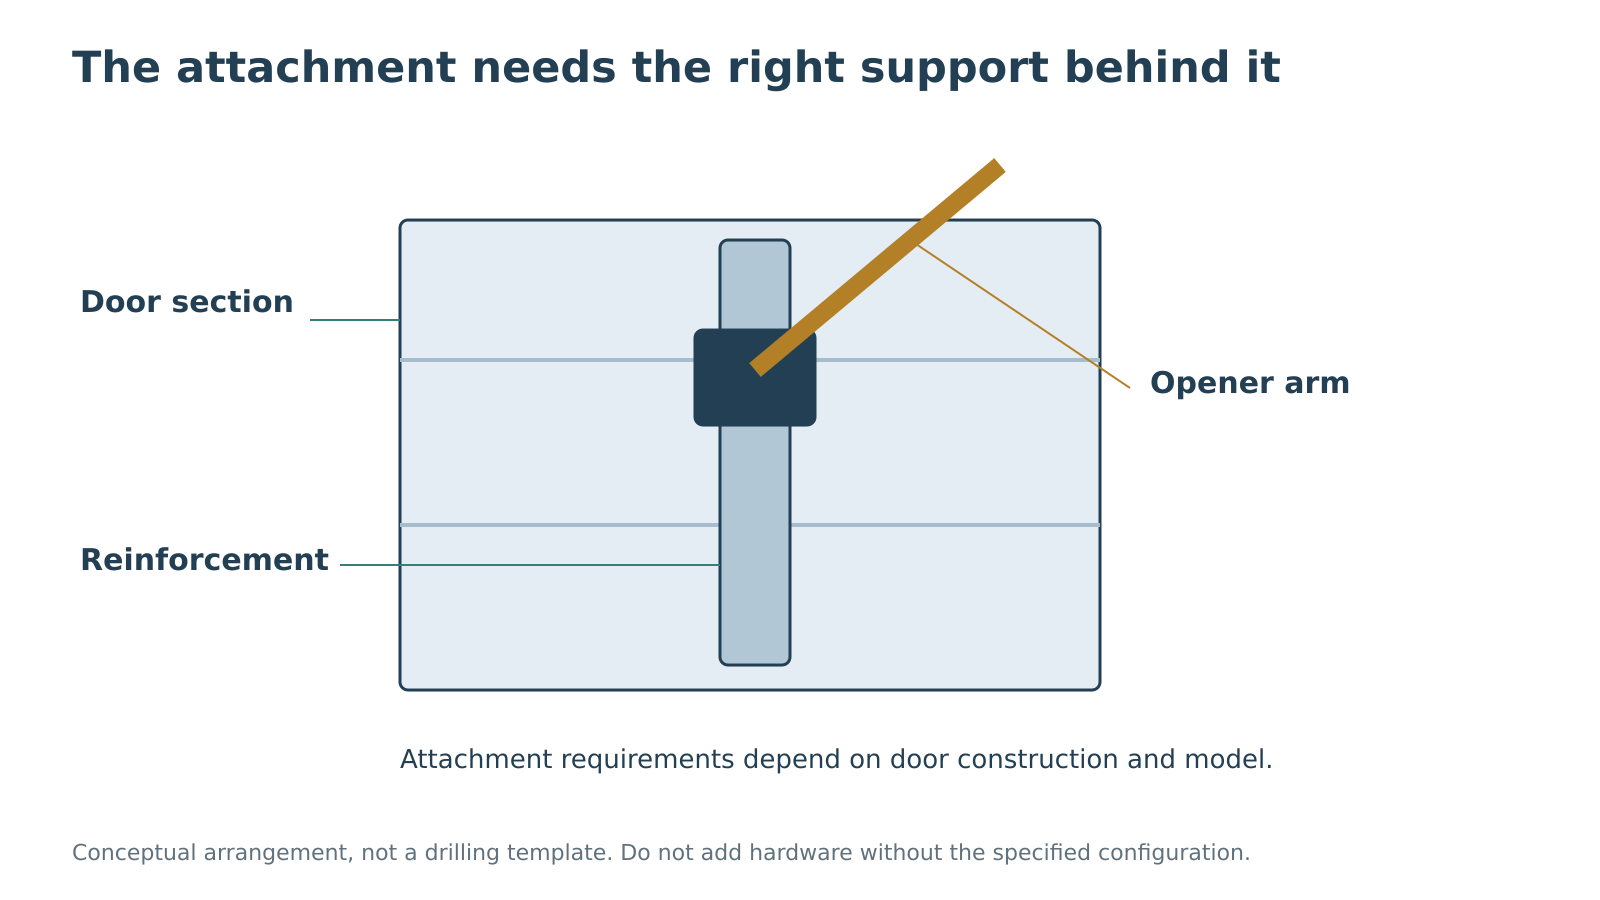 Select the diagram to view it at full size.
Signs that deserve a closer inspection
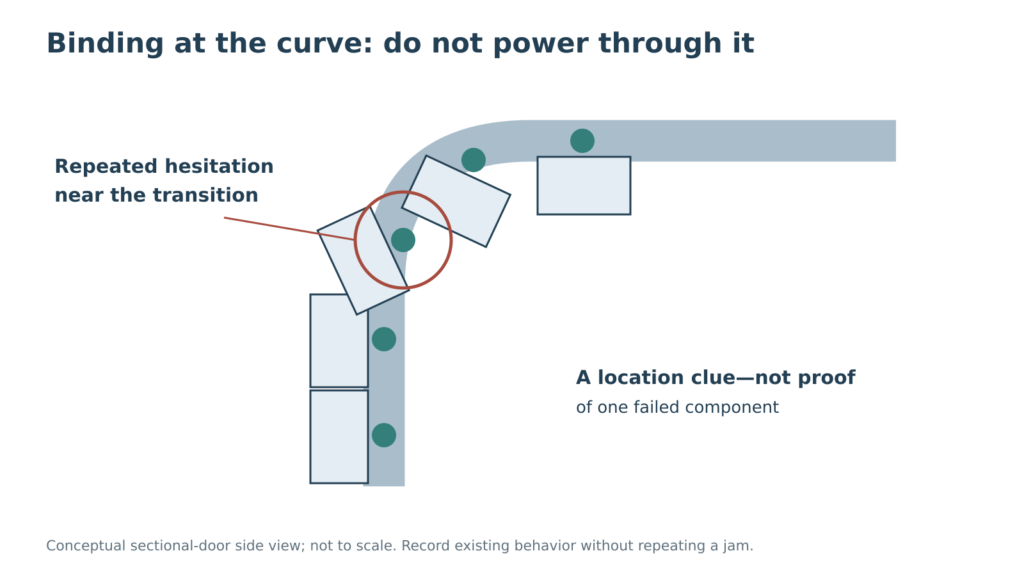
Keep the distinction between observation and testing. “The top attachment appears separated from the panel” is helpful information. Running the door while someone watches that joint at close range is not a safe way to improve the diagnosis.
If the door has become uneven, cables are loose or hardware is hanging away from its normal position, keep clear and stop operation. The repair may involve more than the bracket that first caught your attention.
Five costly mistakes to avoid
- Following a generic bottom-bracket tutorial. A bottom bracket is not simply a convenient roller holder. Leave it and its cable connection alone.
- Assuming every loose screw should be tightened. Identify the assembly first. Spring-connected supports require a professional even when the apparent issue is only a fastener.
- Substituting hardware by appearance. Ask for the specified fastener and attachment method. Stainless steel, a larger screw or threadlocker is not automatically an approved improvement.
- Drilling new holes to make a part fit. A mismatch calls for checking the part and installation instructions, not improvising a new attachment pattern.
- Changing opener force or travel to compensate. An adjustment at the motor does not repair a damaged bracket, panel or support.
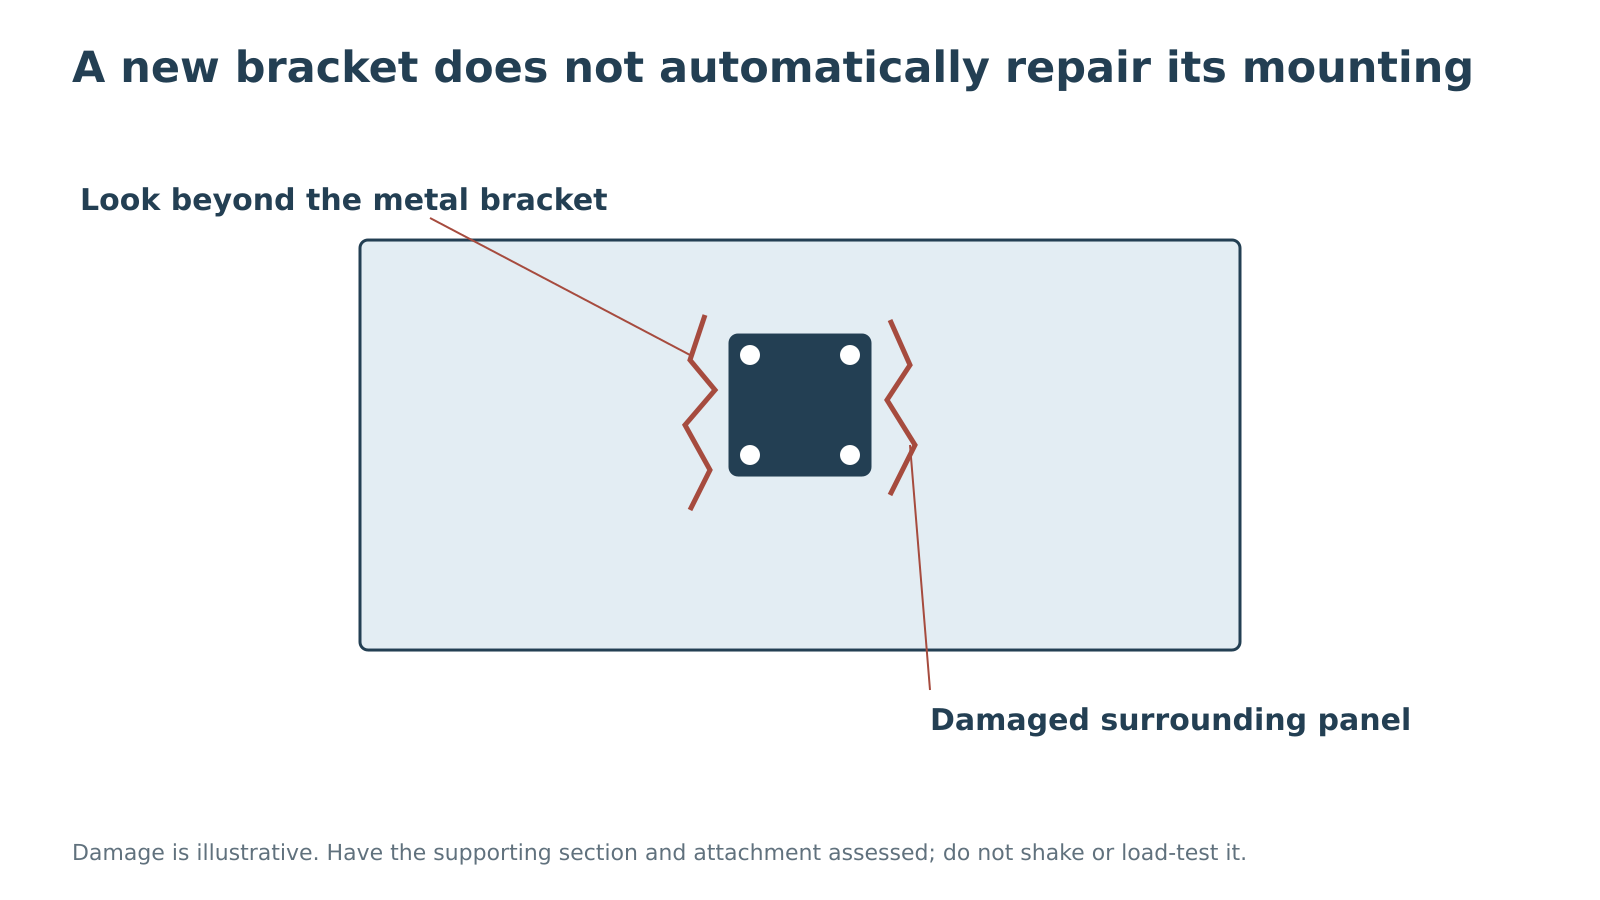 Select the diagram to view it at full size.
What to ask before approving the repair
Ask the technician to name the bracket and explain what failed. Request a scope that distinguishes replacement hardware from any door-section, track or supporting-structure work. If reinforcement is proposed, ask what manufacturer requirement or observed condition it addresses.
Also ask how the repaired system will be checked before normal operation resumes. The handover should explain any remaining concerns and provide the part and labor details you will need later. Keep photographs and the invoice together so a future service visit does not start without the repair history.
There is no useful universal bracket-repair price without knowing which part is involved and whether its mounting has been damaged. Compare defined scopes rather than a small retail part price against a complete installed repair.
Build a useful photo set without staging the failure
Start with one wide photograph showing the stationary door and the location of the concern. If it is safely visible from the floor, a closer photograph can show the bracket and the surrounding material. Include the existing model label only if it is accessible without standing under an unstable door or moving parts out of the way.
A close-up alone can hide context: the same-looking metal piece may occupy different positions in different installations. Conversely, a wide view may not show a pulled fastener or damaged panel surface. Explain which detail you noticed rather than asking the recipient to infer the entire problem from a blurred image.
Do not loosen a fastener to show that it is loose, shake the bracket to demonstrate movement, or cycle the opener while someone films the connection. The visible condition and the history are enough to justify assessment. Useful history includes a recent impact, a previous attachment repair, an opener replacement, or a change in how the door moves.
After repair, keep the part identity with the record
An invoice that simply says “bracket” loses much of the value of the diagnosis. Ask for enough description to identify the repaired location, any supporting-section work and the compatible part used. If the door model was identified during the visit, keep that information too.
Then use the handover to clarify what changed and what did not. Were the damaged part and its supporting material both addressed? Was any other hardware recommended for later attention? What operating and safety checks were completed? The answers should connect to the original complaint, not just to the fact that the door moved once.
Where to get the right kind of help
For an attachment at the opener arm, start with opener repair and installation assessment. A displaced track or support belongs in a garage door track inspection. Mention any cable or spring involvement when booking so the visible bracket is not treated as an isolated issue.
Call Local Garage Experts at (323) 924-8777, daily from 6 a.m. to 11 p.m. Free estimates, free diagnostics and no service call fee are available.
Frequently asked questions
What bolt size does a garage door opener arm bracket need?
There is no single bolt size that can be safely supplied from the phrase “garage door bracket.” First distinguish the pivot connection between the opener arm and door bracket from the fasteners securing reinforcement to the door section. Those connections can use different hardware, and their requirements depend on the identified door, opener and bracket.
Use the exact assembly drawing and specified fastener or pin, retaining hardware and tightening instructions. A thread diameter alone does not identify the correct length, strength, washer arrangement or attachment method. Do not enlarge a hole, substitute a self-tapping screw or tighten a damaged connection until it appears firm. Ask the supplier or technician to identify the approved hardware from the model information.
How do I check a proposed opener reinforcement repair?
Ask for three items together: the door model and size, the manufacturer’s reinforcement arrangement for that door, and the part and fastening details in the proposed repair. Clopay specifically states that its reinforcement configuration varies by door model and size; its instructions do not establish one universal plate or bolt pattern for other doors.
- Small arm bracket: identifies where the opener arm attaches.
- Supporting reinforcement: spreads that attachment load through the arrangement specified for the door.
- Door section: must remain suitable for the repair; reinforcement does not automatically clear torn metal or damaged structure.
If the estimate calls only for “bracket installation,” request this distinction in writing. A top roller fixture, including a specialized low-headroom arrangement, is a separate component from the opener attachment. Have its exact part identified instead of following a generic bracket tutorial. Bottom fixtures and spring- or cable-connected hardware remain professional work.
Can I replace the garage door bottom bracket myself?
Do not loosen or remove it. Its connection to the lifting system makes this a professional repair, not a routine hardware swap.
Does a heavier door simply need a bigger opener bracket?
Do not select by that rule. The appropriate bracket, reinforcement and spring system depend on the actual door and manufacturer instructions.
Can I keep using the door if the bracket is only slightly bent?
Do not assume the amount of visible distortion tells you the remaining strength. Have damaged or displaced hardware assessed before further operation, especially when its role is unclear.