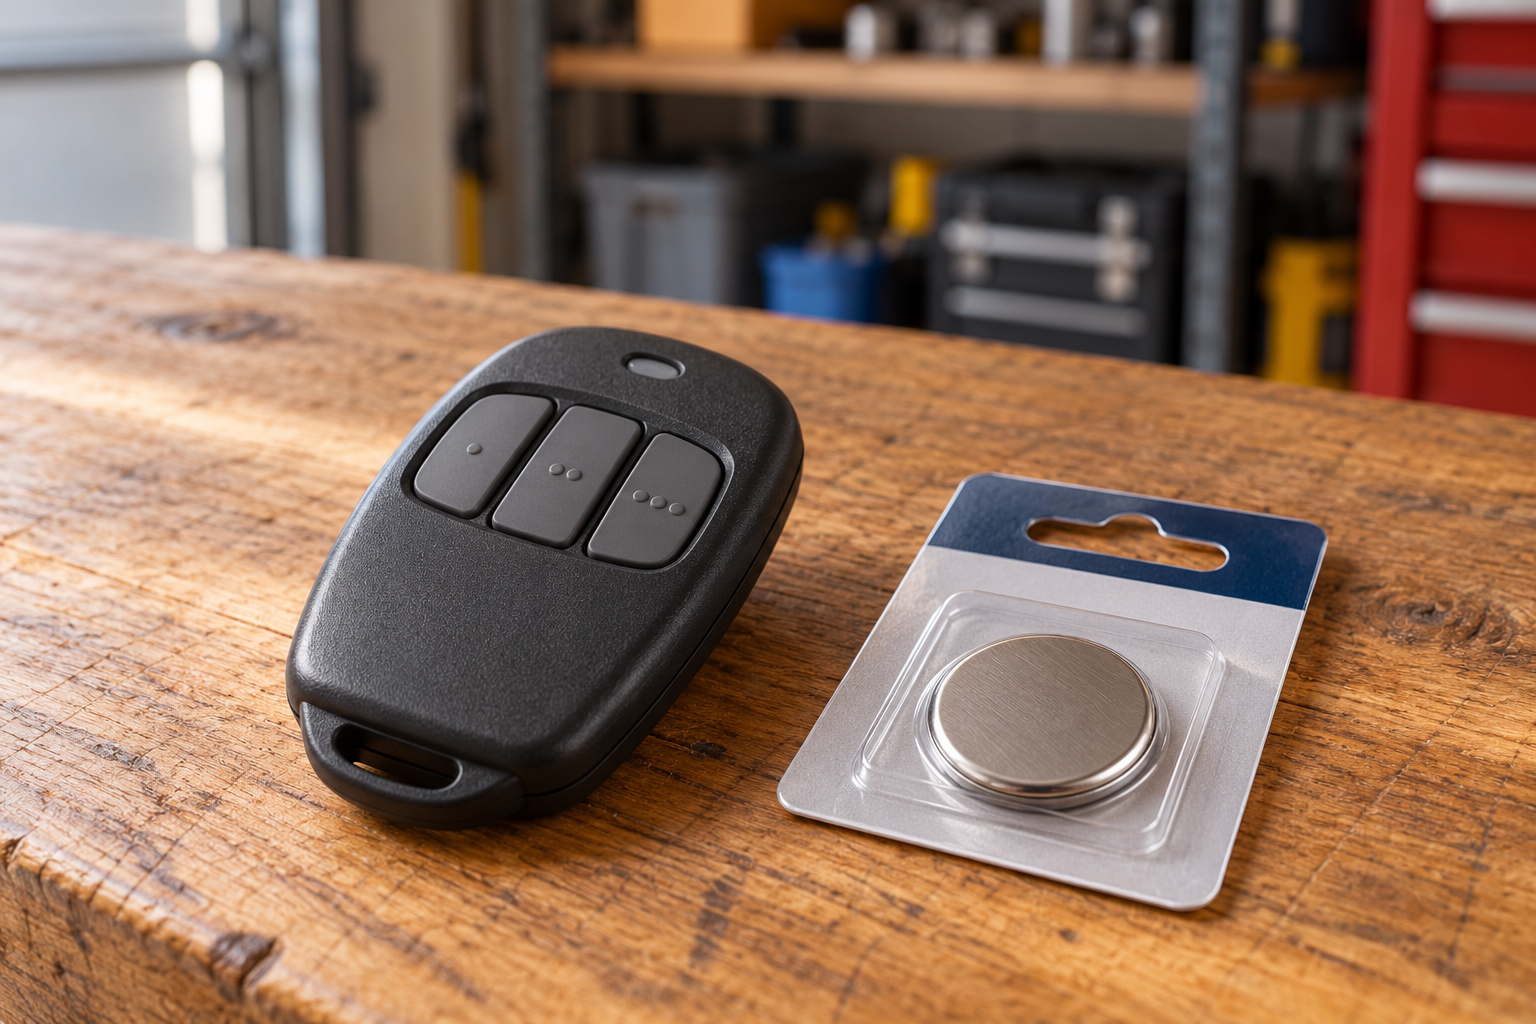
Match the battery to the exact remote. Keep replacement batteries sealed and inaccessible to children.
Match the remote’s exact battery type, polarity and replacement procedure. Keep loose and replacement batteries away from children, and do not assume every remote uses the same cell.
A garage-door remote that stops responding often sends its owner to the battery drawer. That is a reasonable place to start—but only after identifying the remote. “Garage door battery” can mean the coin cell in a handheld transmitter, the battery in an outside keypad, or the much larger backup battery at the opener. Buying the wrong one wastes time, and forcing a nearly matching cell into a holder can damage the remote.
This guide covers garage door opener remote battery replacement: how to identify the correct part, handle the compartment safely, and decide what a failed after-change test actually means. You do not need to open the ceiling-mounted motor housing or adjust the door. You also should not erase all programmed controls merely because one remote needs a battery.
Identify the remote before opening its case
Look for a model label on the back, beneath the visor clip, or in the location identified by the manufacturer. Record the model exactly, including suffixes. The opener’s model is useful for compatibility, but it is not the battery specification for every remote that might have been paired to it. A replacement transmitter purchased years later may use a different case and battery than the one originally supplied.
Keep an authorized way into the property available while the remote is apart. It is easy to set the remote on a workbench, close the garage, and discover that it was your only working means of entry. If other people use the same remote, tell them it is being serviced so they do not mistake a partly assembled device for a ready-to-use control.
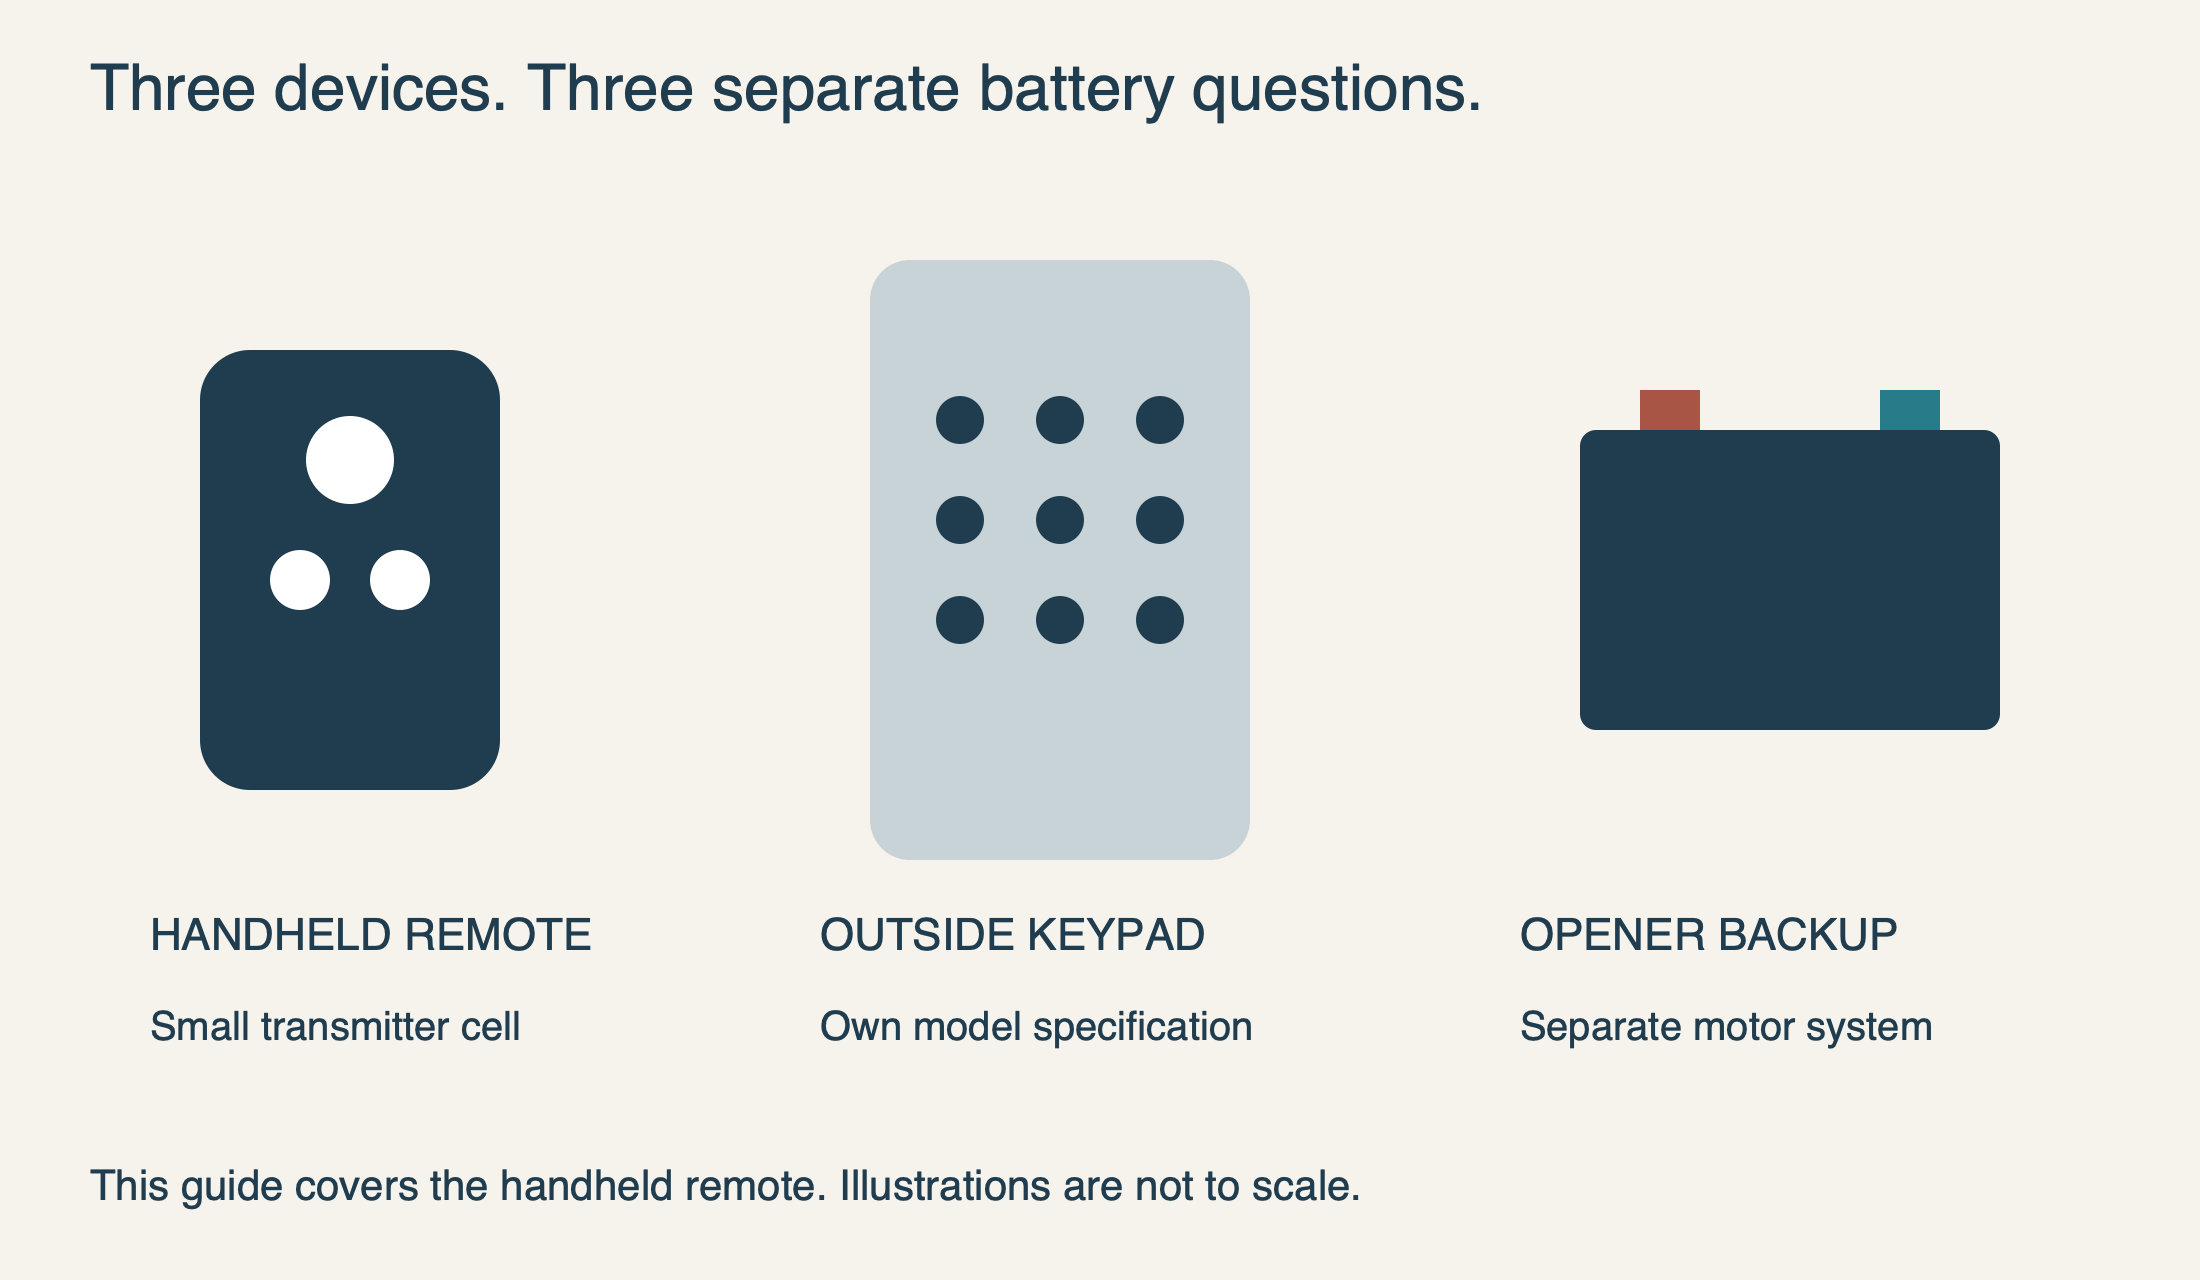 Select the diagram to view it at full size.
A few verified examples show why the model matters
The manufacturer’s battery guide specifies one 3-volt CR2032 coin cell for LiftMaster 891LM, 893LM and 893MAX remotes, with the positive face upward. The same guide specifies a AAA battery for 892LT and 894LT models. Those examples are enough to disprove the idea that every LiftMaster handheld uses the same battery.
Genie’s G3T support page identifies one CR2032 cell for the listed G3T family. This is useful only when your remote matches that family; a Genie logo alone is not a battery specification. Match the full printed designation, voltage and quantity in the actual device instructions rather than choosing a cell because its diameter looks close.
Make the work area safe before the battery comes out
Coin-cell warning: new and used button or coin batteries must remain inaccessible to children. Swallowing one can cause severe injury; if ingestion is suspected, seek medical attention immediately. Do not wait for symptoms. The CPSC safety guidance also warns about damaged or unsecured battery compartments. A remote that cannot securely contain its cell should be taken out of use, not held together casually and returned to a child-accessible location.
Work on a stable, uncluttered surface away from children and pets, and keep track of the removed cell as carefully as the new one. A small tray helps prevent a coin cell or screw rolling off the table. Open the new package only when you are ready to fit the battery. Do not place either cell in your mouth or leave it mixed with coins, medicines or other small household objects.
The CPSC recommends covering a removed coin cell’s terminals with nonconductive tape and taking it to a battery-collection center. Secure it away from children while awaiting disposal. “Dead” in the remote does not mean harmless if swallowed. Finish the battery task completely rather than leaving an open case and loose cell on a garage shelf.
Open the correct seam and follow the marked polarity
Case designs differ. Some use screws, some a sliding cover, and some a manufacturer-designated opening point. For the named 891LM/893LM and 893MAX examples, Chamberlain’s instructions use the visor clip to separate the case at the middle and then the sides. That is not a direction to pry anywhere on every remote. If your housing has a retaining screw, release it as instructed instead of forcing a seam against it.
Before removing the cell, look at the holder markings and how the parts fit together. Use the exact model instructions to install the replacement with the correct polarity. For the LiftMaster coin-cell examples above, the guide calls for the positive side up. If your remote shows a different arrangement, stop and identify it rather than copying the illustration in this article.
Inspect without modifying: a loose contact, heavy corrosion, broken latch or displaced button is evidence of a device problem. A new battery should fit the intended holder without a makeshift spacer. Align the case carefully and secure every required closure. Confirm that no edge remains lifted and that the buttons move normally; a cover pressing continuously on a button can create a new problem while appearing to solve the old one.
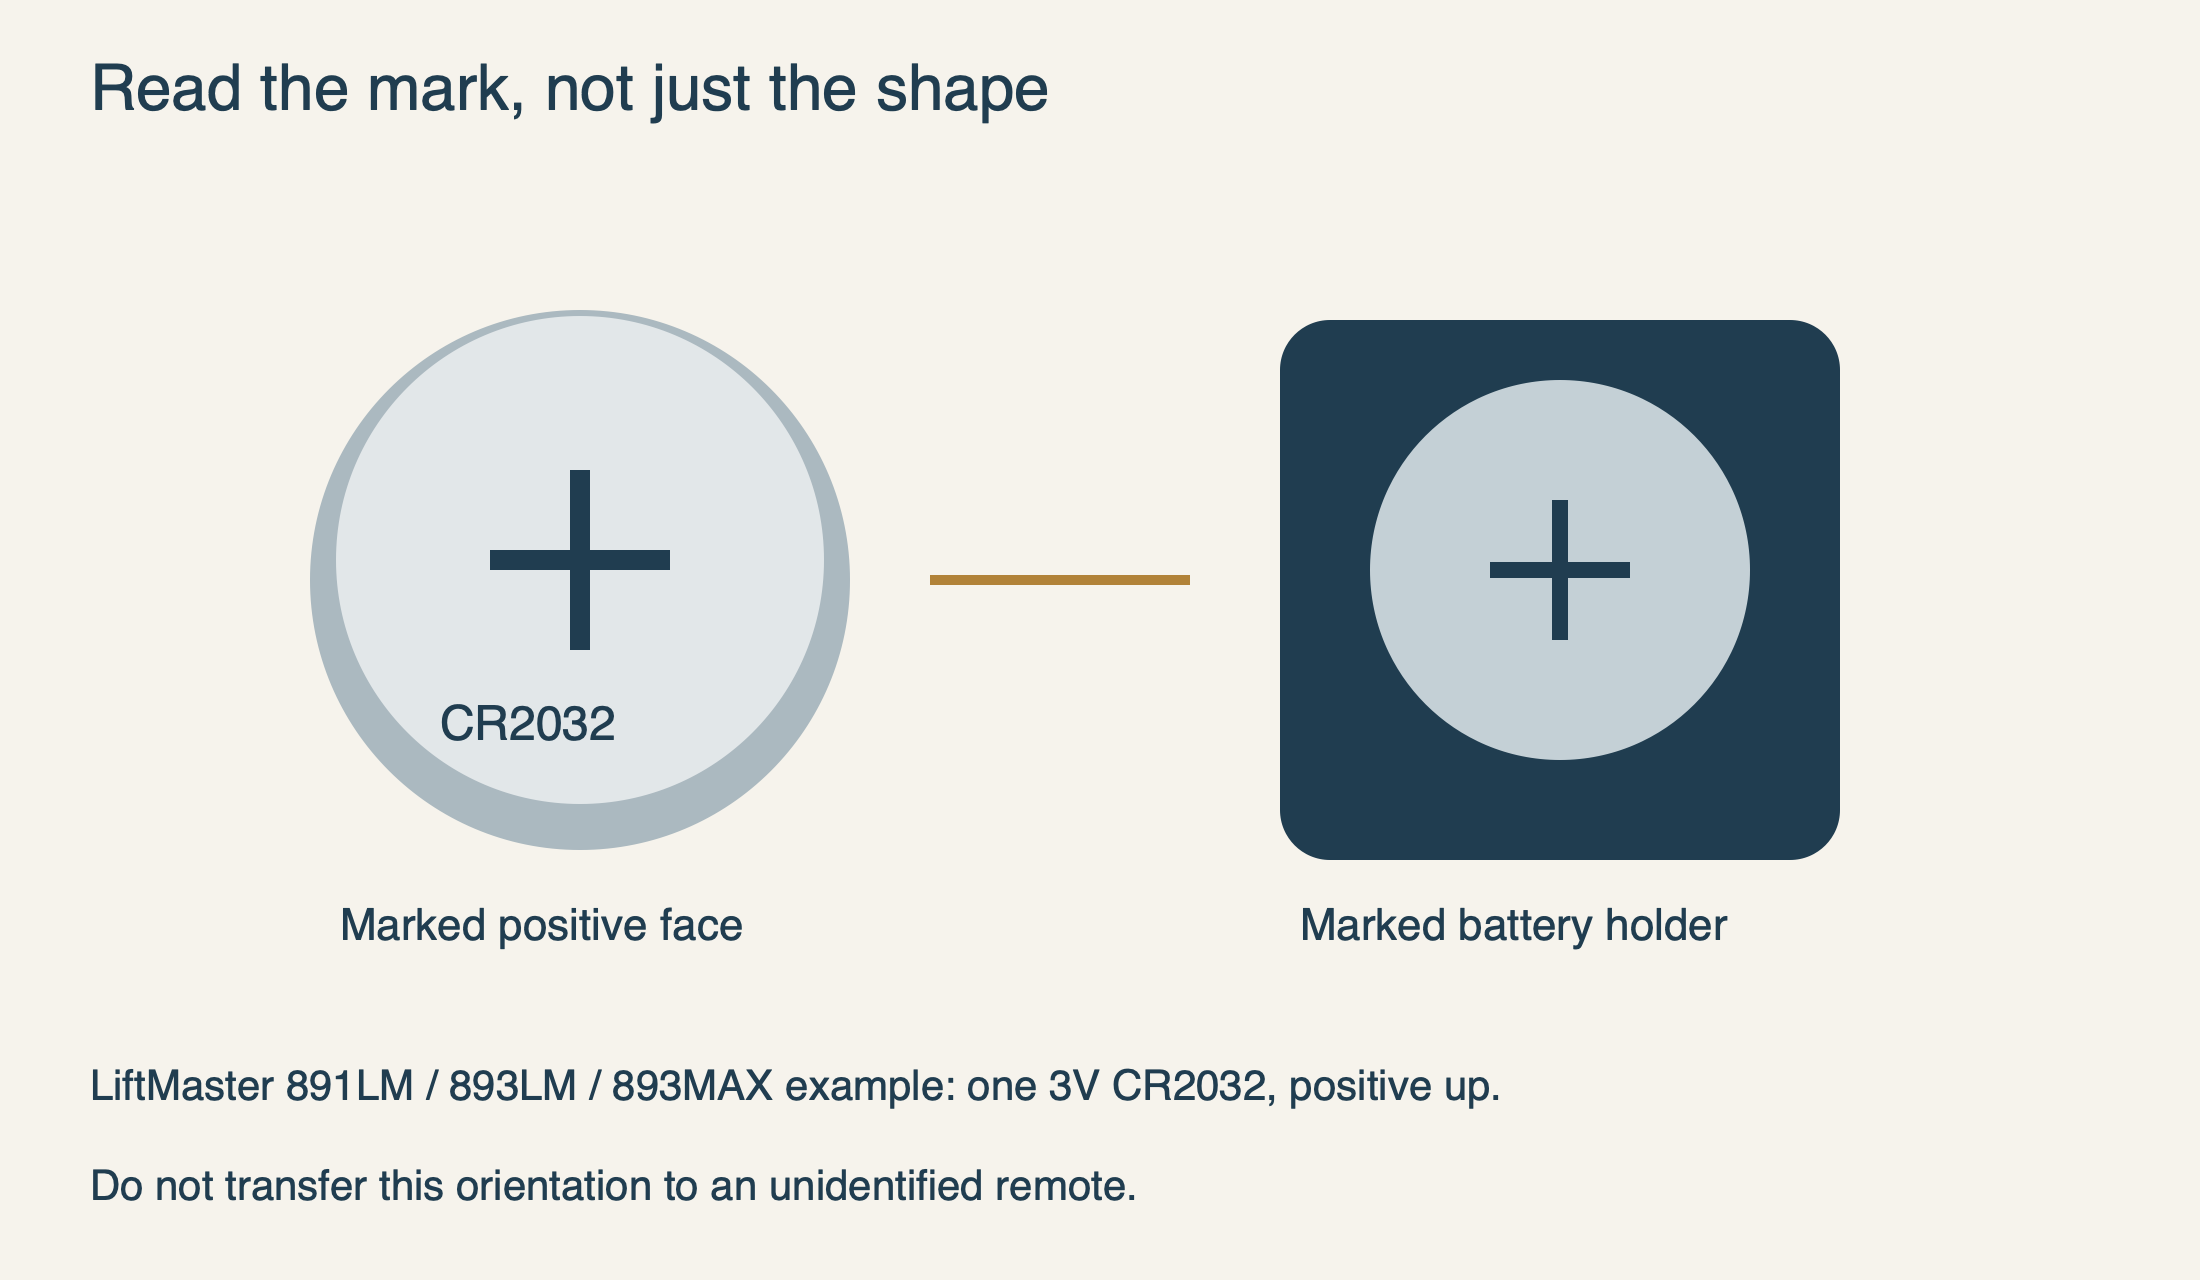 Select the diagram to view it at full size.
Test the remote before considering reprogramming
With the case fully closed, stand where you can see the entire doorway and remain outside the moving door’s path. Keep people and objects clear. Try the button that previously operated that door and observe the response. Avoid pressing multiple buttons repeatedly: it becomes difficult to tell which command the opener received, particularly on a remote serving more than one door.
A battery change is not automatically a reason to clear receiver memory. Genie explicitly states that the listed G3T-family device retains programming during battery replacement. Other devices should be assessed using their own instructions, but the general troubleshooting principle is the same: first establish whether the properly assembled remote works. A factory reset is a different operation with different consequences.
If it still fails, recheck the simple details you just changed: exact battery designation, polarity and secure seating. Do not rely solely on a tiny indicator illuminating; record whether the door actually responds. Compare with another already-programmed remote from the same safe location if one is available. A successful comparison narrows attention to the first remote; it does not prove that buying a new opener is necessary.
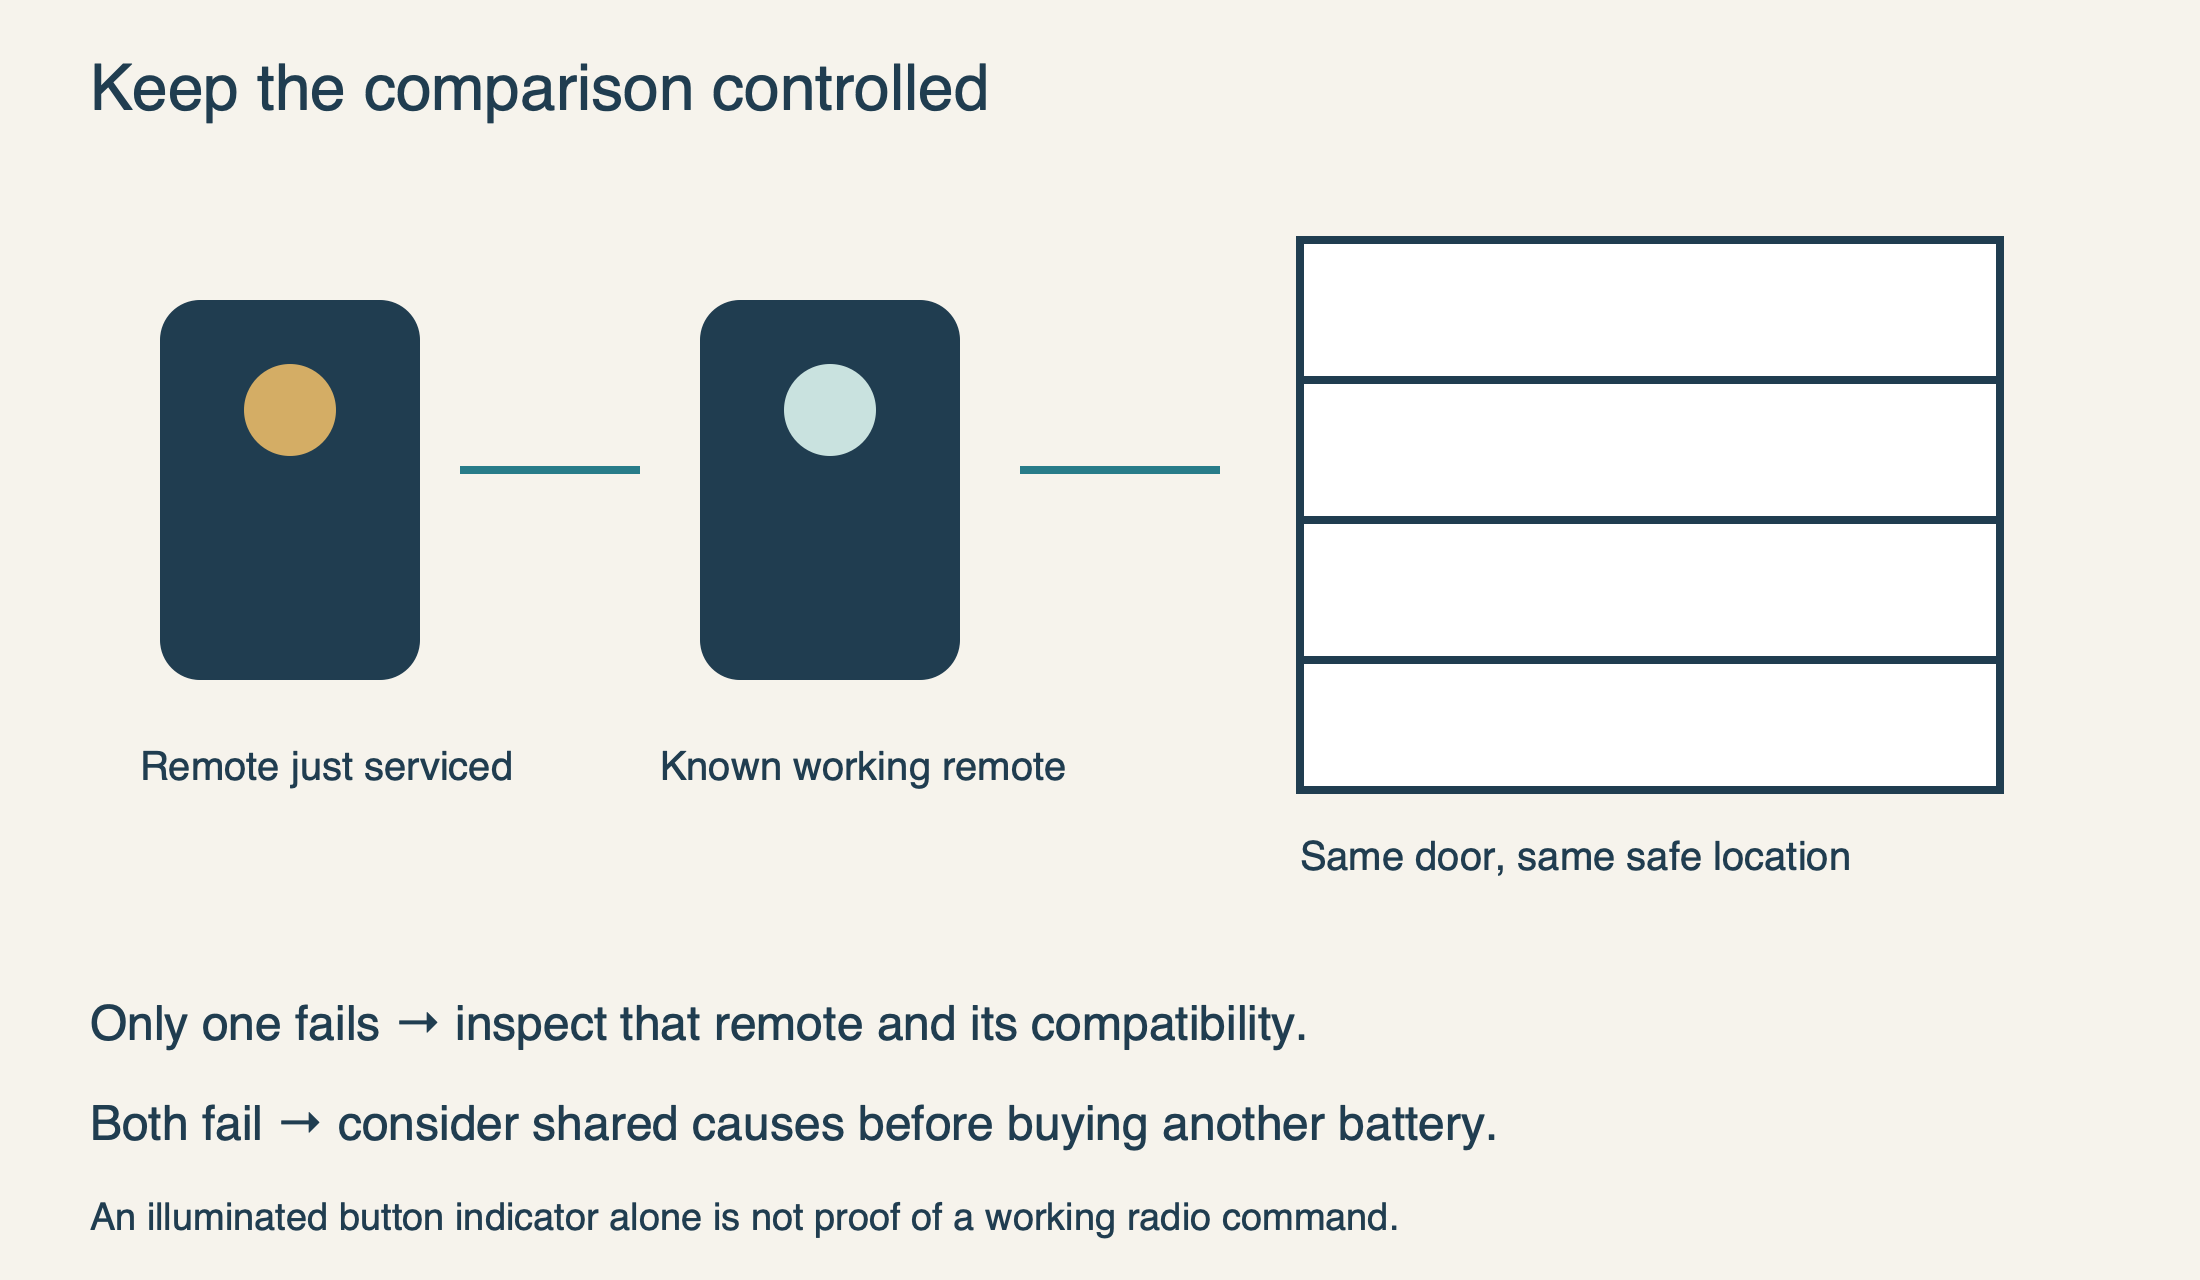 Select the diagram to view it at full size.
What failure after replacement tells you—and what it does not
If no handheld remote works but the wall control does, a shared cause deserves attention before another battery purchase. Chamberlain’s remote troubleshooting guide separates lock mode, compatibility, radio interference and erased programming from a depleted battery. If the remote works only nearby, that is a range symptom rather than complete failure. Note the distinction for the next diagnostic step.
A remote that has never worked presents a different question from one that stopped yesterday. The new device may not match the receiver or may never have been paired. Our LiftMaster programming guide covers that separate task. Do not use a prolonged Learn-button press as a generic “battery reset”: on relevant openers it erases stored controls and leaves you with more work.
If the door does not operate normally from any control, or it is crooked, jammed or visibly damaged, stop testing the remote as though it were the only fault. The useful service information is concise: remote model, battery fitted, whether it worked previously, what the wall control does, and whether another remote works. Our opener repair service can assess a persistent receiver or opener problem. A successful battery replacement ends with a secure case, a verified normal response and safe disposal—not with unnecessary adjustments to the door.
Sources & manuals
Model-specific details are identified above.