Skip to content
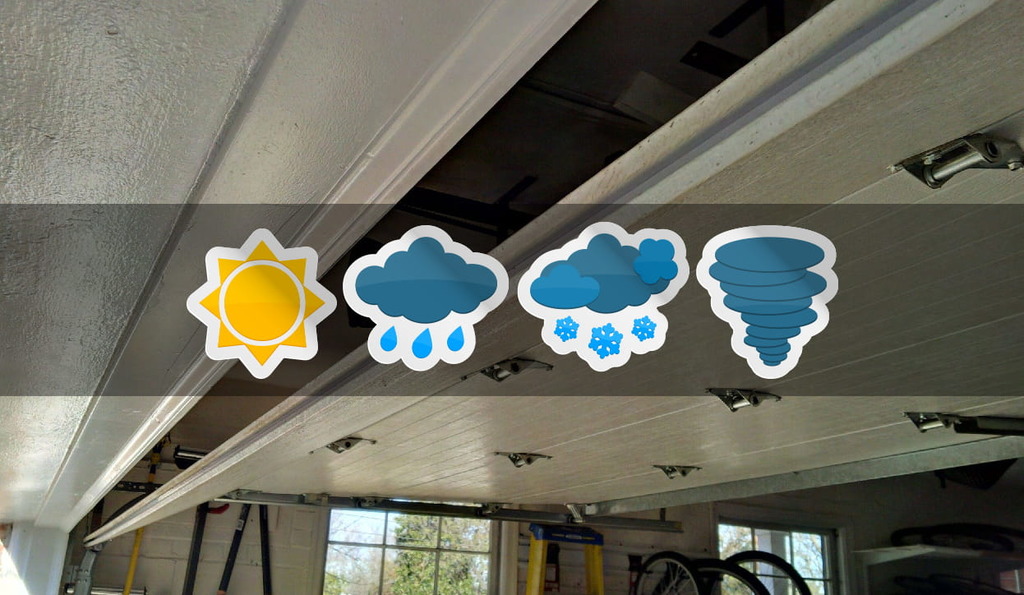
Table of Contents
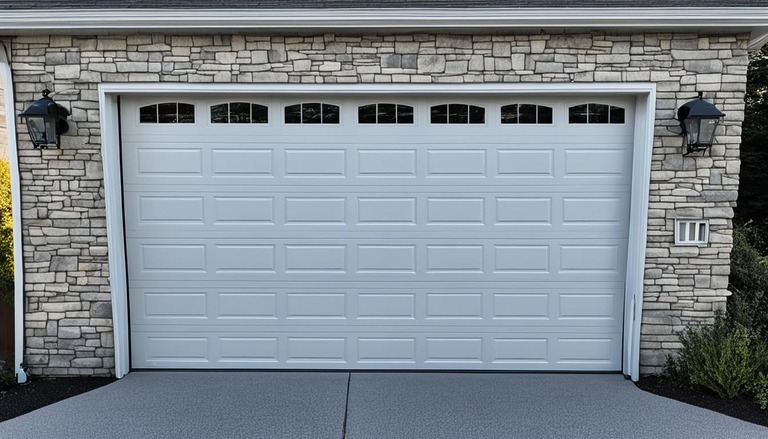
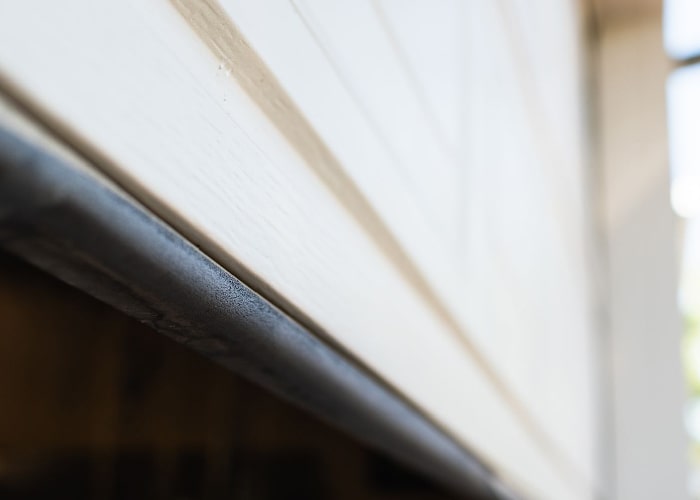
The weather stripping on your garage door acts as a barrier against drafts, moisture, and debris. It plays a crucial role in maintaining a comfortable and protected environment inside your garage while preventing heat loss or gain. Over time, weather stripping can become worn, cracked, or damaged, compromising its effectiveness. A damaged weather seal not only allows outside elements to enter your garage but also affects the energy efficiency of your home.
In this step-by-step guide, we will provide you with clear instructions on how to replace the weather stripping on your garage door. You’ll learn how to assess the condition of your current weather stripping, remove the old material, choose the right replacement, measure and cut the new weather stripping, and install it properly. Additionally, we’ll share maintenance and inspection tips to ensure the longevity and effectiveness of your new weather seal.
Note: Don’t forget to consult your garage door manufacturer’s guidelines and safety precautions specific to your garage door model during the installation process.
Step 1: Understanding the Importance of Weather Stripping
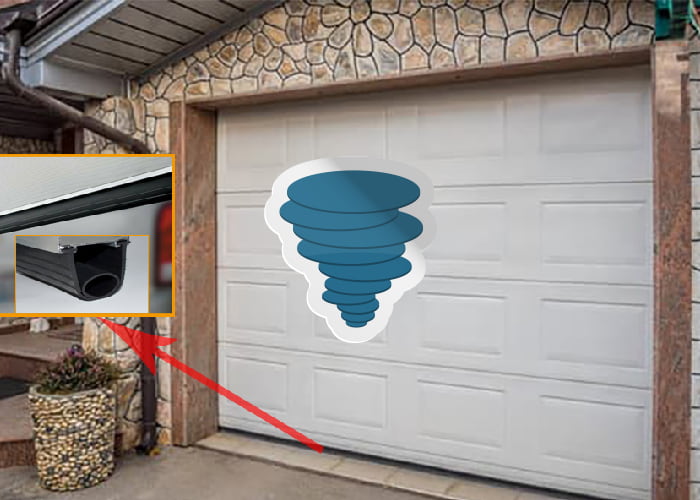
Weather stripping serves as a crucial barrier against outdoor elements such as rain, wind, dust, and pests. It helps maintain temperature control within your garage and prevents air drafts, moisture, and debris from entering. By replacing worn-out weather stripping, you can restore the seal and protect your garage and its contents from the effects of weather and climate.
Step 2: Tools and Materials You'll Need

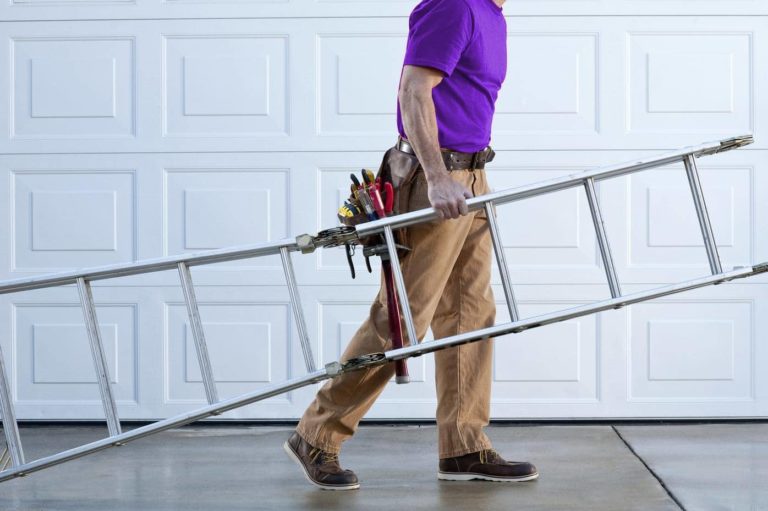
Before starting the replacement process, gather the necessary tools and materials, including a utility knife, pliers, measuring tape, new weather stripping, adhesive or nails, and a ladder. Having these items on hand will ensure a smooth and efficient replacement process.
Step 3: Assessing the Current Weather Stripping
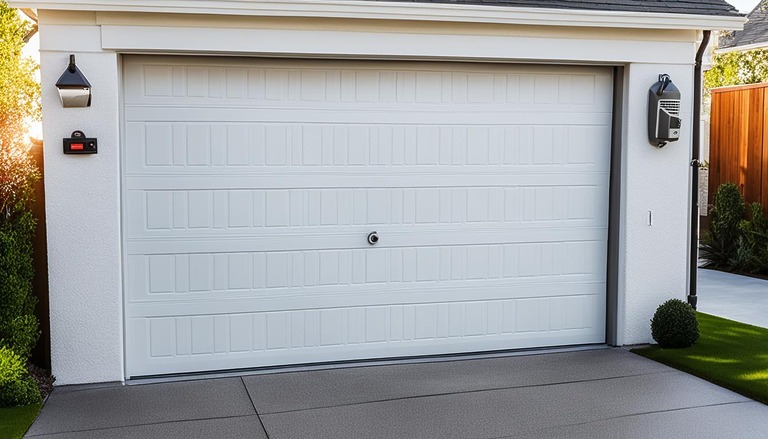
Carefully examine the existing weather stripping on your garage door. Look for signs of wear, such as cracks, tears, or gaps. Check if the weather stripping is still providing a tight seal when the garage door is closed. By assessing the condition of the current weather stripping, you can determine if a replacement is necessary.
Step 4: Removing the Old Weather Stripping
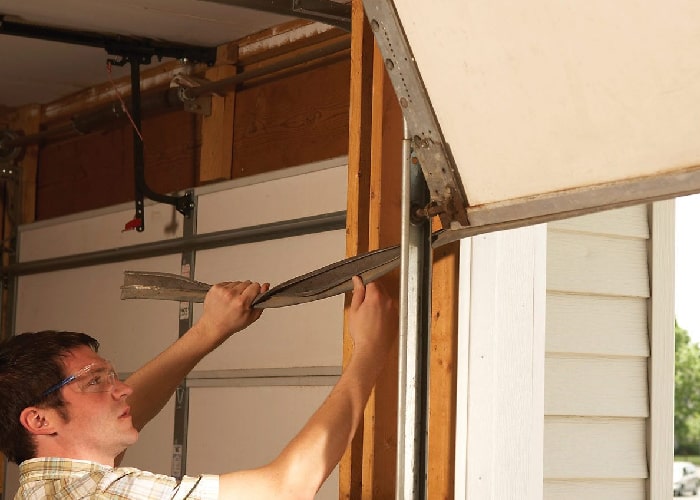
Using a utility knife or pliers, gently remove the old weather stripping from the garage door frame. Take care not to damage the door or surrounding surfaces during the removal process. Thoroughly clean the surface to ensure proper adhesion of the new weather stripping.
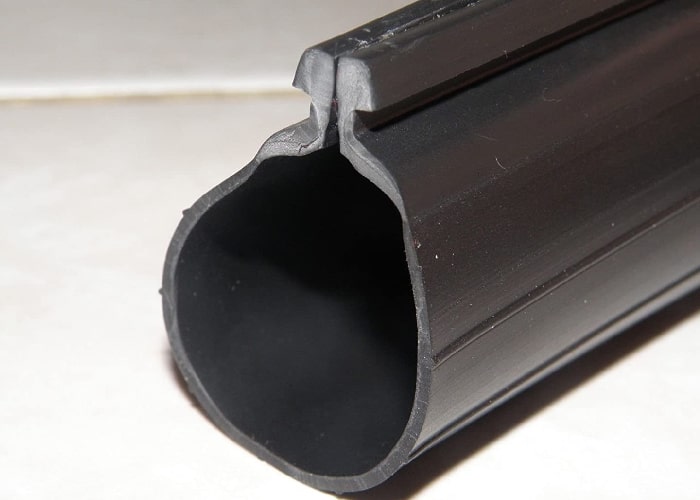
Step 5: Choosing the Right Replacement Weather Stripping
Select weather stripping that is suitable for your specific garage door and climate conditions. Consider factors such as material, durability, and resistance to weather elements. Choose a type of weather stripping that is compatible with your garage door and provides an effective seal.
Step 6: Measuring and Cutting the New Weather Stripping
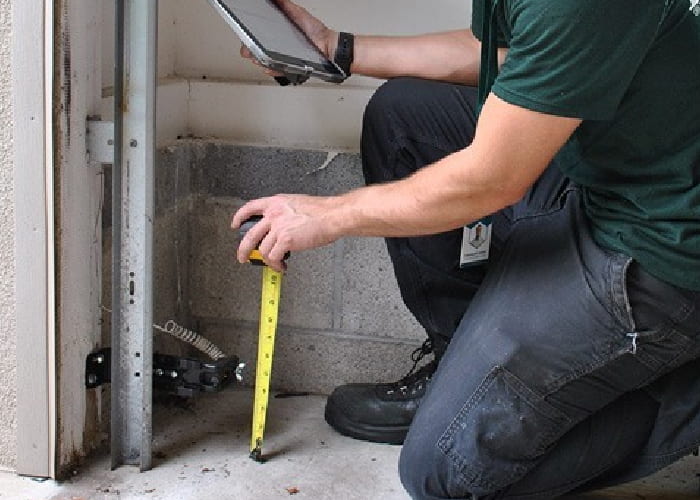
Accurately measure the dimensions of the garage door frame and cut the new weather stripping accordingly. Use a measuring tape and a sharp utility knife to ensure clean and precise cuts. It’s important to have the correct measurements to ensure a proper fit and optimal sealing.
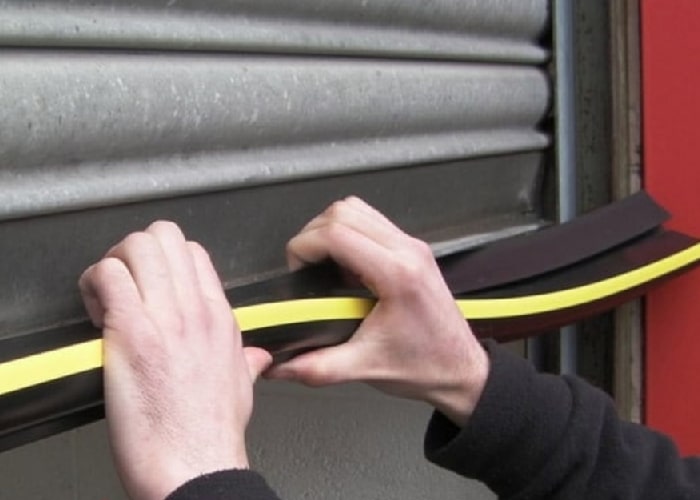
Step 7: Installing the New Weather Stripping
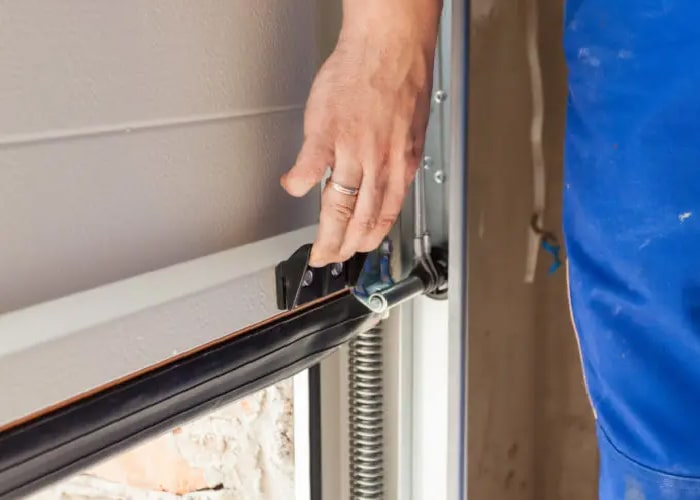
Attach the new weather stripping to the garage door frame using adhesive or nails, following the manufacturer’s instructions. Make sure the weather stripping is securely fastened and forms a tight seal when the garage door is closed. Pay attention to corners and joints, ensuring proper alignment and a continuous seal along the entire perimeter of the door.
Step 8: Testing and Adjusting the Seal
After installing the new weather stripping, test the seal by closing the garage door and checking for any gaps or air leaks. Make any necessary adjustments to ensure a proper seal. Open and close the door several times to ensure smooth operation and that the weather stripping remains in place.
Step 9: Maintenance and Inspection Tips
Regularly inspect the weather stripping for signs of wear and damage. Clean it periodically to remove dirt and debris that could affect its performance. Consider applying a silicone-based lubricant to keep the weather stripping flexible and prolong its lifespan. Also don’t forget lubricate your garage door.
Step 10: Benefits of Properly Installed Weather Stripping
Replacing weather stripping on your garage door offers numerous benefits, including improved insulation, energy efficiency, and protection against weather elements. It can also help reduce noise, enhance security, and prevent pests from entering your garage.
Conclusion
By following this step-by-step guide , you can successfully do Garage Door Weather Stripping Replacement, improving its sealing capabilities and protecting your garage from the effects of weather and climate. Regularly inspect and maintain the weather stripping to ensure its optimal performance and longevity. With a properly installed weather seal, you’ll enjoy increased energy efficiency, reduced drafts, and a more comfortable and protected garage space.
So don’t let worn-out weather stripping compromise the integrity of your garage. Take action today and invest in a garage door weather stripping replacement to enhance insulation, reduce energy