Skip to content
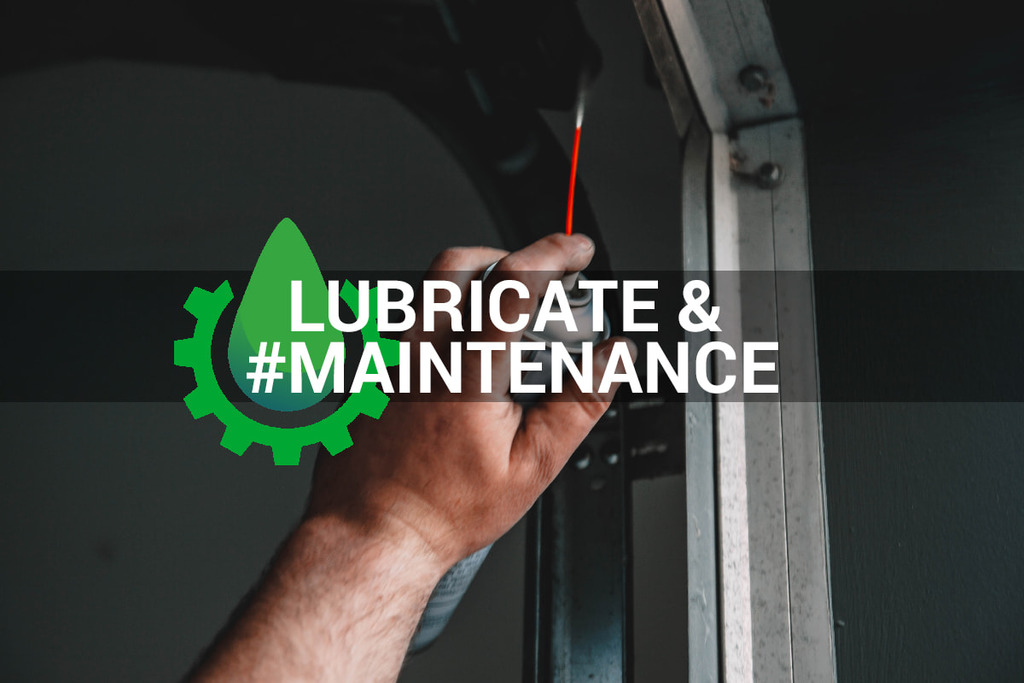
Table of Contents
Proper maintenance is critical to ensuring your garage door’s smooth and efficient operation. One crucial aspect of maintenance is regular lubrication. Lubricating your garage door reduces friction and wear and extends the lifespan of the door and its components. This comprehensive guide will walk you through the step-by-step process of lubricating your garage door. By following these simple steps and using the proper lubricant, you can keep your garage door operating flawlessly for years. So, let’s dive into the essential maintenance tips for lubricating your garage door.
Step 1: Gather the Necessary Tools and Supplies

To begin lubricating your garage door, gathering all the tools and supplies you’ll need is essential. Following these steps and being prepared will ensure smooth and efficient lubrication. Here’s a list of the required items:
- High-Quality Lubricant: Choose a top-notch garage door lubricant specifically formulated for this purpose. Look for silicone-based or lithium-based lubricants, as they offer superior lubrication and protection against rust and corrosion.
- Clean Cloth or Rag: Keep a clean and lint-free cloth or rag handy to remove excess lubricant and any accumulated dirt or debris.
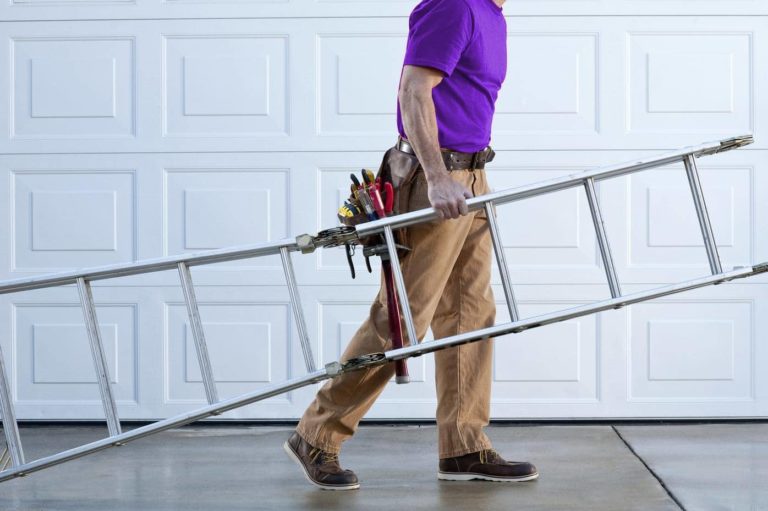
- Step Stool or Ladder: Depending on the height of your garage door, you may need a step stool or ladder to access all the moving parts safely.
- Safety Glasses and Gloves: Prioritize your safety by wearing protective glasses to shield your eyes and gloves to keep your hands clean and safe during lubrication.
By ensuring you have all the necessary tools and supplies before you start, you’ll be well-prepared to lubricate your garage door effectively, leading to optimal performance and longevity.
Step 2: Inspect the Garage Door
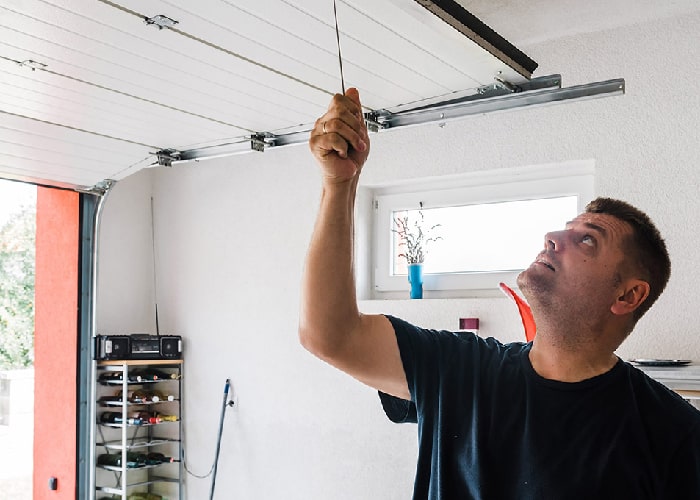
Before applying lubricant to your garage door, it’s essential to conduct a thorough inspection to identify any signs of wear, damage, or potential issues. This step allows you to address any underlying problems before proceeding with lubrication. Follow these guidelines for a comprehensive inspection:
- Check the Tracks: Examine the tracks for obstructions, debris, or accumulated dirt. Ensure that the tracks are correctly aligned and securely fastened to the wall.
- Inspect the Rollers: Assess the condition of the rollers, looking for signs of wear or damage. If the rollers appear worn out, it may be necessary to replace them to ensure smooth and efficient operation.
- Examine the Hinges: Inspect the hinges to ensure they are securely attached and free from rust or excessive friction. Lubricate the hinges as necessary to reduce friction and enhance their movement.
- Check the Springs: Pay attention to the garage door springs and assess their condition. Look for signs of corrosion, tension imbalance, or any visible damage. If you notice any issues with the springs, it’s recommended to seek professional assistance for repair or replacement.
- Test the Balance: Test the balance of your garage door by disconnecting the automatic opener (if applicable) and manually opening and closing the door. The door should move smoothly and stay in place when opened halfway. If it doesn’t, it may require adjustments or repairs.
You can identify any areas needing attention or maintenance by thoroughly inspecting your garage door. Addressing these issues before lubrication ensures that your garage door operates optimally and reduces the risk of further damage or malfunctions.
Step 3: Clean the Garage Door
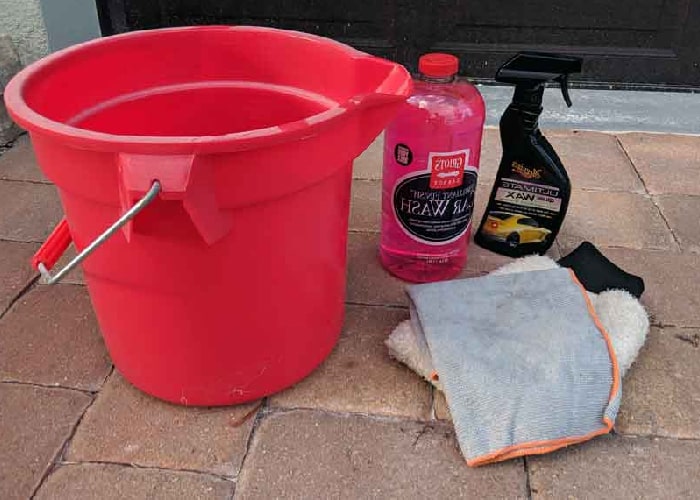
Before applying lubricant to your garage door, cleaning the door surface is essential to remove dirt, dust, and debris. In addition, cleaning the door helps maintain its appearance and ensures that the lubricant adheres properly and provides optimal performance. Follow these guidelines to clean your garage door effectively:
- Gather Cleaning Supplies: Prepare a bucket of warm water, mild detergent, garage door cleaner, and a soft sponge or cloth.
- Remove Loose Debris: Use a soft brush or broom to remove any loose debris, cobwebs, or leaves from the garage door. Pay special attention to the corners, crevices, and tracks.
- Prepare the Cleaning Solution: Add a small amount of mild detergent or garage door cleaner to the bucket of warm water. Mix the solution well to create a soapy mixture.
- Scrub the Door Surface: Dip the sponge or cloth into the cleaning solution and gently scrub the entire surface of the garage door. Work in sections, starting from the top and moving down. Pay extra attention to any stubborn stains or dirt buildup.
- Rinse with Clean Water: Once you have scrubbed the entire door, rinse the soapy residue using a clean sponge or cloth soaked in clean water. Make sure to remove all traces of detergent from the door surface.
- Dry the Door: Wipe the door surface with a clean cloth to remove excess water and promote faster drying. Allow the door to air dry completely before proceeding to the next step.
Cleaning your garage door thoroughly ensures that the lubricant will adhere properly and provide the desired benefits. A clean surface also helps prevent the buildup of dirt and debris, enhancing your garage door’s overall longevity and performance.
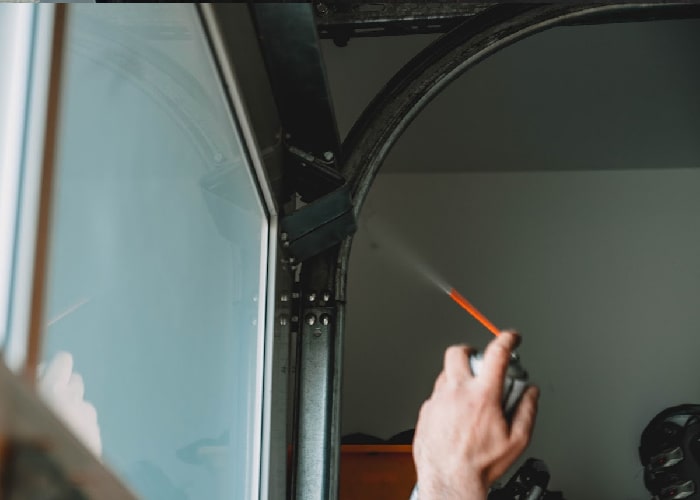
Step 4: Apply Lubricant to Moving Parts
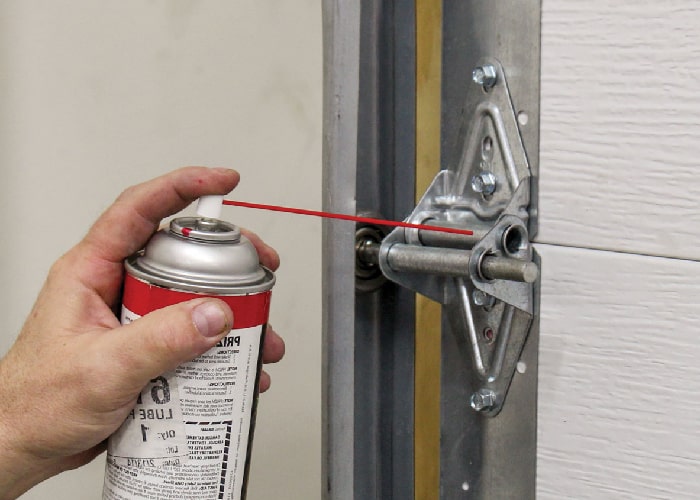
Now that you have prepared and cleaned the garage door, it’s time to apply lubricant to the moving parts. Proper lubrication helps reduce friction, prevents wear and tear, and ensures smooth and quiet operation. Follow these steps to apply lubricant to the critical components of your garage door:
- Select the Right Lubricant: Choose a high-quality garage door lubricant specifically designed for moving parts. Avoid using WD-40 or other general-purpose oils, as they can attract dust and dirt.
- Focus on Hinges and Rollers: Start applying lubricant to the hinges and rollers. Next, use a small amount of lubricant and apply it directly to the pivot points and roller axles. Move the door up and down a few times to allow the lubricant to distribute evenly.
- Lubricate Springs and Bearings: Apply lubricant to the garage door springs and bearings. Apply a light coat of lubricant to the springs, ensuring that all coils are covered. For directions, use a spray lubricant or apply a few drops of lubricant directly to the bearings.
- Address the Track and Chain: Apply lubricant to the track, focusing on the areas where the rollers come into contact with the track. Use a silicone-based lubricant or a garage door track lubricant for best results. If your garage door has a chain drive opener, apply a small amount of lubricant to the chain.
- Wipe off Excess Lubricant: Wipe off any excess lubricant with a clean cloth after applying lubricant to the moving parts. Excess lubricant can attract dirt and debris, so removing any buildup is important.
By properly lubricating the moving parts of your garage door, you ensure smooth and efficient operation while prolonging the lifespan of the components. So regular lubrication is recommended every six months or as needed to maintain optimal performance.
Step 5: Test the Garage Door
Once you have completed the lubrication process, it’s important to test the functionality of your garage door to ensure that it’s operating smoothly. Follow these steps to test the door and make any necessary adjustments:
- Close the Door: Start by closing the garage door entirely. Observe the door as it closes to ensure that it moves smoothly along the tracks without any jerking or sticking.
- Open the Door: Next, open the garage door completely. Pay attention to any unusual noises or resistance during the opening process. The door should open effortlessly and without any hesitation.
- Check Balance: While the door is open, check its balance by disconnecting the automatic opener. You can do this by pulling the emergency release cord. Once the opener is disconnected, manually lift the door halfway up. The door should stay in place and not slide down or spring up. If the door is unbalanced, it may require professional adjustment.
- Test Safety Features: Garage doors have safety features like photo-eye sensors and auto-reverse mechanisms. Test these features by placing an object in the door’s path while closing it. The door should reverse immediately upon contact with the object. If the safety features are not functioning properly, contact a professional for inspection and repair.
- Listen for Unusual Sounds: As you open and close the door, listen for any unusual sounds, such as grinding, scraping, or squeaking. These sounds may indicate a need for further lubrication or potential issues with the door’s components.
By testing your garage door after lubrication, you can ensure that it operates smoothly and efficiently. So if you encounter any issues during the testing process or notice any unusual behavior, it’s recommended to consult a professional garage door technician for further assessment and repairs.
Step 6: Regular Maintenance Schedule
To keep your garage door operating at its best, it’s important to establish a regular maintenance schedule. By following these guidelines, you can prolong the lifespan of your garage door and prevent potential issues:
- Frequency: Determine how often you should perform maintenance tasks based on your specific needs and usage. As a general guideline, conducting a thorough maintenance check at least once every six months is recommended.
- Visual Inspection: Regularly inspect the garage door for any signs of wear, damage, or misalignment. Look for cracks, dents, loose hardware, or frayed cables. If you notice any issues, address them promptly to prevent further damage.
- Lubrication: As mentioned in the previous steps, lubricate the moving parts of your garage door regularly. Apply a silicone-based lubricant to hinges, rollers, springs, and tracks. Avoid over-lubricating, as an excess lubricant can attract dirt and debris.
- Tighten Hardware: Check and tighten all the bolts, screws, and fasteners that hold your garage door components together. Over time, these may become loose due to vibrations and daily use.
- Balance Adjustment: Test the balance of your garage door periodically. Disconnect the automatic opener and manually open the door halfway. If the door does not stay in place or is difficult to lift, it may require rebalancing by a professional.
- Weatherstripping Replacement: Inspect the weatherstripping along the bottom of the door and around the frame. If worn, cracked, or damaged, replace it to maintain proper insulation and keep out pests, debris, and inclement weather.
- Track Cleaning: Clean the tracks regularly to remove dirt, dust, and debris affecting the door’s smooth operation. Use a soft cloth or brush to remove any buildup and clear tracks.
By incorporating these maintenance tasks into your regular schedule, you can keep your garage door in optimal condition and address any issues before they become more significant problems. So consult your manufacturer’s guidelines and seek professional assistance for complex maintenance or repairs.
Now you know How to Lubricate a Garage Door
Lubricating your garage door is a simple yet crucial maintenance task that can significantly impact its performance and lifespan. By following the step-by-step guide “How to Lubricate a Garage Door”, you can ensure smooth and efficient operation, reduce wear and tear, and prevent costly repairs down the line. Regular lubrication, along with proper cleaning and inspections, will keep your garage door in excellent condition and extend its lifespan.
Remember to use a high-quality lubricant specifically designed for garage doors, and avoid over-lubrication that can attract debris. Take the time to inspect and clean your garage door before applying the lubricant to identify any potential issues that may require professional attention.
By incorporating lubrication into your regular garage door tune-up routine, you can enjoy a quieter, smoother, and more reliable operation while prolonging the lifespan of your garage door.
So don’t neglect this essential maintenance task. Take the time to lubricate your garage door today and reap the benefits of a well-maintained and efficient door for years to come.
Remember, a well-lubricated garage door is a happy garage door!