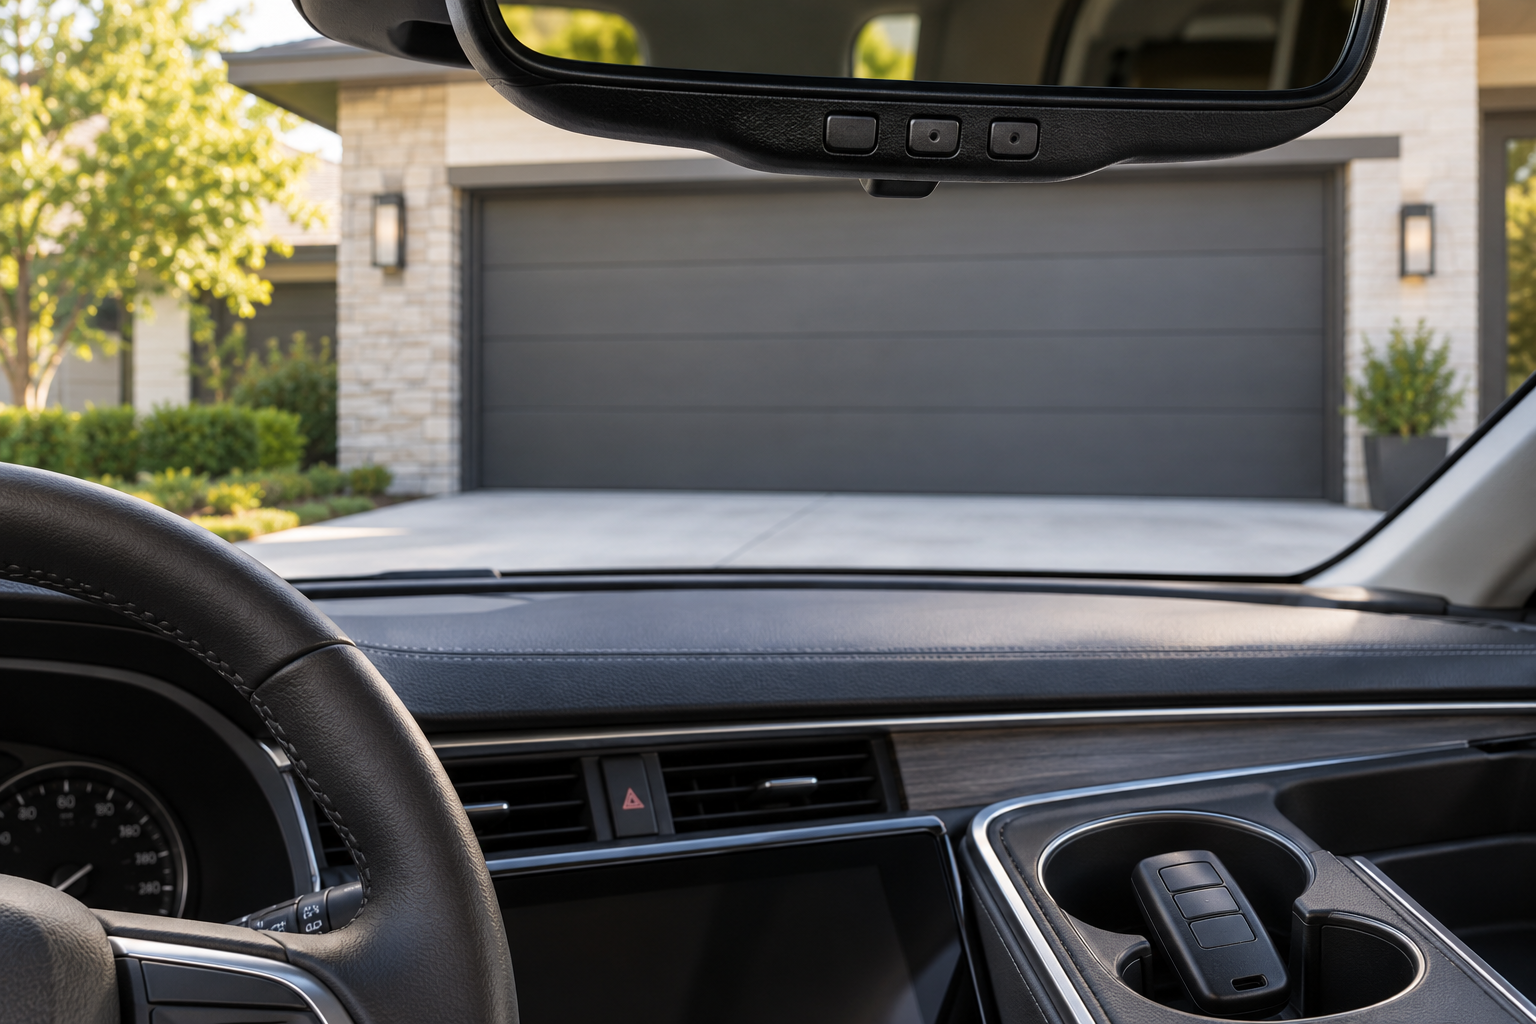
Vehicle controls and the garage-door receiver need a supported pairing.
Check the vehicle, HomeLink generation and LiftMaster opener before pairing. Training the vehicle and enrolling it with the opener are separate stages, and some combinations need a specified compatibility bridge.
Match your vehicle and LiftMaster generation before pairing HomeLink. Separate training from enrollment, check bridge eligibility and preserve working controls.
The car learned something—but did the opener accept it?
The HomeLink light changes, you press the button again, and the garage door stays still. That does not tell you that the car, the opener or a compatibility bridge is defective. It tells you that one visible part of the process happened. The useful next question is which stage was completed and which instructions actually apply to this combination.
If you are looking up how to program homelink to liftmaster, resist starting with a memorized sequence of button holds. HomeLink is a vehicle-integrated control system; LiftMaster has several opener generations. A procedure that succeeds with one vehicle and an older rolling-code opener may be the wrong procedure for a newer Security+ 3.0 unit.
This guide helps you identify the correct path, recognize where an attempt stops and avoid erasing working controls unnecessarily. It covers an authorized residential door, not community-gate enrollment or a substitute for a missing safety system. Keep a working original remote: it is useful evidence during diagnosis and may be required for programming.
Build a compatibility record before pressing anything
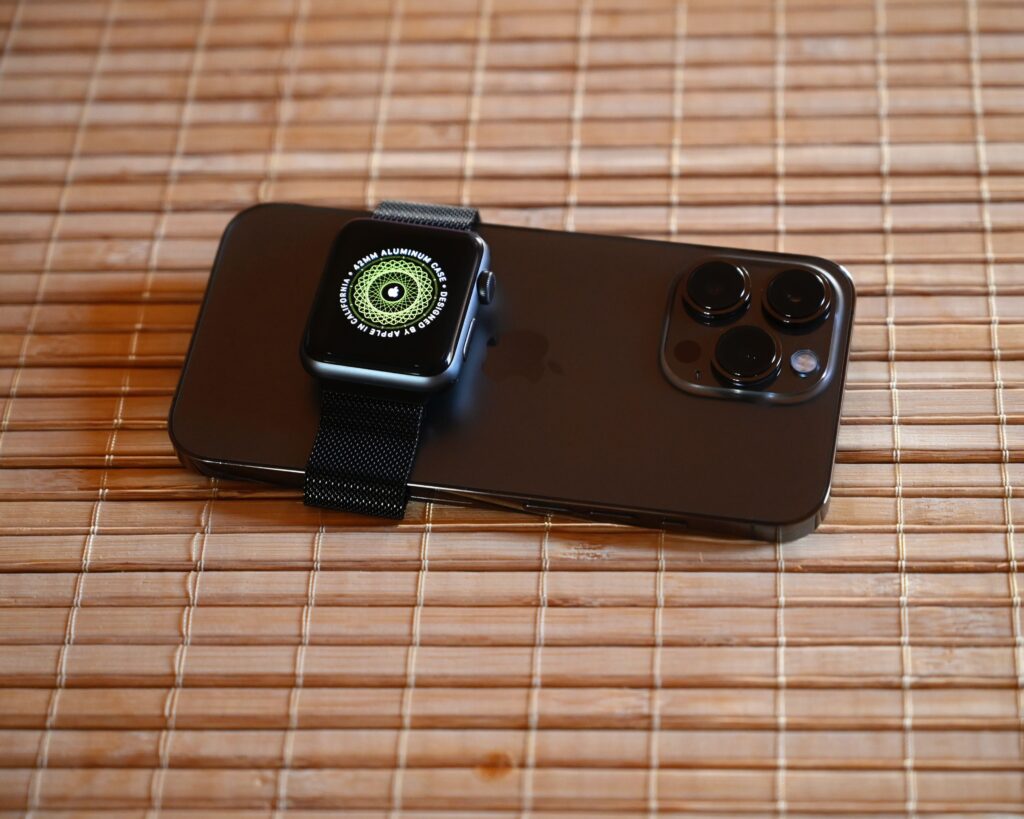
Write down the vehicle make, model and model year, then identify whether its HomeLink is factory equipment or an aftermarket mirror or accessory. Note whether the controls are physical buttons or an on-screen interface. HomeLink’s official programming page offers a vehicle search because integration and instructions vary among vehicles.[1]
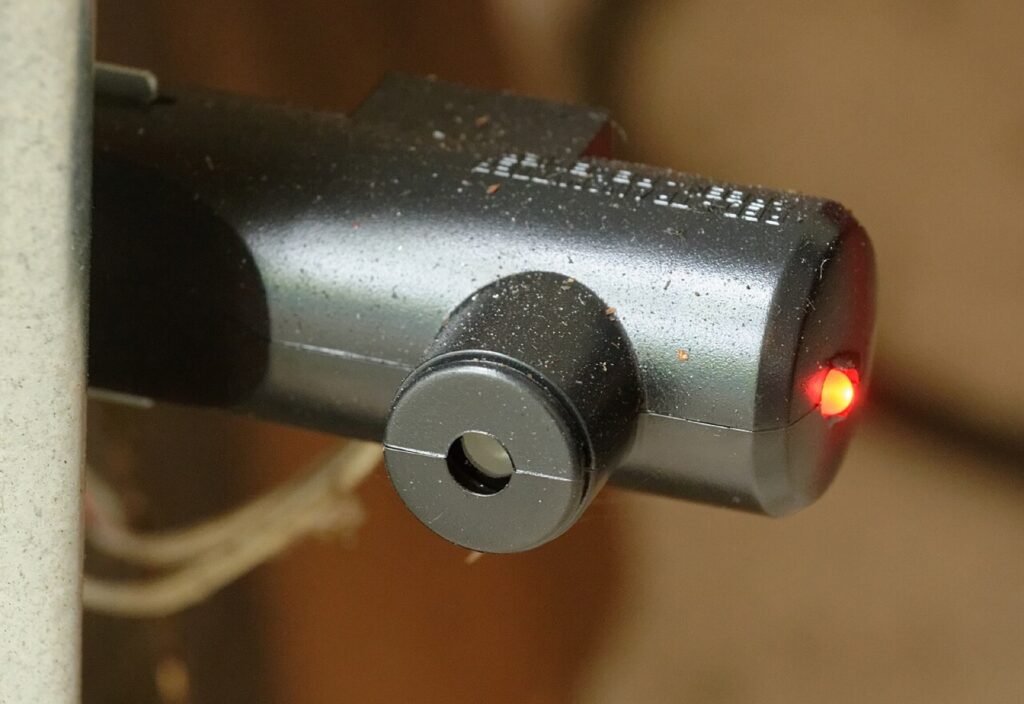
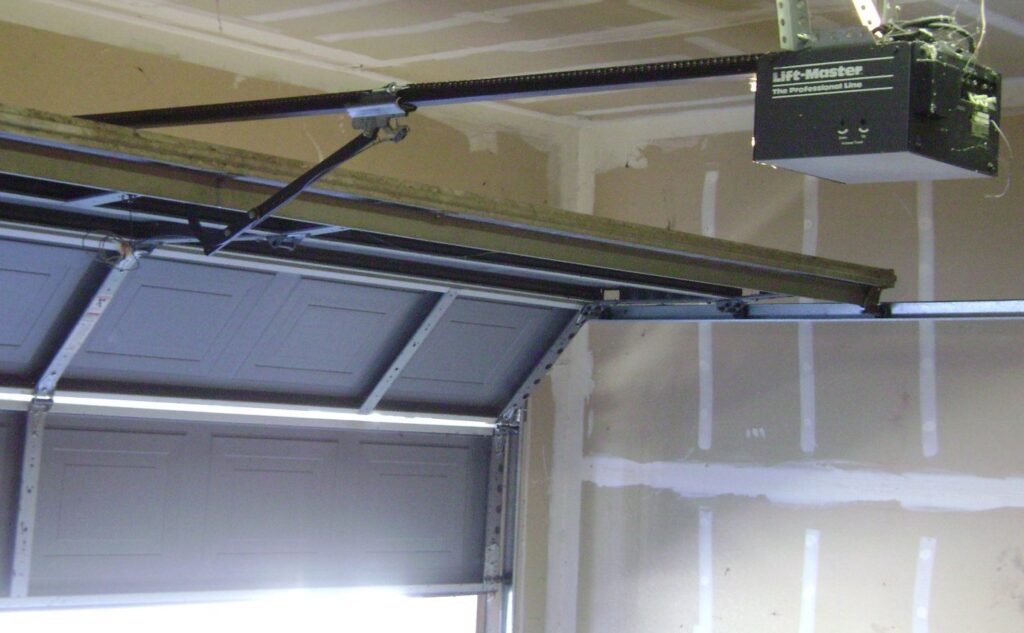
For the opener, record the exact model and the visible Learn-button or antenna color only where you can identify it safely. Do not climb on the vehicle or remove electrical covers to obtain a photograph. A label photo from an accessible position is more reliable than remembering that the opener is “a fairly new LiftMaster.”
Add the handheld remote model and confirm which button normally controls this door. If the remote no longer operates the door, resolve that separate problem first rather than treating it as a known-good training source. Our LiftMaster programming guide addresses the handheld-control branch.
Now answer the practical question, does homelink work with liftmaster, as a compatibility check rather than a brand-level promise. Match the vehicle guidance to the opener generation. An accessory labeled for a different generation should not be assumed to bridge the gap just because its packaging mentions HomeLink.
Choose the generation path—not a universal second step
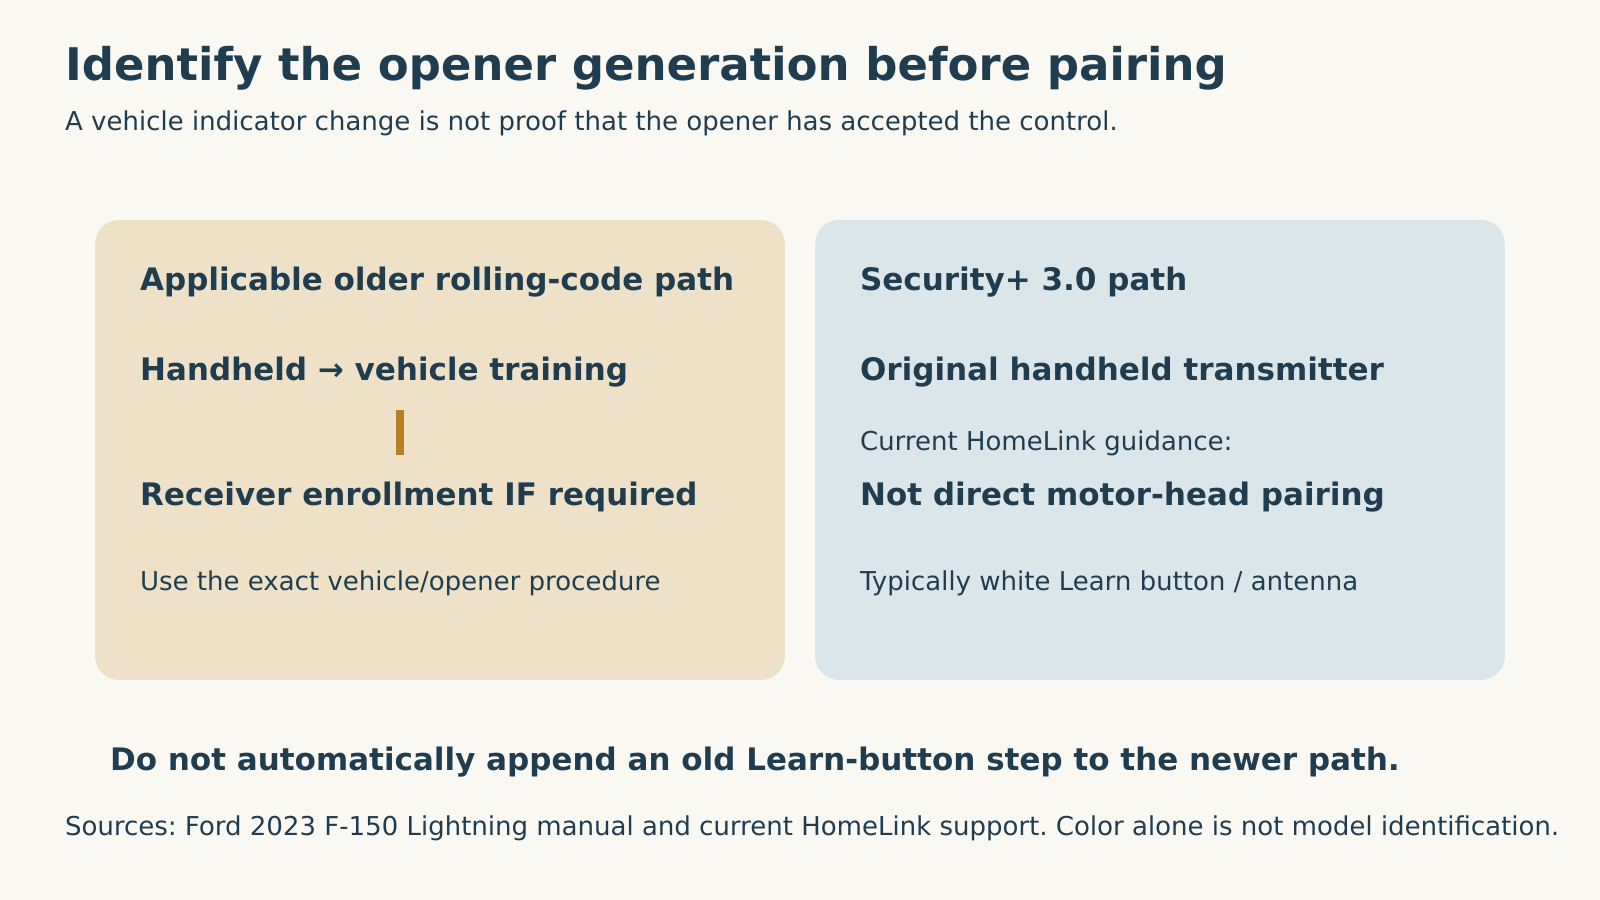
Two ideas explain many older programming sequences: teaching the vehicle a transmitter signal, then completing receiver enrollment if that system requires it. They are separate events. A changed vehicle indicator can confirm learning without proving that the garage receiver will yet act on that control.
For a concrete example, the 2023 Ford F-150 Lightning online manual describes handheld training and a subsequent motor-learning branch when required. Its handheld positioning example is 1–3 inches, and its motor-learning branch gives a 30-second window. The manual specifies ignition on without starting the engine for that vehicle.[2] These are scoped instructions—not universal timing or ignition rules for every car.
Security+ 3.0 needs its own branch. HomeLink’s current support identifies these openers as typically having a white Learn button or antenna and says programming uses the original handheld transmitter, rather than direct motor-head programming.[3] Do not append an old “now press Learn on the motor” step simply because you remember it from another opener.
Current Chamberlain Group guidance also recognizes vehicles whose HomeLink antenna is at the bumper rather than beside the cabin buttons.[4] If your vehicle prompts you to present the remote outside, waving it beside the mirror may be aimed at the wrong location. Use the vehicle’s actual instructions; the appearance of three buttons does not establish where the radio hardware sits.
 Select the diagram to view it at full size.
Prepare for a safe, observable attempt
Park outside the garage with the doorway and door travel clear, as the manufacturer programming guidance specifies.[4] Use the ignition or accessory state required by the vehicle manual. Do not run a combustion engine in an enclosed garage, and do not program while driving or while a person is standing in the opening.
Read the complete applicable sequence before starting. Decide who will observe the vehicle indicator and who, if anyone, must perform a receiver-enrollment step that is actually required for this system. If a control cannot be reached safely, stop and arrange help rather than racing up an improvised support during a short learning window.
Keep the working remote, vehicle instructions and opener details together. Choose the intended HomeLink button and check whether it already operates something important. Replacing one function and clearing every stored function are different decisions. Do not make a whole-system reset the first response to uncertainty.
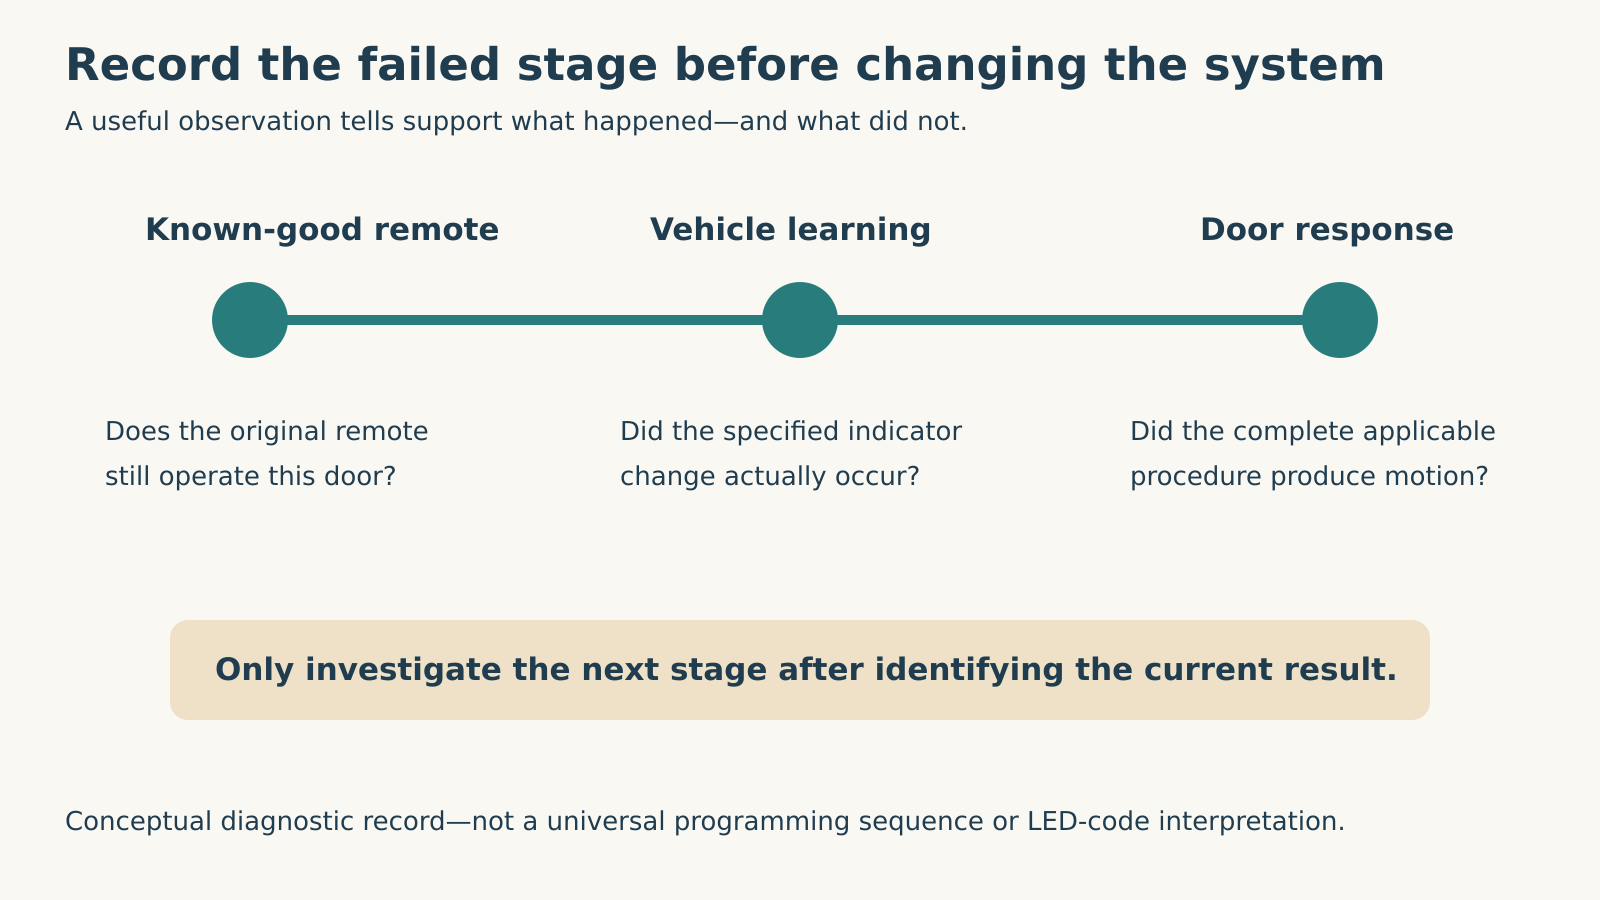
During the attempt, record a short sequence of observations: initial indicator state, change during training, response after the specified test and any actual door movement. “It blinked” is incomplete; “it changed after the handheld transmission, but the door did not move during the next specified test” identifies the stage that needs attention.
If training does not finish, stay on the training branch
When the vehicle does not show the completion indication described in its guide, the first unresolved question is whether it learned the intended transmitter signal. Do not jump ahead to opener erasure or buy a bridge before identifying that failure.
Check the handheld remote’s battery condition using its own instructions and verify its normal operation again. For the Ford example above, the manual calls for a new or unused transmitter battery before training.[2] The fact that a remote sometimes opens the door does not make it a controlled reference for every programming attempt.
Then recheck the actual transmitter location, spacing and vehicle instructions. A cabin-button system and a bumper-antenna system should not be trained by blindly copying the same hand position. Change one permitted variable at a time so the result remains interpretable; repeatedly changing buttons, distances and reset methods together loses useful evidence.
If the indicator behavior differs from the guide, photograph or record it for support without exposing a PIN or other access information. Do not translate another model’s light colors or flashes into a diagnosis for yours. The relevant observation is the mismatch between your unit and its documented sequence.
 Select the diagram to view it at full size.
If learning finishes but the door does not respond
Return to the selected generation path. On a system that explicitly requires receiver enrollment, confirm that the required enrollment was completed within its stated window. On a Security+ 3.0 path, follow the current handheld-based procedure instead of adding unrelated motor-head steps. A successful training indication and successful door operation are not interchangeable evidence.
Avoid holding the opener’s Learn button experimentally. HomeLink support warns that an excessive hold can erase existing transmitter programming.[3] If other remotes stopped working immediately after a programming attempt, tell support exactly what was pressed rather than assuming that every remote battery failed at once.
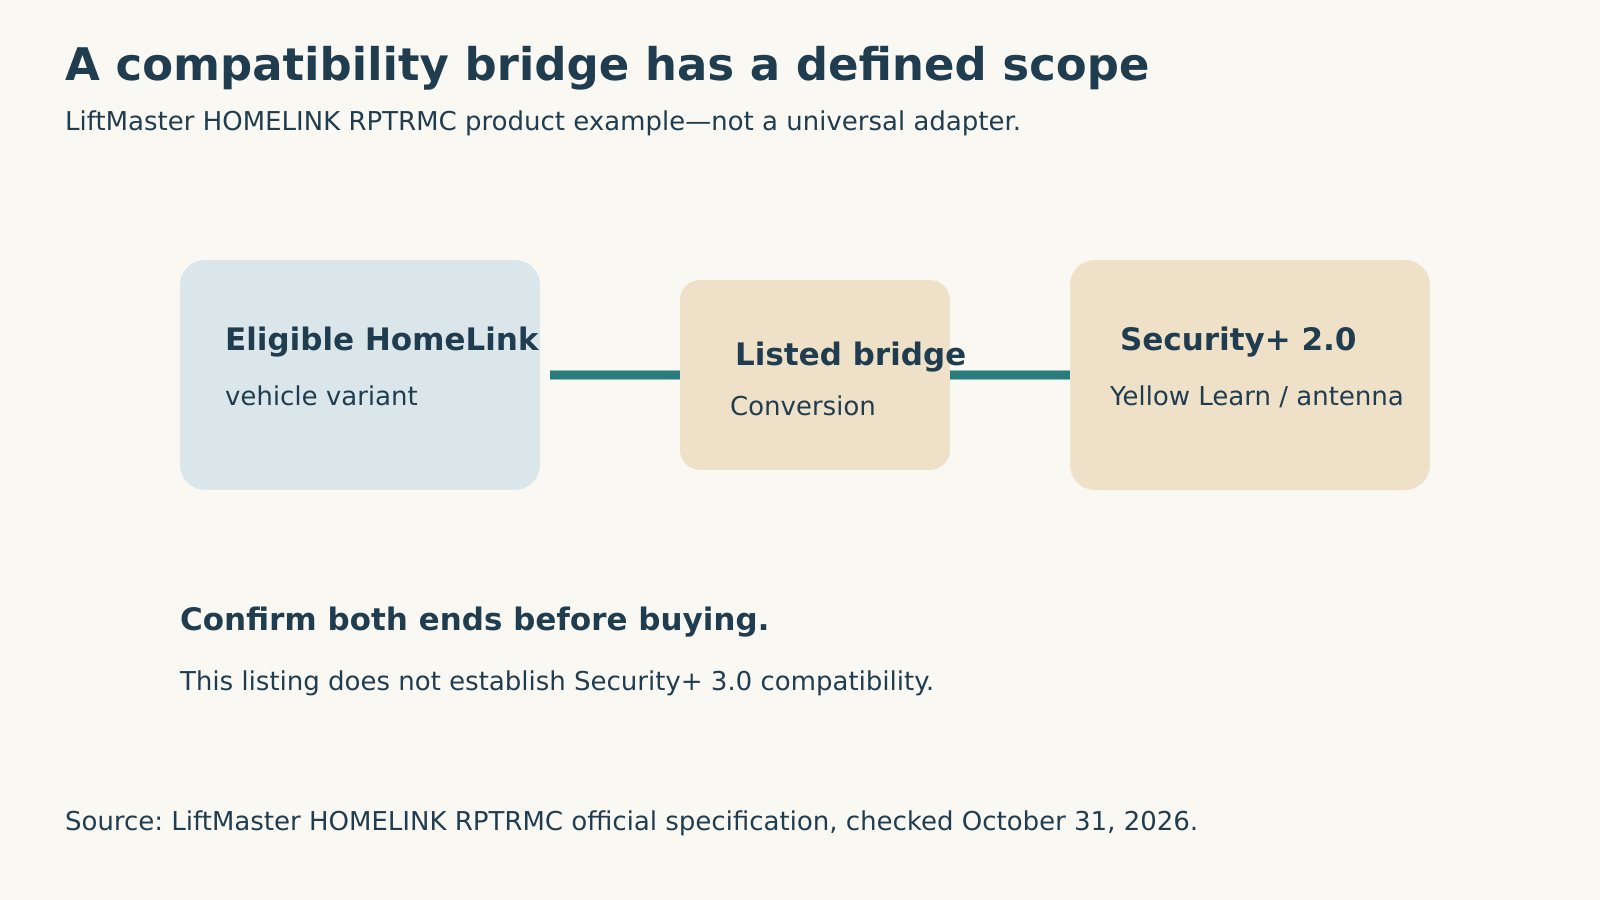
A compatibility bridge is a specific accessory, not a universal repair. LiftMaster’s HOMELINK RPTRMC listing describes conversion to Security+ 2.0 and identifies the applicable yellow Learn-button/yellow-antenna opener family; its kit includes a programming remote.[5] That product listing does not establish compatibility with Security+ 3.0 or every older vehicle.
Before ordering, have HomeLink or the accessory guidance confirm the vehicle variant and opener combination. “An older car needs a bridge” is too broad. Keep bridge selection separate from radio-range diagnosis and from a door that cannot operate safely using any control.
 Select the diagram to view it at full size.
Test the result without turning it into a range challenge
After the applicable procedure is complete, test while parked in a clear position with the whole door visible. Observe normal movement rather than treating a flashing car indicator as the finish line. If the door reverses, stops abnormally or appears crooked, stop the operating test and investigate the door problem; vehicle programming does not justify bypassing sensors or increasing closing force.
If HomeLink operates the door nearby but not from your normal approach, that is a different symptom from never learning the remote. Record whether the original handheld works from the same safe stationary position, and whether the change began after a new bulb, vehicle accessory or opener installation. This comparison helps support narrow the range issue without promising a particular operating distance.
Do not keep testing from farther away, around blind corners or while moving. The objective is reliable authorized operation with a safe view, not the largest distance at which the door can be triggered. Preserve the original remote as a practical fallback while the compatibility or range question is resolved.
Make the handover useful—and protect stored access
If programming still fails, send a concise record: vehicle make/model/year, HomeLink installation type, opener model and generation, remote model, the official procedure used, the stage reached and whether the original remote still works. This is more actionable than a list of internet methods already tried.
For a vehicle sale or lease return, use the vehicle’s documented procedure to remove stored HomeLink access. The Ford manual distinguishes reprogramming a single function from clearing its stored set and recommends erasure when the vehicle leaves your possession.[2] Do not assume that deleting a phone app removes a vehicle’s radio control.
Local Garage Experts can assess the opener side through its garage door opener repair service; HomeLink or the vehicle manufacturer is the appropriate source for vehicle-specific integration questions. Calls are answered daily from 6 a.m. to 11 p.m. at (323) 924-8777, with free estimates, free diagnostics and no service call fee. The next useful step should follow the failed stage—not erase everything that still works.
Sources & manuals
Product-specific examples are labelled and should not be generalized.