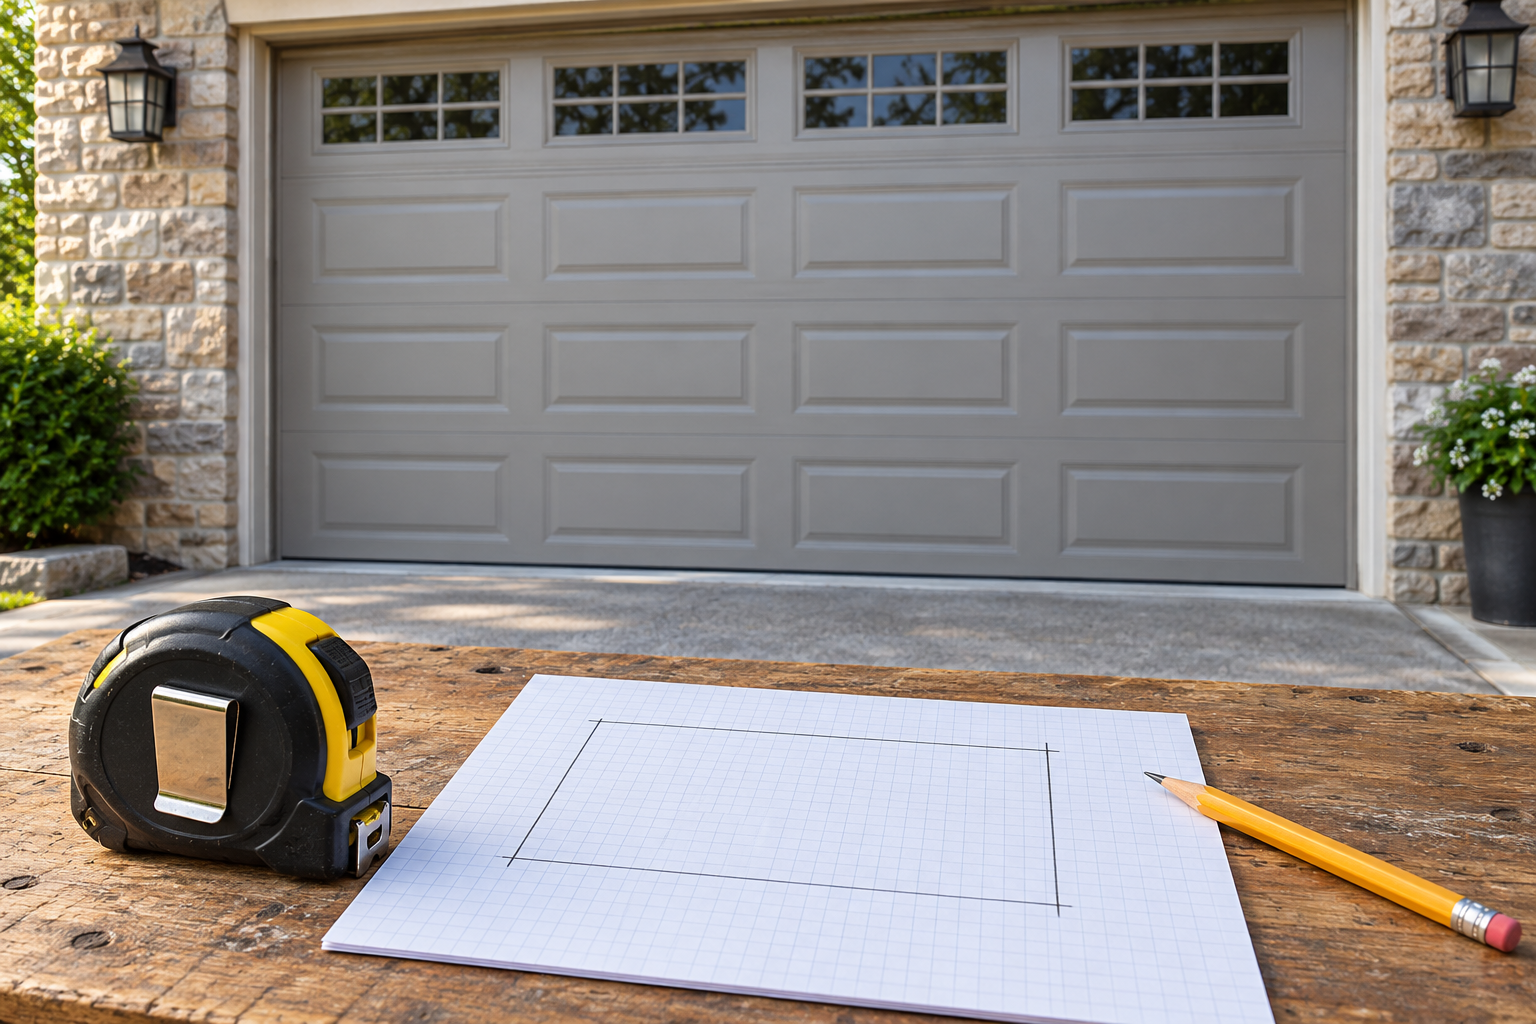
A sketch with labelled reference points is more useful than an unlabeled size.
Measure and label the opening’s reference points for a replacement quote. Keep width, height and surrounding clearances separate, and let the installer confirm the final product dimensions.
For a replacement quote, a useful garage door measurement is a recorded dimension with clear endpoints—not a guess that the opening is “probably a standard double.” Start with the width and height of the opening, then document the surrounding space and any uncertainty. The installer should confirm the final ordering dimensions before a door is manufactured or purchased.
You do not need to dismantle the door or obtain every difficult measurement yourself. A safe preliminary record, photographs and the existing model information can move the quote forward. This guide focuses on that record, not on installation or changing the opening.
Start with the information already available
Write down whether you are replacing the door in the existing opening or planning a building alteration. A same-opening replacement and an enlarged opening are different projects. If the jambs, header, floor or finished surfaces will change, today’s measurements may be useful only as a record of the existing condition.
Also identify the door type. A sectional overhead door, a coiling curtain and a one-piece door do not use identical hardware layouts. A photograph usually communicates this faster than a guessed technical name. Tell the estimator what is currently installed and what you want to replace it with.
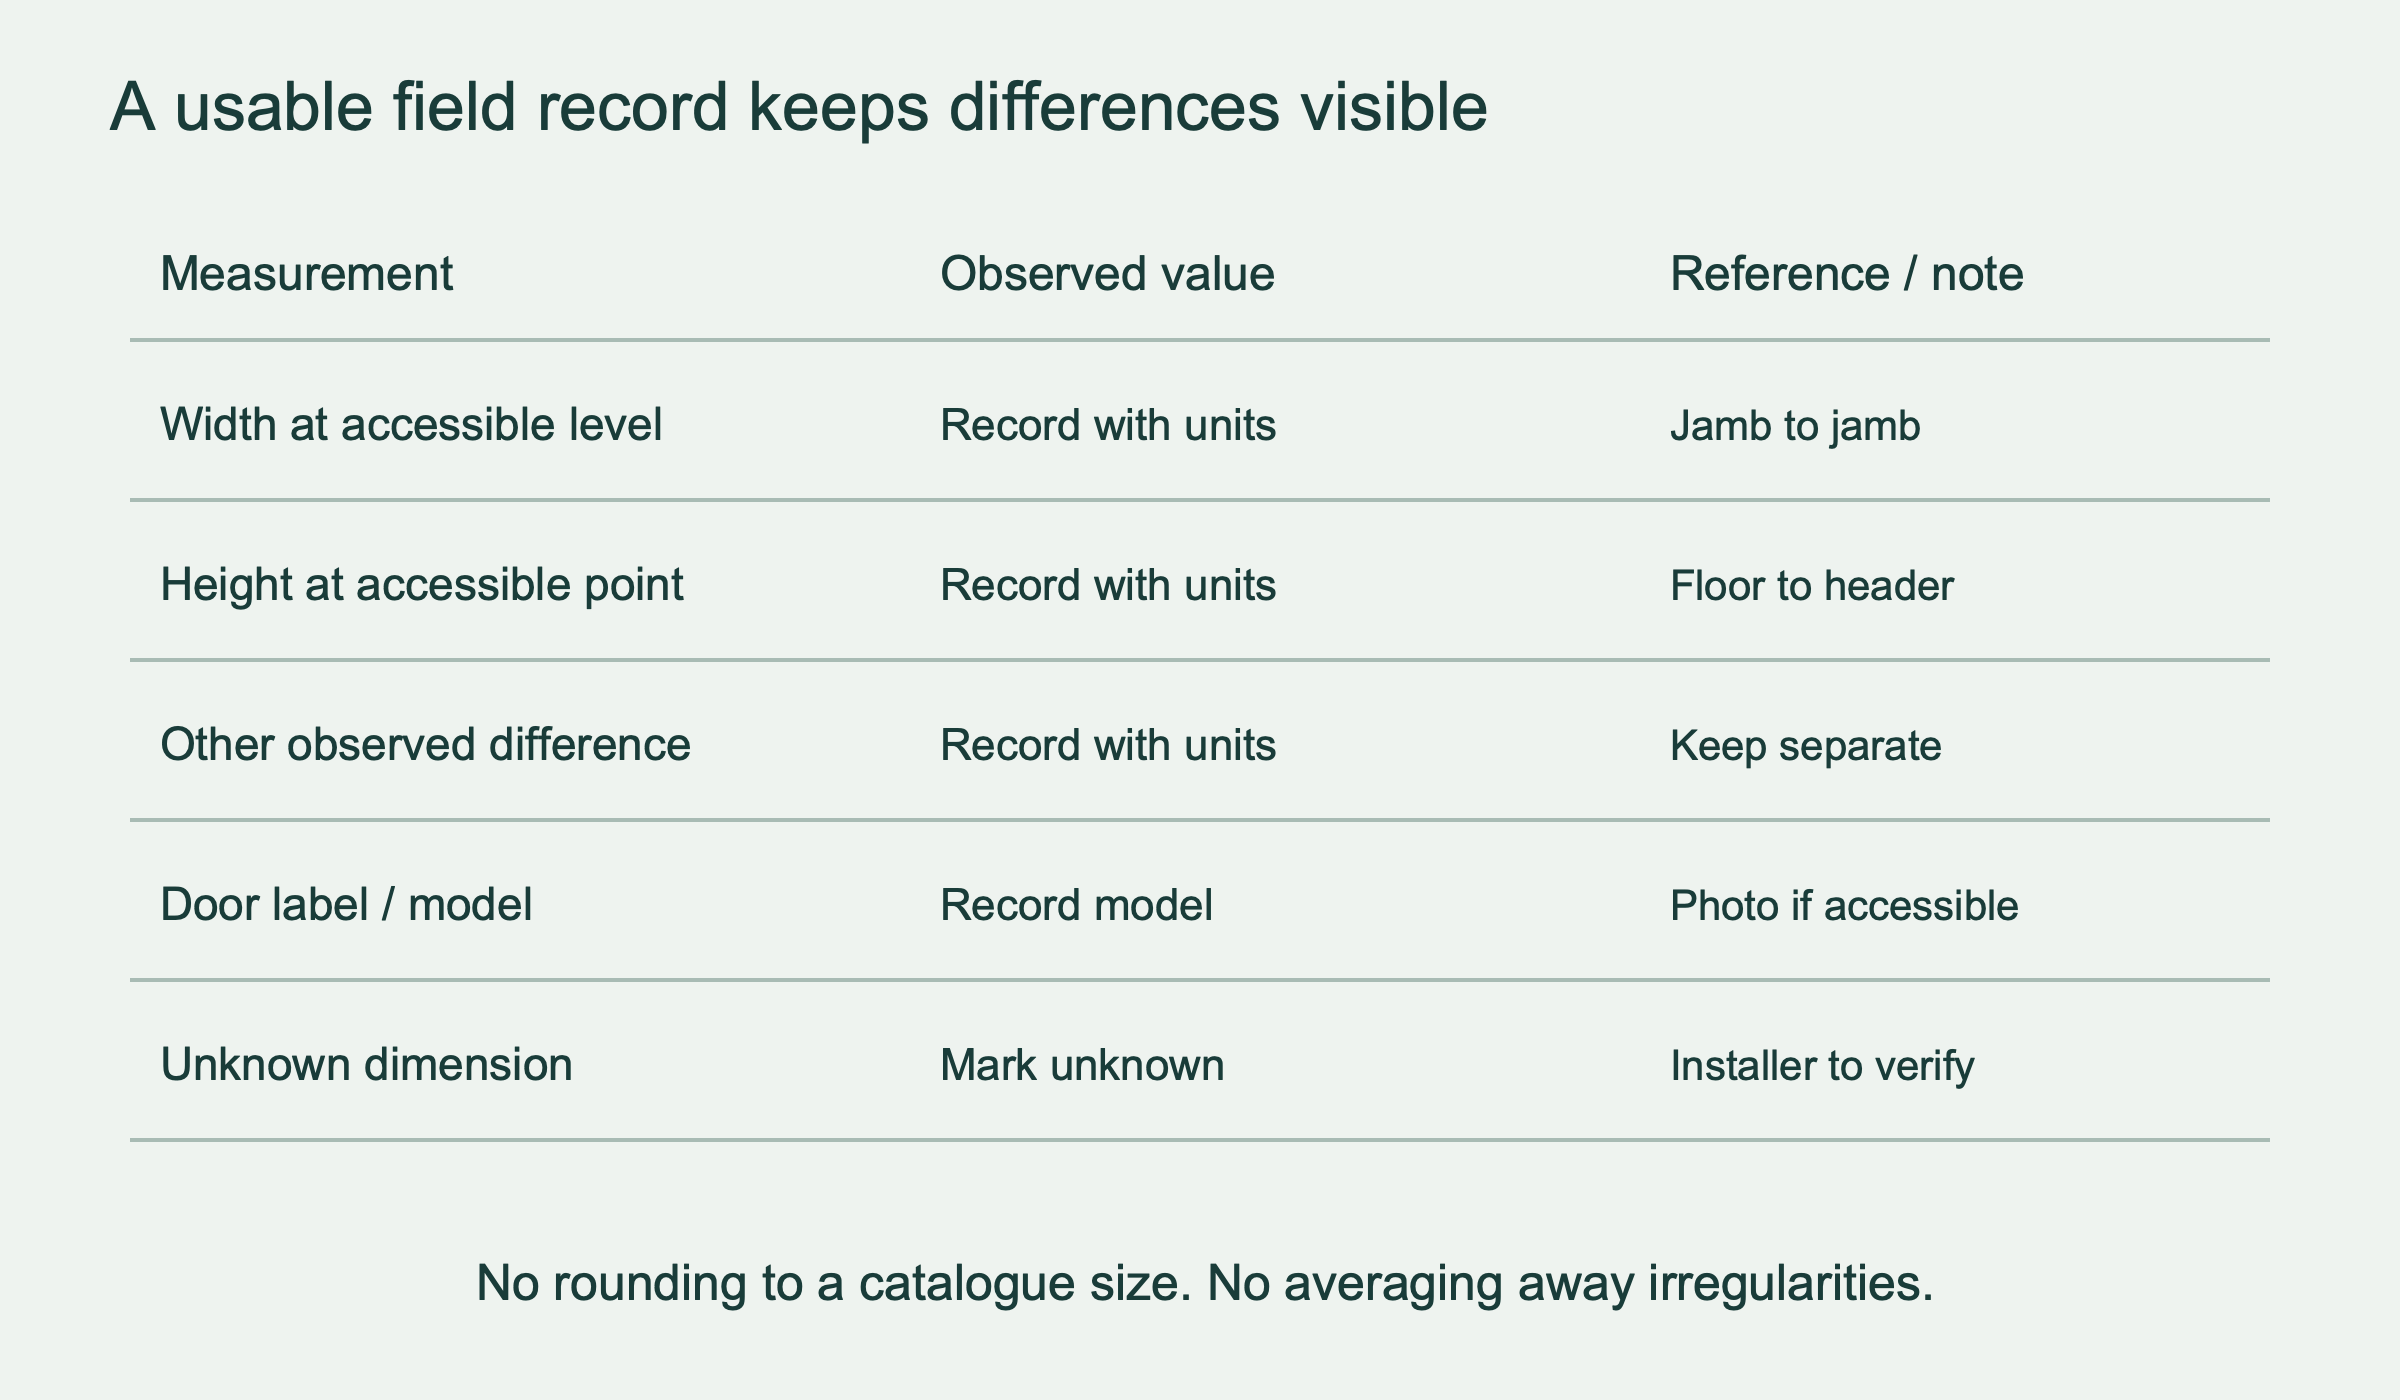
Use one unit system consistently and write the units beside every measurement. In feet and inches, distinguish the two clearly rather than relying on punctuation that may disappear in a text message. Keep the original reading; do not convert it mentally and discard the source measurement.
Define what you mean by width and height
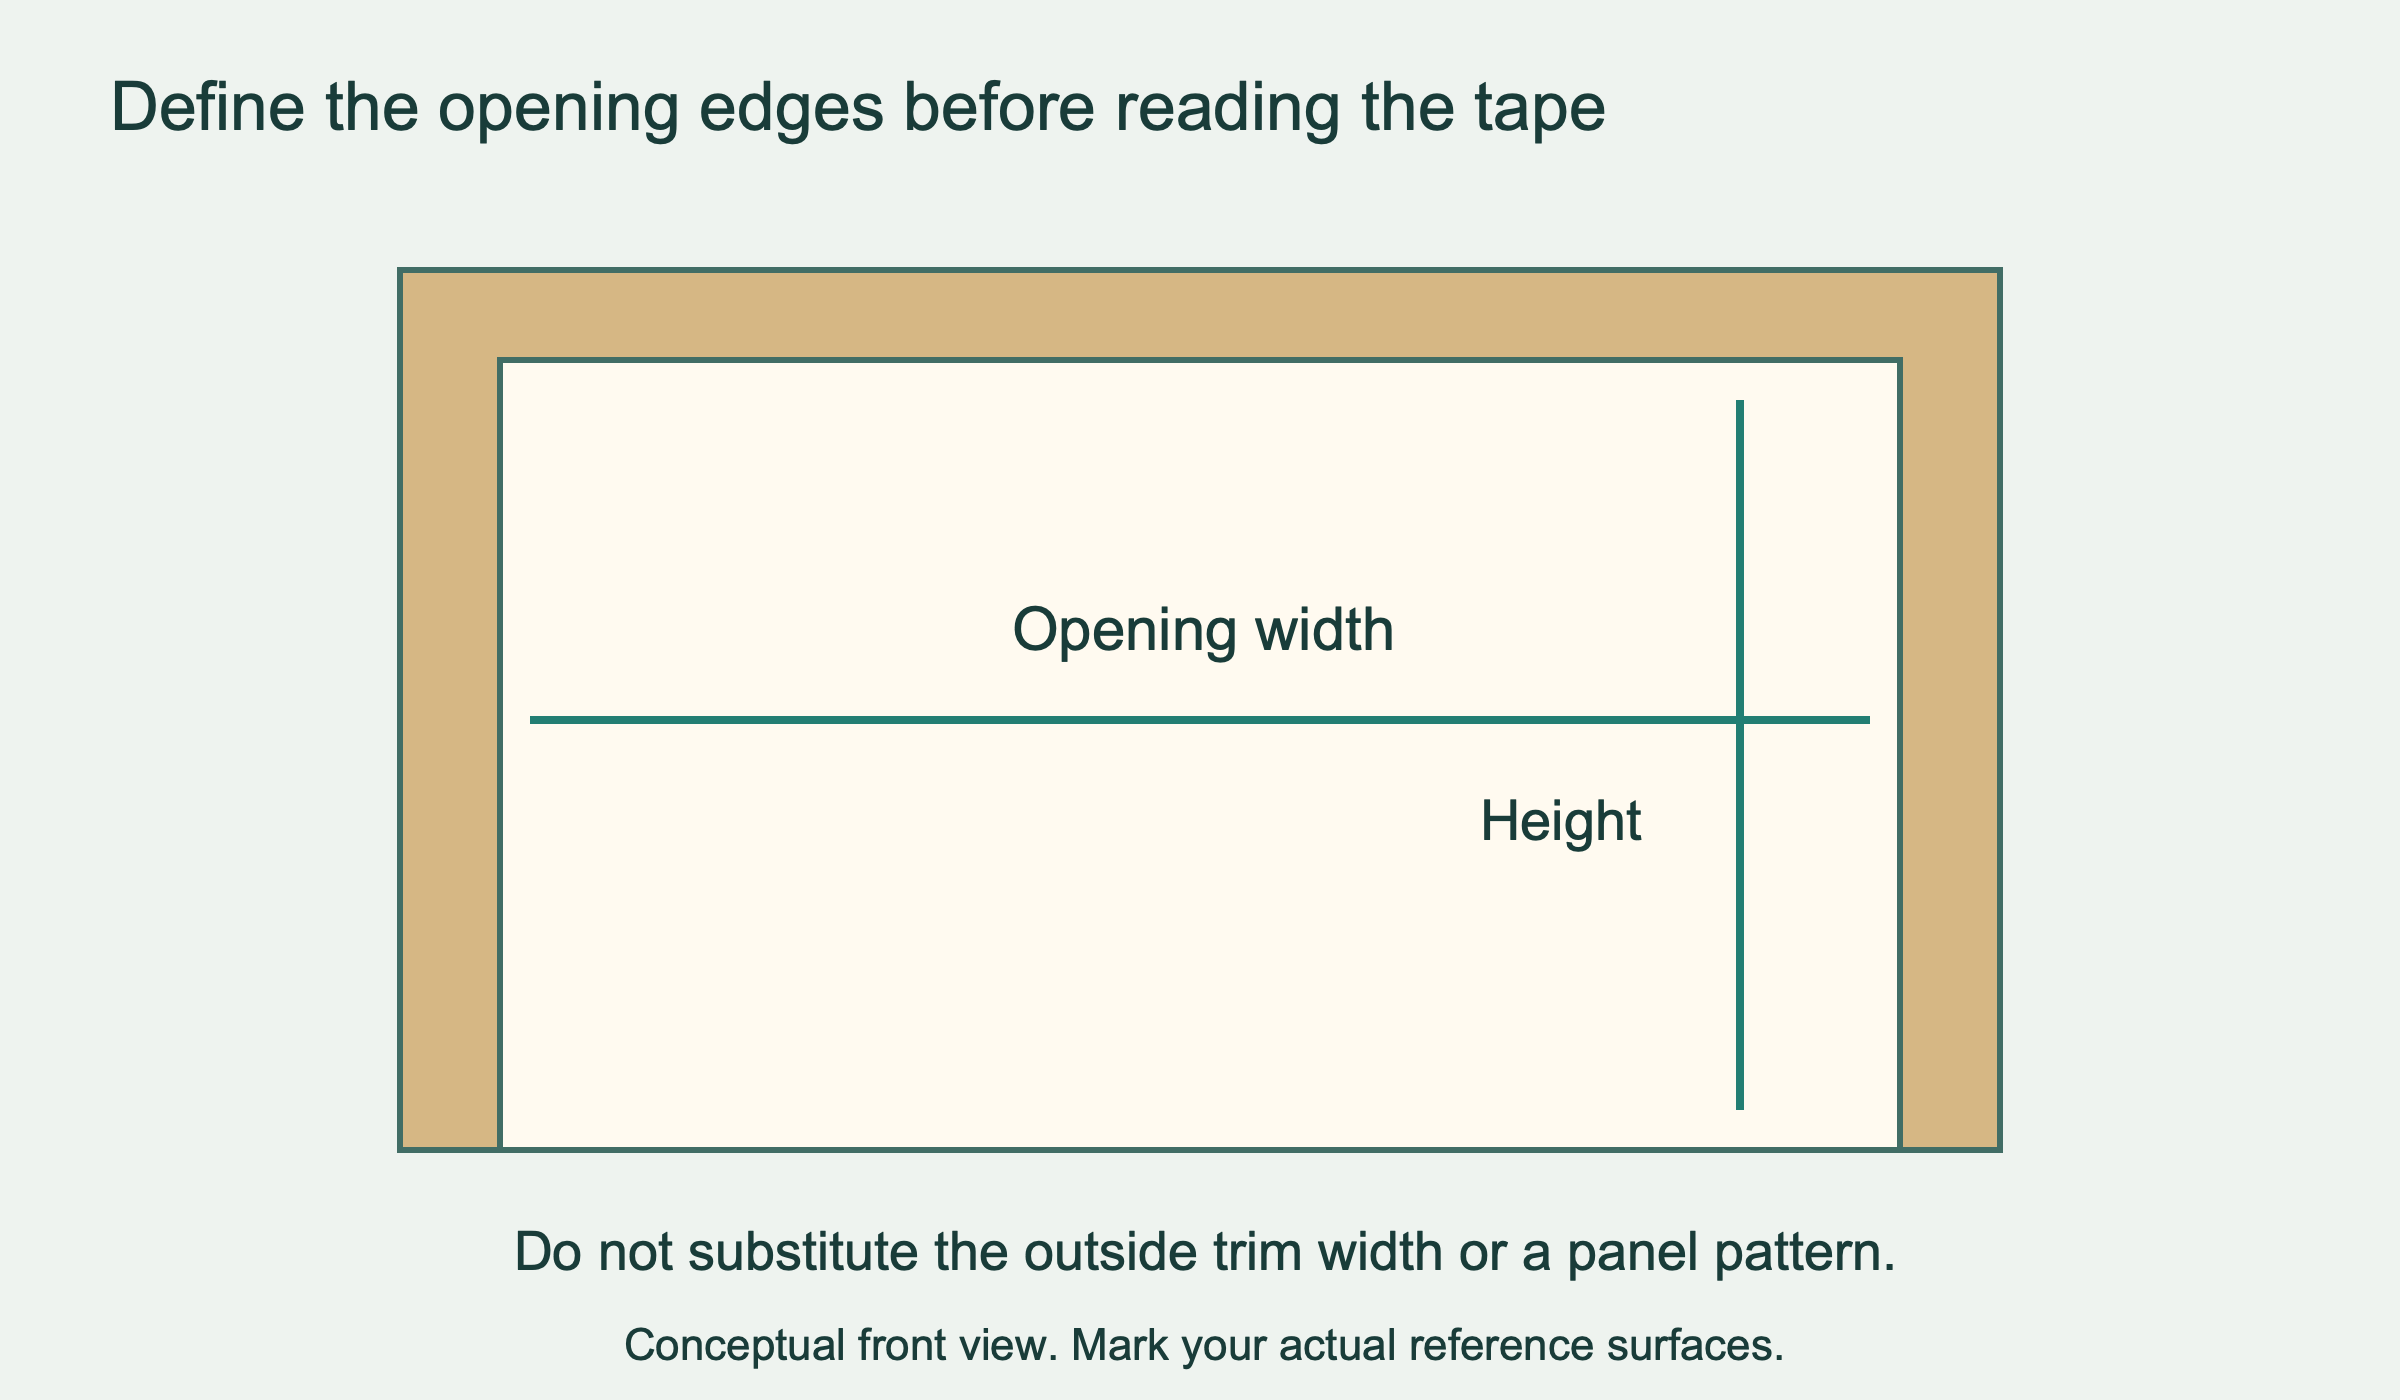
Clopay’s residential measuring guide starts with the width and height of the door opening. That is different from measuring the overall outside decorative trim or counting the embossed rectangles on the door face. Panel patterns are design features, not a reliable ruler.
Identify the two side reference surfaces on a sketch before reading the width. For height, identify the floor reference and the underside of the header at the opening. If trim hides the actual edge or the existing door obstructs access, say so. Do not remove stop molding, loosen hardware or force a tape into a moving joint to get an apparently exact value.
Terminology can be confusing because a guide may refer to a rough opening while a replacement project has finished jambs, stop molding and an existing door in place. Record the surfaces you actually measured and show them in a photograph. The installer can then relate that observation to the manufacturer’s ordering convention.
Take accessible measurements only while the area is safe. If obtaining a dimension requires standing under an uncertain door, reaching overhead through tracks or releasing a door that may be damaged, leave it for the installer. The purpose of a preliminary measurement is to improve planning, not to create a new hazard.
 Select the diagram to view it at full size.
Record differences rather than averaging them away
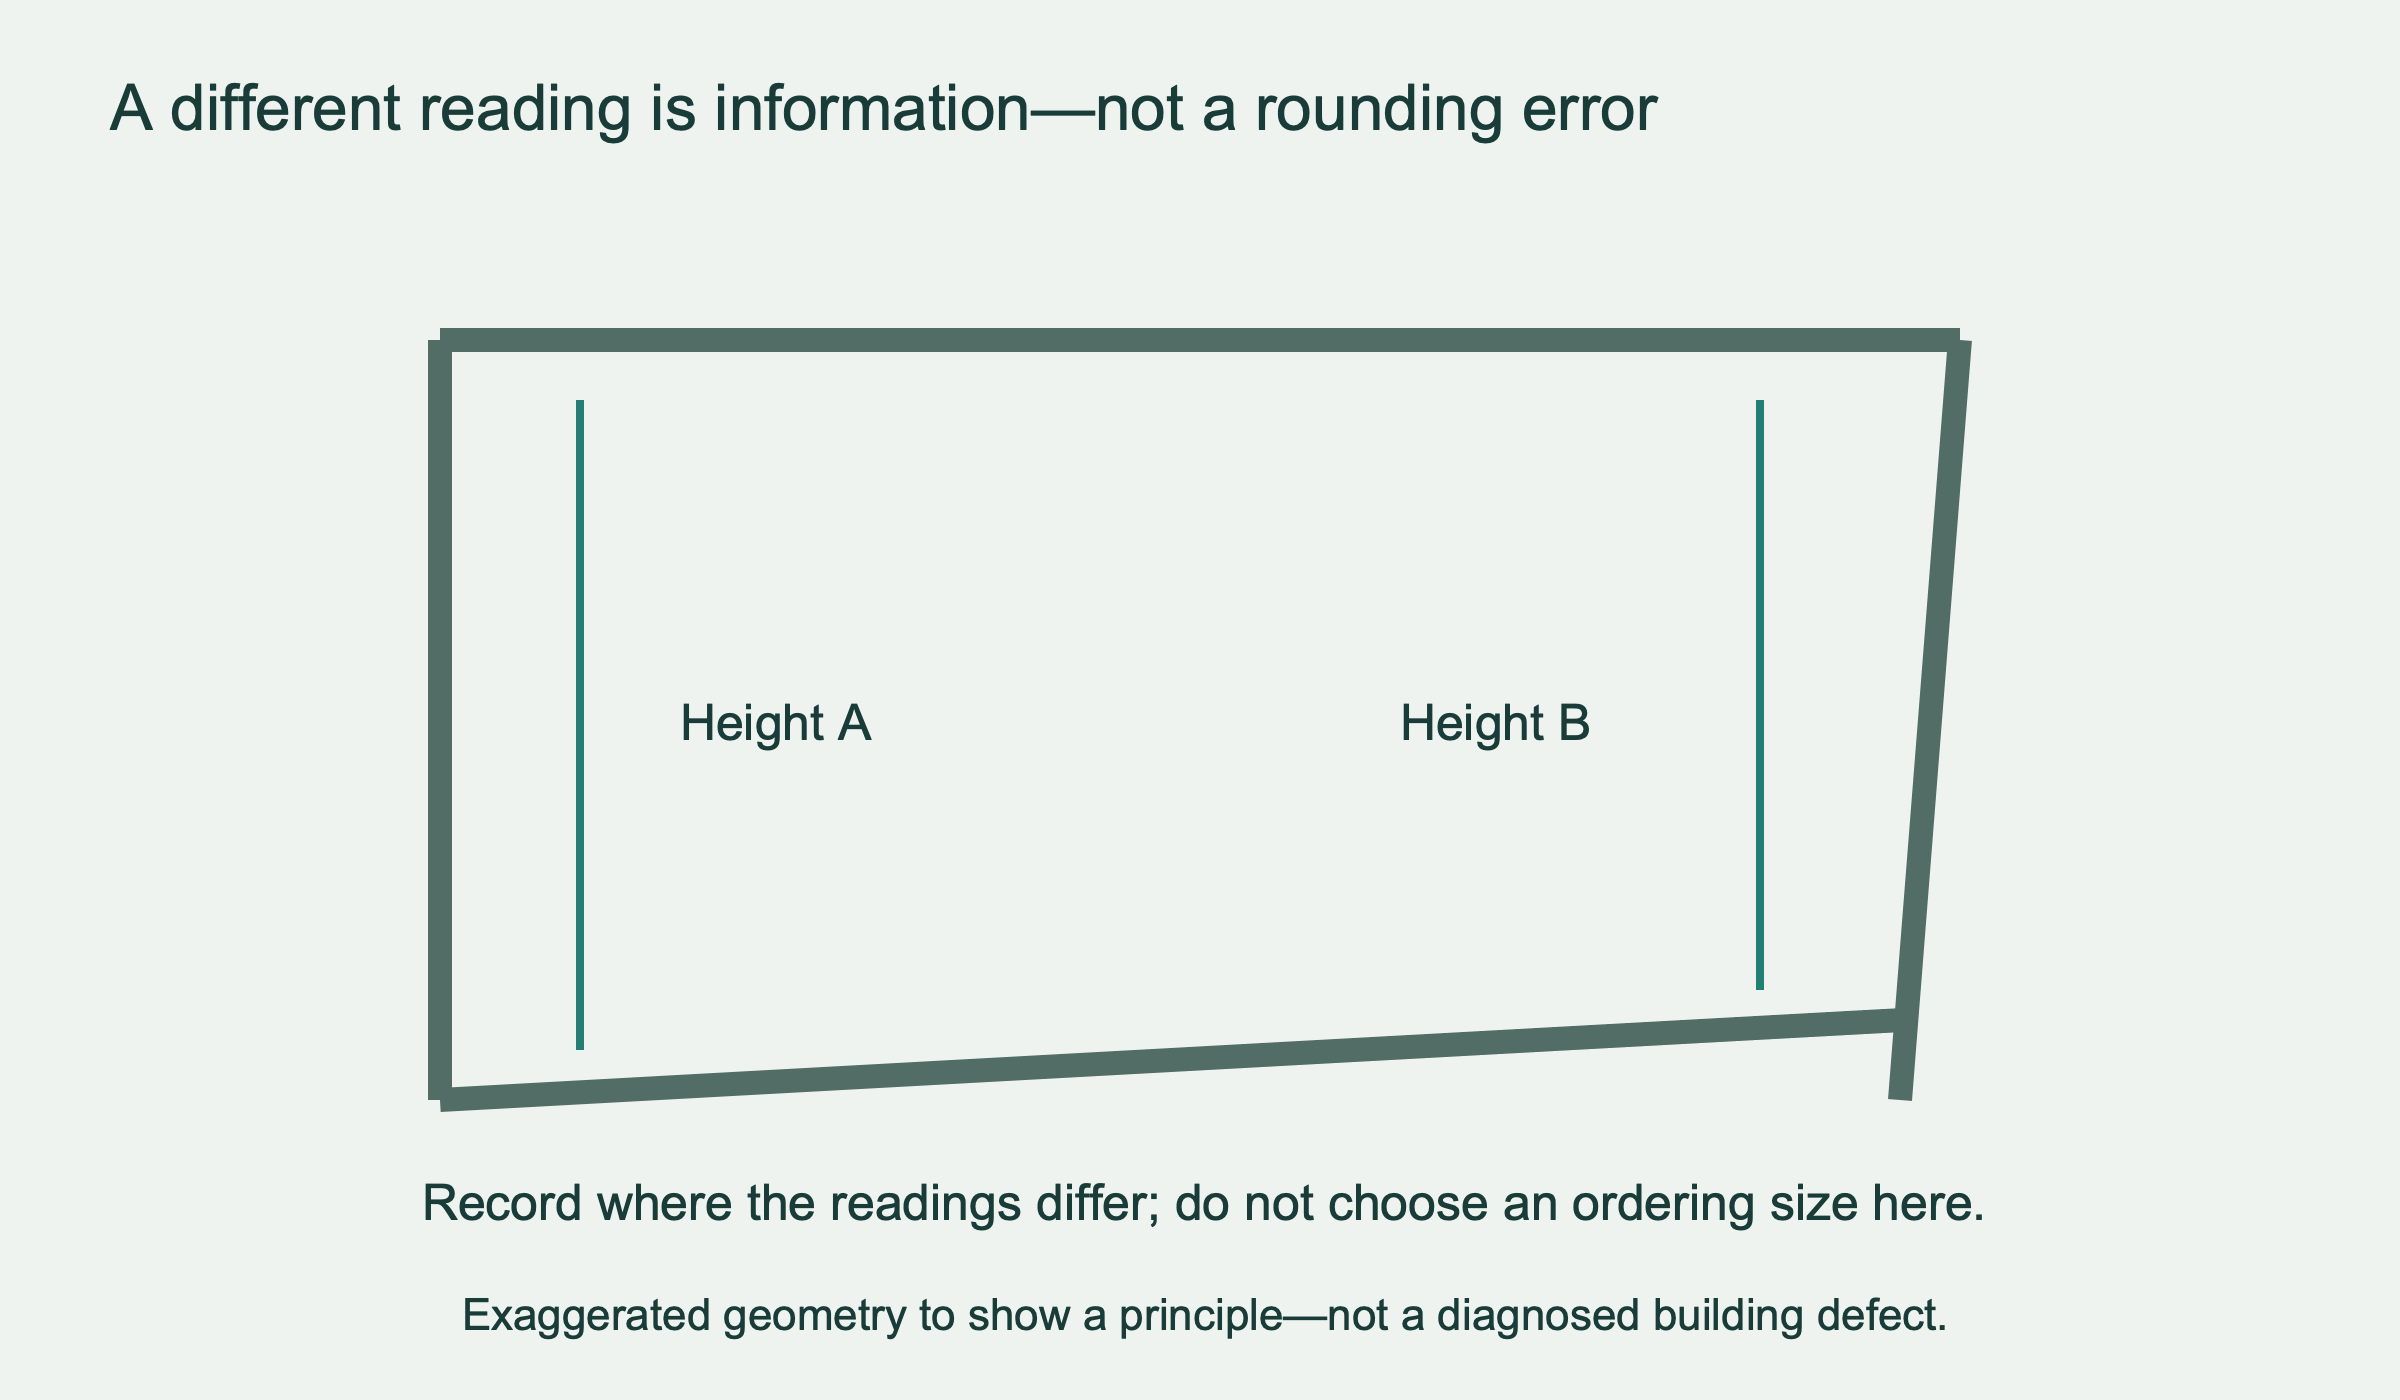
If safely accessible readings differ at different positions, keep them separately. Label the position of each reading. A floor can vary across the opening, trim can intrude and side surfaces may not present identical reference points. Those observations may affect the final fit assessment.
Do not average the measurements into a cleaner number, select the largest because it sounds like the opening size or select the smallest because it seems conservative. Each of those choices turns a field observation into an ordering decision. Instead, give the installer the values and their locations.
A visible gap under the existing door is not automatically a request for a taller replacement. It could involve the floor, seal, door position or another condition. Photograph it and note whether it is longstanding or recently changed, without adjusting travel settings to make the measurement look better.
Likewise, a visibly damaged or crooked door should not be used as the straight reference for a new opening measurement. Describe the condition and let the professional assess the opening and mechanism. The old door’s apparent outline may not represent the geometry the new system needs.
 Select the diagram to view it at full size.
Use standard sizes as a conversation aid, not a substitute
Clopay’s installation guide gives common examples such as 7-foot-high single doors that are 8 or 9 feet wide and a 7-by-16-foot double door. These are catalogue-style examples, not proof of the dimensions of your garage. Existing homes, prior alterations and different products can depart from them.
If a measured width is close to a familiar size, report the actual reading and ask for confirmation. Do not round the dimension to the nearest standard size in the quote request. “My accessible reading is this; please verify before ordering” is a better message than a confidently incorrect nominal size.
The same applies when replacing two smaller doors with one larger door. Adding the two widths does not establish a safe or buildable opening. The center support and building structure create a separate construction question. A garage door quote should not be treated as authorization to remove structural elements.
For a straightforward replacement, ask whether the quoted size is the measured opening, the nominal product size or a final confirmed ordering size. Those labels make a practical difference when several people—homeowner, estimator, installer and supplier—are sharing the same numbers.
Add enough surrounding-space information to reveal a fit problem
Opening dimensions are the starting point, not the complete fit check. Include available space above the header, beside each jamb and toward the back of the garage. Note overhead beams, pipes, lights, cabinets and the existing opener. You can provide photographs and mark difficult dimensions as unknown.
Do not use a single general minimum to approve the hardware yourself. Track, spring and opener configurations have different requirements. For the detailed relationship between these spaces, see the headroom, sideroom and backroom planning guide. Here, the task is simply to make sure an obvious constraint does not disappear from the quote request.
Tell the installer about planned ceiling finishes, new storage or equipment even if they do not exist yet. A system that fits the room today might conflict with a planned cabinet or lowered ceiling. Conversely, moveable clutter should be identified as moveable rather than mistaken for a permanent limitation.
 Select the diagram to view it at full size.
Build a quote packet the installer can actually use
Send an outside overview, an inside overview from a safe location, the accessible identification label and a photograph of each obstruction or irregularity you noted. Name the image locations if the garage has more than one door. A close-up of the wrong opening is an easy mistake when several doors look alike.
Attach the sketch with width, height, units and reference points. Keep a separate list of estimates and unmeasured areas. Add the desired door style, whether windows are being considered and whether the opener is to be retained or replaced. Those choices may affect the proposed system even when the opening stays the same.
Ask the estimator to identify which measurements must be verified on site and when that verification happens. Before authorizing an order, request the final product size and configuration in writing. If the opening is being altered by another contractor, clarify who confirms the completed opening after that work is finished.
Save the confirmed record with the invoice rather than overwriting your preliminary sketch. It creates a clear sequence from what you observed to what the installer approved. When arranging a replacement garage door assessment, the most useful contribution is not a perfect-looking drawing—it is accurate information, visible uncertainty and a clear boundary between a quote estimate and an order-ready measurement.