Skip to content

Why Programming Your LiftMaster Opener Matters
A LiftMaster garage door opener is only as reliable as its programming. Whether you’ve moved into a new home (and don’t trust the previous owner’s old remotes), lost a remote during a chaotic Costco run, or need to reset after a power surge fried its memory, knowing how to program a LiftMaster garage door opener is crucial for security and smooth operation.
Over my 20+ years servicing garage doors, I’ve seen rogue neighbors accidentally open doors with outdated remotes, mischievous raccoons trip misaligned sensors, and even delivery drivers “testing” random buttons. Proper programming ensures only your devices control the door—no surprises. Without it, you risk everything from petty theft to a door that randomly grinds open at 3 AM. Trust me: a few minutes spent syncing remotes beats explaining to your spouse why the lawnmower vanished overnight.
Tools You’ll Need
- LiftMaster remote control (new or existing).
- Ladder (to reach the motor unit).
- Safety glasses & gloves (for tinkering near springs).
- Owner’s manual (model-specific steps vary).
How to Program a LiftMaster Garage Door Opener
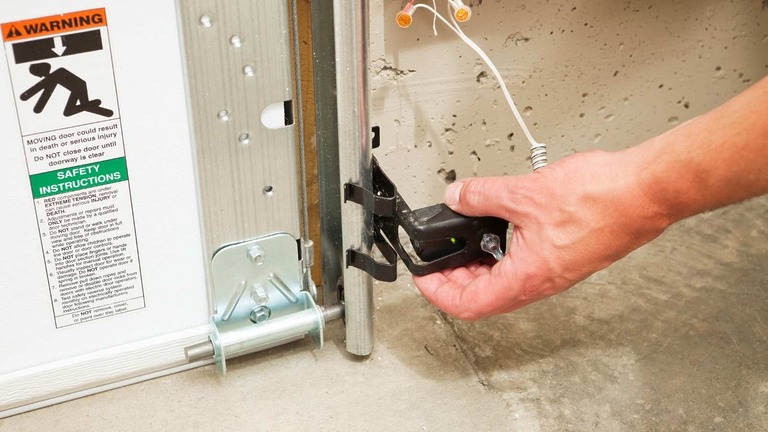
Step 1: Locate the “Learn” Button
The Learn button is your gateway to programming, but its hiding spot varies by model:
- Most modern LiftMaster openers (2010+): Look for a brightly colored button (green, yellow, or purple) on the back or side of the motor unit. It’s often labeled “Learn” or “Program.”
- Older models (pre-2010): Remove the light lens/cover on the motor unit—the button is typically tucked inside, near the antenna wire.
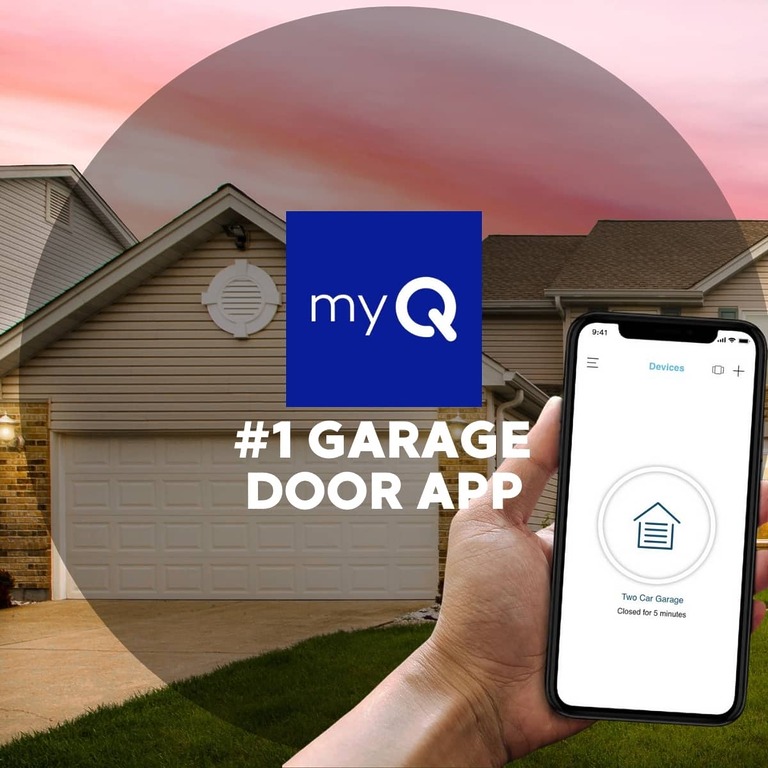
- MyQ Smart Models: Check near the antenna (a small, black, fin-like protrusion). Some units have a sliding cover to protect the button.
Step 2: Enter Programming Mode
- Activate the Learn button: Press and immediately release it. The LED will light up solid (green/yellow) or blink rapidly, signaling it’s ready to pair.
- Sync your remote: Within 30 seconds, press and hold the button on your remote until the motor unit’s LED blinks or you hear a click. This means the opener has accepted the remote’s frequency.
- Confirm sync: The LED will flash 2-3 times and may beep. If it blinks rapidly or turns off, repeat the process (dead batteries are a common hiccup).
Troubleshooting Note: If the LED doesn’t respond, unplug the opener for 10 seconds to reset it.
Step 3: Test the Remote
- Stand inside the garage and press the remote. The door should move smoothly. If it stutters or reverses:
- Check battery strength: Replace the remote’s battery (even if it “works” elsewhere).
- Reposition the antenna: Ensure it’s fully extended and not blocked by metal shelving or tools.
- Test multiple remotes: If programming more than one, repeat Steps 1-2 for each.
Still Stuck?
- Distance matters: Remotes must be within 3-5 feet of the motor unit during programming.
- Frequency clashes: If your neighbor’s opener uses the same frequency, reprogramming resets your “channel” to avoid interference.
How to Reset a LiftMaster Garage Door Opener
(For when programming goes sideways or security is compromised)
Step 1: Clear Existing Codes
- Locate the Learn button on the motor unit (see programming steps for placement tips).
- Press and hold the Learn button for 6–10 seconds until the LED turns off. This erases all paired remotes, keypads, and MyQ devices.
- Verify reset: The opener will not respond to previously synced devices.
Why This Matters:
- Resetting is critical if you’ve lost a remote, moved into a new home, or suspect unauthorized access (like a disgruntled ex-roommate).
- Older LiftMaster models (pre-2015) use “fixed codes” that hackers can intercept. Resetting forces newer “rolling codes” for enhanced security.
Step 2: Reprogram Remotes & Keypads
- Reprogram each device using the original programming steps.
- Start with wall-mounted keypads, then remotes, and finally MyQ smart hubs.
- Test each device to ensure consistent operation.
- Update smart home integrations (e.g., Alexa, Google Home) if used.
Troubleshooting Reset Issues:
- If the LED doesn’t turn off: Unplug the opener for 30 seconds, then retry.
- If remotes still work post-reset: The reset failed—repeat Step 1, holding the Learn button longer.
Troubleshooting Common Issues
| Problem | Solution |
|---|---|
| Remote won’t program | – Replace the remote battery (even if it seems fine). – Ensure you’re within 3 feet of the motor unit. – Check for LED confirmation after pressing the Learn button. |
| Door reverses mid-cycle | – Clean safety sensor lenses with a microfiber cloth. – Align sensors until their LEDs glow steady (not blinking). – Remove obstructions (leaves, cobwebs) blocking the beam. |
| LED blinks 5 times | – The opener’s memory is corrupted. Perform a full reset. – If blinking persists, the circuit board may need replacement. |
Need More Help?
If resetting doesn’t fix the issue:
- Check the manual: Model-specific quirks exist (e.g., 888LM vs. 8355W).
- Call LiftMaster support: Provide your model number (found on the motor unit’s label).
- Upgrade older units: Models from the 1990s lack modern security—replace them.
How to Reprogram a LiftMaster Garage Door Opener
(After power outages or sensor replacements)
1. Reset Travel Limits
Power outages or sensor swaps can scramble your door’s memory. To recalibrate:
- Locate the ▲ (up) and ▼ (down) buttons on the motor unit.
- Hold both buttons for 5–10 seconds until the LED blinks.
- Use the remote to open/close the door fully—this teaches the opener its start/stop points.
- Test manually: If the door stops short or overshoots, repeat the process.
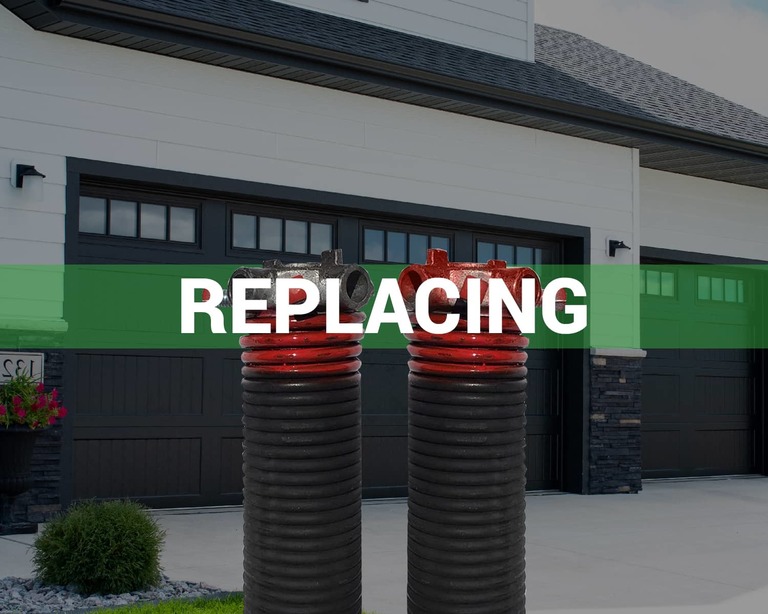
2. Adjust Force Settings
Force settings control how hard the opener pushes/pulls the door. Too weak, and it struggles; too strong, and it risks damage.
- Find the force adjustment screws (labeled “Open Force” and “Close Force”).
- Turn screws clockwise in ¼ increments to increase power.
- Test after each tweak—the door should move smoothly without jerking.`
Why This Works:
Reprogramming resets the opener’s “muscle memory,” ensuring it adapts to weather changes, new sensors, or post-outage hiccups. A 5-minute fix saves costly repairs—or awkward explanations to your spouse about the shattered holiday decorations.
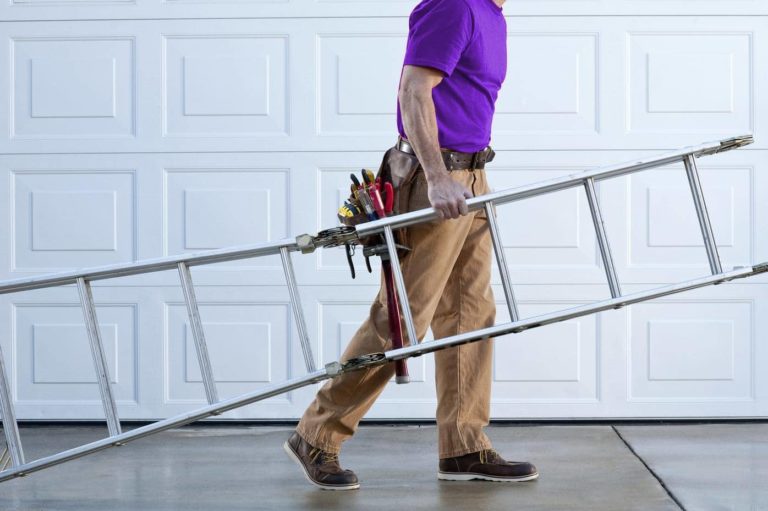
When to Call a Pro
- The motor unit hums but door doesn’t move (gears likely stripped).
- You’re uncomfortable handling high-tension springs.
- The Learn button is unresponsive (faulty circuit board).
Maintenance Tips to Avoid Reprogramming
- Replace remote batteries annually (even if they “work”).
- Clean safety sensors monthly with a microfiber cloth.
- Update MyQ firmware if using smart features.
Final Thoughts
Mastering how to program a LiftMaster garage door opener puts you in control—whether you’re syncing a new remote, resetting after a security scare, or fixing post-storm glitches. For most homeowners, the process takes 10 minutes… unless your cat “helps.”
Stuck? Reach out! I’m here to troubleshoot, whether it’s a stubborn remote or a door that thinks it’s a disco light. And if your rescue pup accidentally sits on the remote (again), we’ll fix that too.
Stay secure, and may your garage door obey every click! 🛠️

👋 Hi, I'm Robert!
Your friendly neighborhood garage expert.
When I'm not fixing garage doors or coaching Little League, you'll find me hiking with my rescue pups.
Let's make your garage door worries a thing of the past!