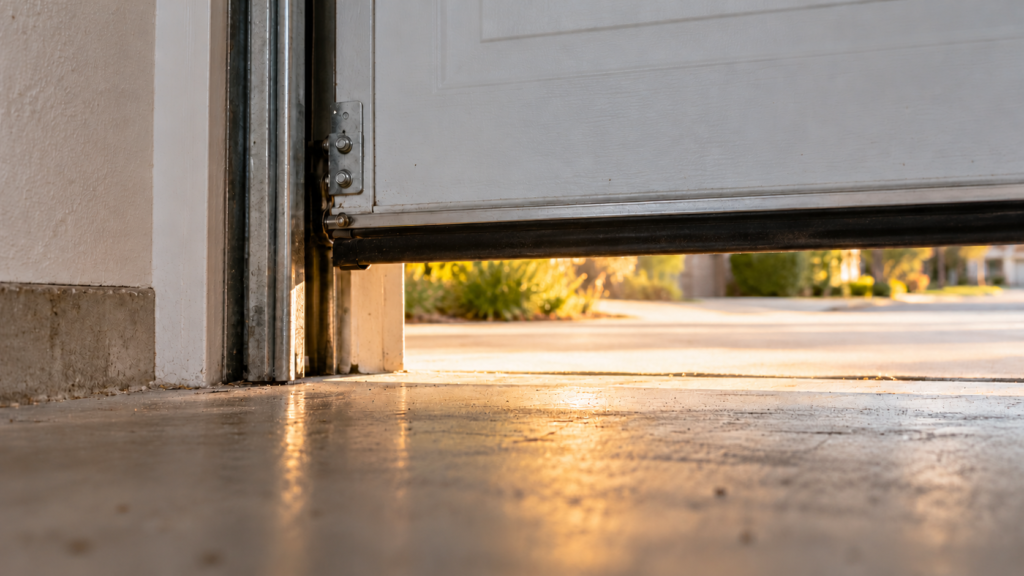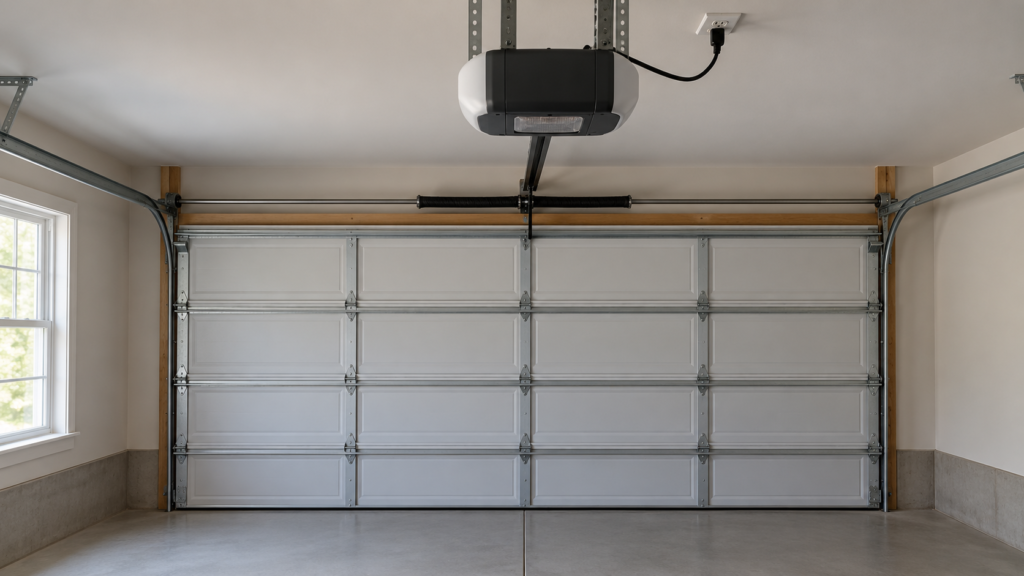

A safety sensor beside the track. The photograph identifies the component; it does not demonstrate safe adjustment or power isolation.
An obstruction or misalignment can prevent closing, but wiring, mounting and door faults can look similar. Check the door first, identify the sensor model, and follow its isolation and safety-test instructions.
A garage door that opens normally but refuses to close may have an obstructed or misaligned safety sensor. That is a useful starting point—not a diagnosis. A damaged wire, unstable mounting or a separate door problem can produce similar symptoms.
This guide helps you distinguish a simple obstruction from a fault that needs service. It does not recommend bypassing sensors, increasing closing force or repeatedly running a door that is binding.
Start with the door, not the adjustment screw
If the door appears intact, note exactly what happens: does closing never start, does the door reverse during travel, or does it reach the floor and reverse? Record the opener model and any displayed error. That description is more useful than saying only that the sensors are bad.
What garage door safety sensors do
The two photoelectric sensors face each other near the floor. Their beam helps detect an obstruction while the door is closing. They are one part of the opener’s protection system, not a guarantee that every object or person will be detected. Keep the opening clear whenever the door moves.
Chamberlain identifies an amber sending light and a green receiving light on the systems covered by its alignment guide. Other products may use different indicators. Match your model before interpreting colors or diagnostic flashes.
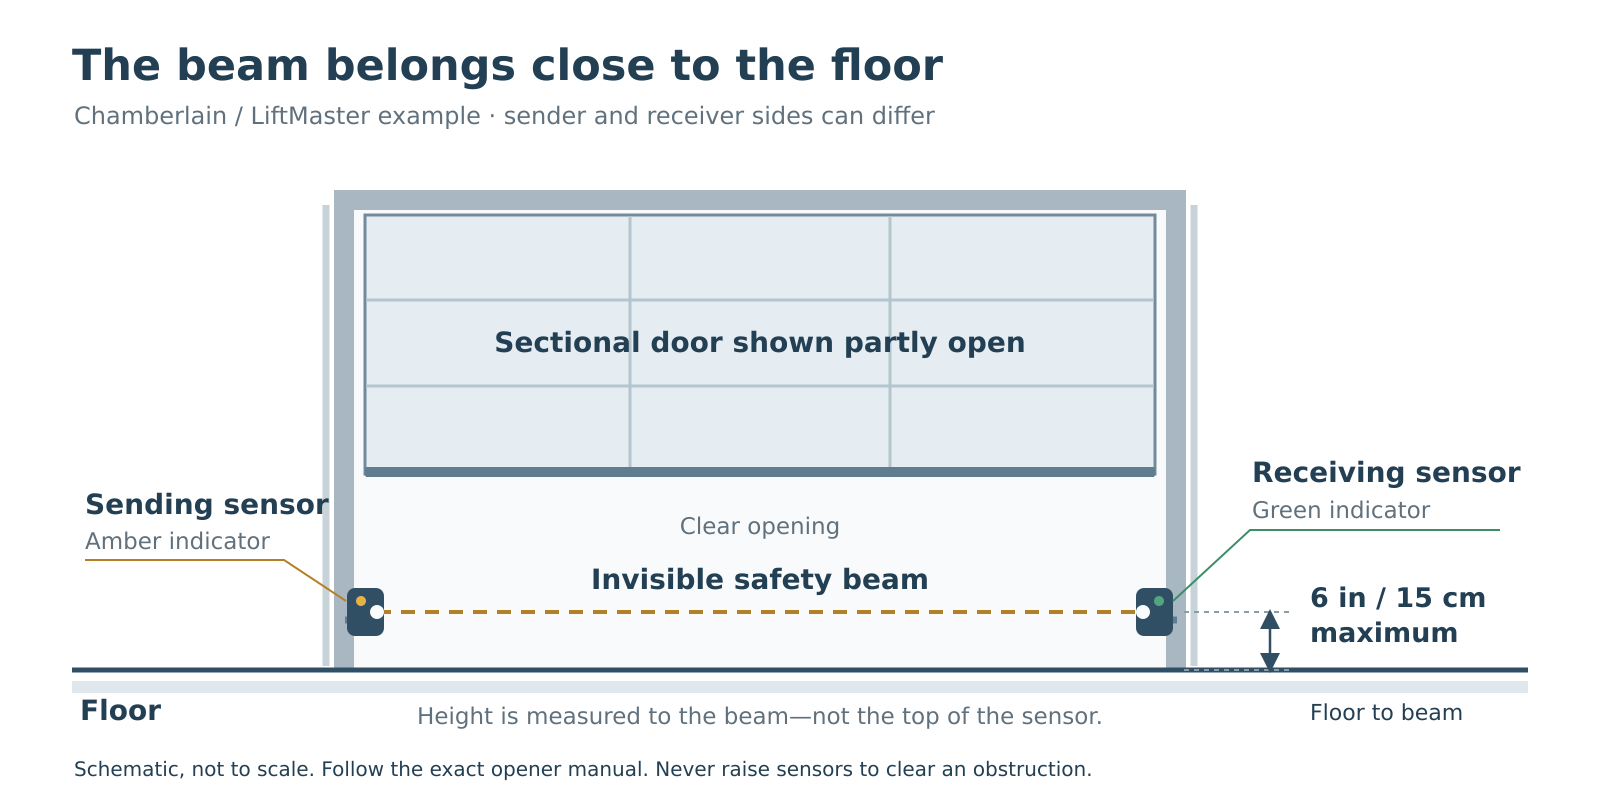 Select the diagram to view it at full size.
Check these things before moving a sensor
- The beam path: move stored items, leaves and other obvious obstructions away from the opening. Do not reach beneath a moving door.
- The lenses: look for dirt or cobwebs. With the opener safely isolated according to its manual, gently clean accessible lenses with a soft, dry cloth. Do not spray lubricant onto them.
- The mounting: look for an obviously displaced sensor or damaged support. A bent track or broken mounting is not a simple alignment job.
- The visible wiring: look without pulling, stripping or reconnecting wires. Damage, exposed conductors or detached connections are reasons to request service.
Make one observation at a time. If moving a storage bin restores normal operation, there is no reason to loosen hardware. If the same obstruction keeps returning, change where the item is stored rather than relocating the safety system.
Blocked, misaligned or damaged: choose the next check
A misaligned garage door sensor is only one possible explanation for a closing failure. Use this short sequence before touching its adjustment fastener. These observations guide the next check; they do not identify a failed part by themselves.
- Is something crossing the beam? With the door stationary and the area safe, look for a bin, leaf or cobweb between the two lenses. Clearing an accessible obstruction is different from moving a sensor.
- Is the path clear but the receiver unstable? Record the light pattern and look for a displaced sensor, loose mounting or a repeatable sunlight pattern. On the Chamberlain 041-0136 example below, a blinking green receiver can indicate obstruction or misalignment; other models need their own chart.
- Is there damage or an unlit indicator? A broken mount, damaged wire or indicator that remains off calls for model-specific diagnosis. Aiming the lens will not repair a wire or bent track. Do not loosen track, cable or spring hardware.
Keep the beam at its prescribed height. Chamberlain’s cited installation guidance specifies no higher than 6 inches (15 cm) above the floor for the covered system. Never raise the sensors to avoid a recurring obstruction; reorganize the storage area or have the damaged mounting assessed.
How to approach garage door sensor alignment safely
- Prepare a clear work area. Keep controls away from children and tell other household members not to operate the door. Do not start if the door cannot remain safely stationary.
- Identify the sensor’s own adjustment fastener. This is not permission to loosen track attachments, bottom brackets or spring hardware. If you cannot confidently distinguish them, stop.
- With power isolated, make only the small positioning adjustment allowed by the manufacturer. Aim the lenses directly toward one another and secure the sensor as instructed. Do not relocate it higher to avoid an obstruction.
- Stand clear before restoring power. Check the indicators against the model’s instructions. If further adjustment is needed, isolate power again rather than working around an energized mechanism.
- Complete the prescribed safety tests. A successful closing cycle alone does not establish that the reversing system is working correctly.
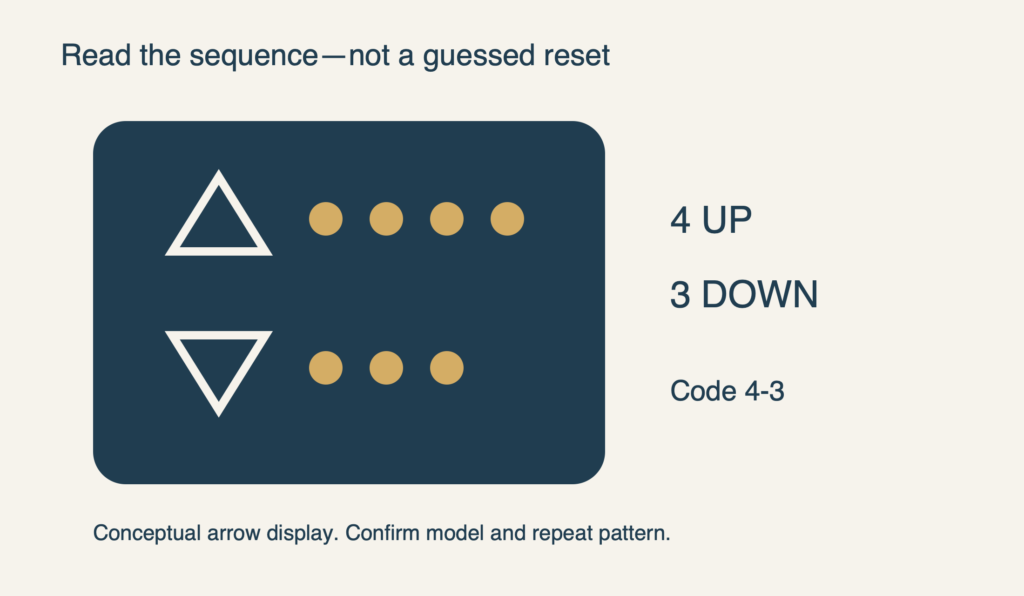
There is no universal “hold the button for six seconds” sensor reset. Do not press Learn, travel or force buttons at random. Those controls can affect other functions and are not a substitute for correct alignment.
Read the two eyes separately: a model-specific example
For Chamberlain’s 041-0136 sensor set, the indicator is square and the housing has a mounting-bolt hole. The receiving unit also has a sticker on its back. You do not need to remove a sensor to prove its identity: use existing paperwork or an accessible label, and leave an uncertain identification uncertain.
The manufacturer’s table distinguishes an amber light that is on while the green light is off from a green light that is blinking. The former points toward receiving-sensor wiring; the latter toward obstruction or misalignment. That distinction matters because aiming a sensor will not repair damaged wiring. These are likely-cause categories, not permission to order a particular part without diagnosis.
| 041-0136 observation | What it suggests | Useful next step |
|---|---|---|
| Amber on; green blinking | The receiver is not seeing a stable beam. | Record the pattern and look for an obvious obstruction or displaced sensor. |
| Amber on; green off | The manufacturer points toward receiver wiring. | Report the observation; do not strip, splice or short-test wires. |
| Both lights steady | The beam appears aligned at that moment. | Do not assume this clears every cause of a closing failure. |
Keep the observation tied to the door’s state. “Green was steady before the closing attempt and flickered as the door moved” tells a different story from “green never came on.” If you have already seen that change, describe it. You do not need another failed cycle or a close-up video beneath the door to make the report useful.
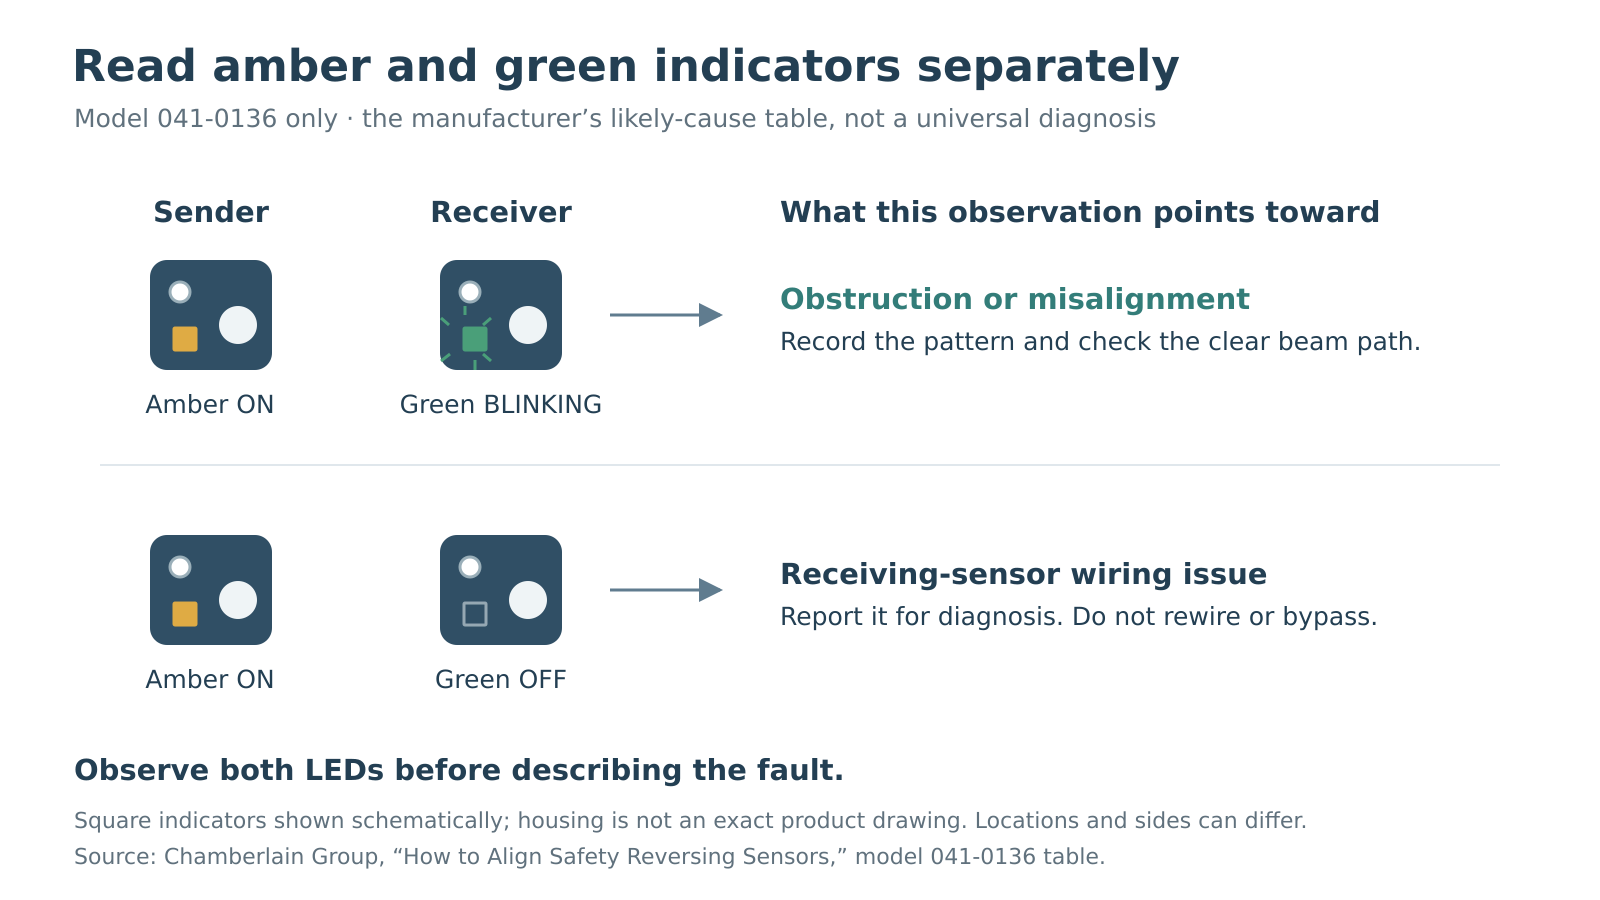 Select the diagram to view it at full size.
When the problem follows the sun
A garage can work normally in the evening yet refuse to close at another time. Chamberlain documents direct sunlight entering the receiving eye as a possible source of interference. The receiver must distinguish its partner’s beam; a clear doorway does not rule out an optical problem.
Record the time, which side receives direct light, and whether the fault occurs only in that condition. This supports a diagnosis without claiming that every afternoon failure is sunlight. A loose mount or a different fault may also be intermittent. Do not tape over the lens, raise the sensor or change its wiring to work around the symptom. Ask about a manufacturer-approved solution after the cause is confirmed.
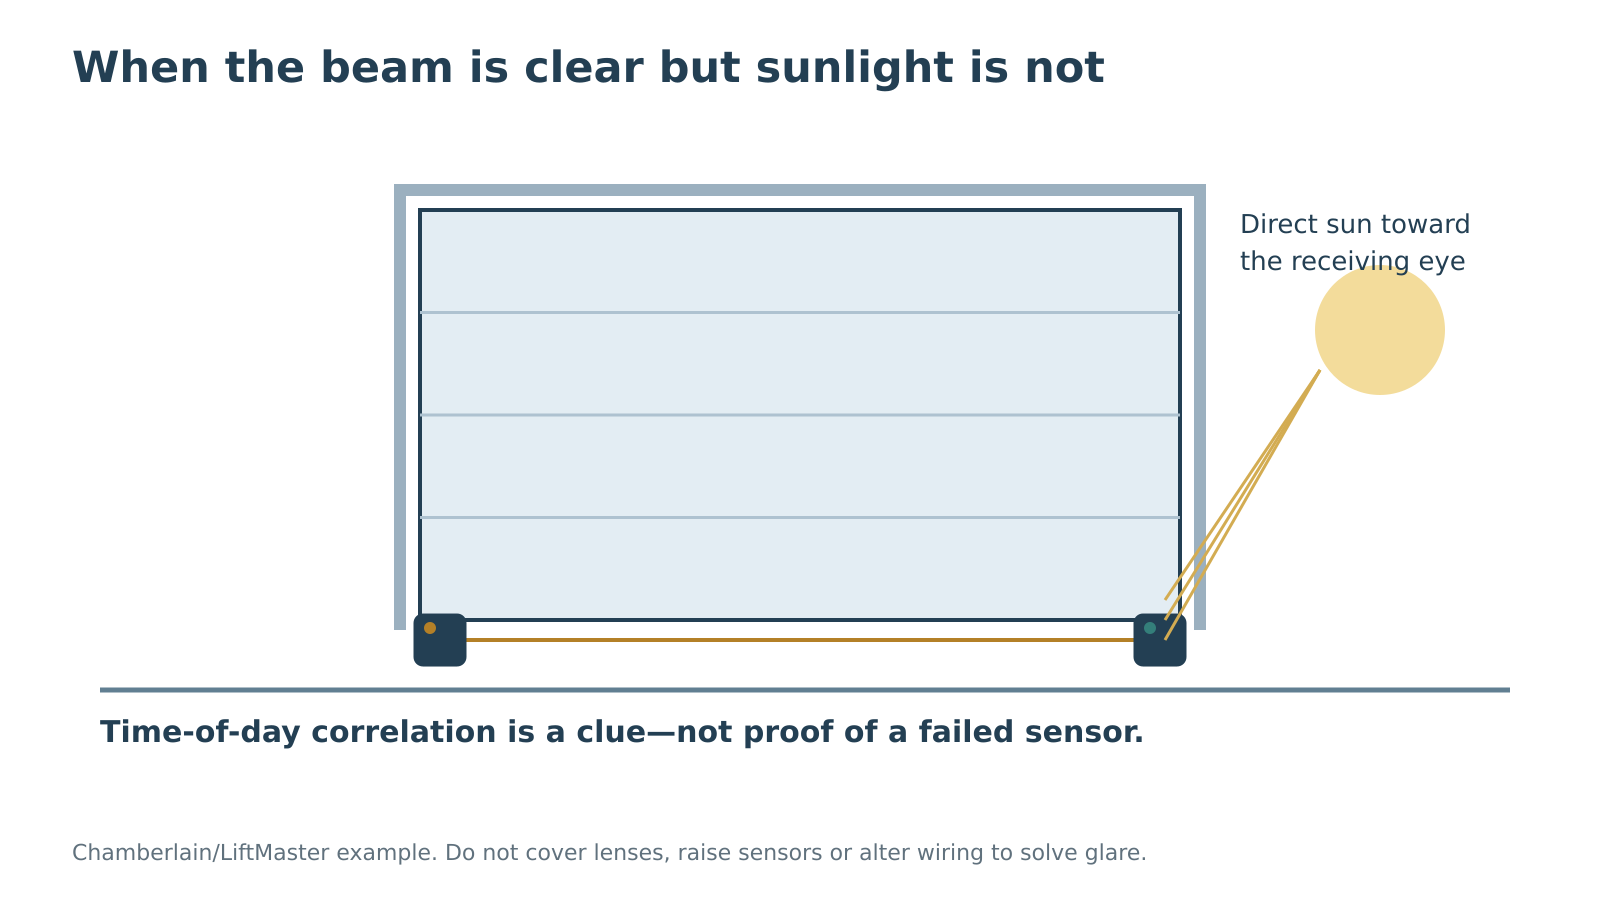 Select the diagram to view it at full size.
The beam is not the entire reversing system
A low beam watches one line across the opening. Contact reversal is a separate safeguard that responds when the door meets resistance. Checking that the sensor lights are steady does not test contact reversal, and watching the door close does not test either safeguard under the conditions prescribed by the manual.
That is why the final verification belongs after the door is otherwise operating safely. Use the exact owner’s manual rather than a generic internet test, and stop use if the required safety checks fail. Do not test a crooked, jammed or damaged door by putting an object beneath it. The issue at that point is restoration of safe operation, not proving that a sensor can see.
For the difference between beam interruption and contact reversal, see our garage door safety reversal and photo-eye guide. It explains why both checks belong in the model-specific safety procedure.
Use the light pattern as evidence, not a verdict
A useful service note includes each sensor’s color, whether its light is steady or flickering, and whether the symptom changes at a particular time of day. Write down the actual error code rather than translating it from a different model’s online chart.
If the indicators look normal but closing still fails, stop repeating the alignment process. The next step is to identify the remaining fault, not to force the sensors into a different position. For a broader symptom checklist, see why a garage door will not close.
When an alignment problem needs professional help
Request diagnosis if the mount will not hold position, wiring is damaged, lights remain inconsistent, or the door behaves unpredictably. Avoid temporary fixes that defeat the beam, including taping sensors together or mounting both on one side. Leave the door out of normal use if the required safety tests fail.
For a persistent sensor or opener fault, our garage door opener repair service can assess the installed system. Calls are answered daily from 6 a.m. to 11 p.m. at (323) 924-8777; free estimates, free diagnostics and no service call fee are available.
Frequently asked questions
Should both sensor lights be the same color?
Not necessarily. Some systems deliberately use different colors for the sending and receiving units. Look for the correct pattern in your model’s manual, not matching colors.
Can I raise the sensors so they stop getting bumped?
No. Keep the manufacturer’s prescribed installation height. Protect the area from stored items instead of moving the beam out of its intended position.
Can I close the door and deal with the sensors later?
Do not treat an override or a successful close as a repair. If the safety system is not functioning, stop normal operation and get the fault resolved. Never disconnect an open or unstable door to force it shut.