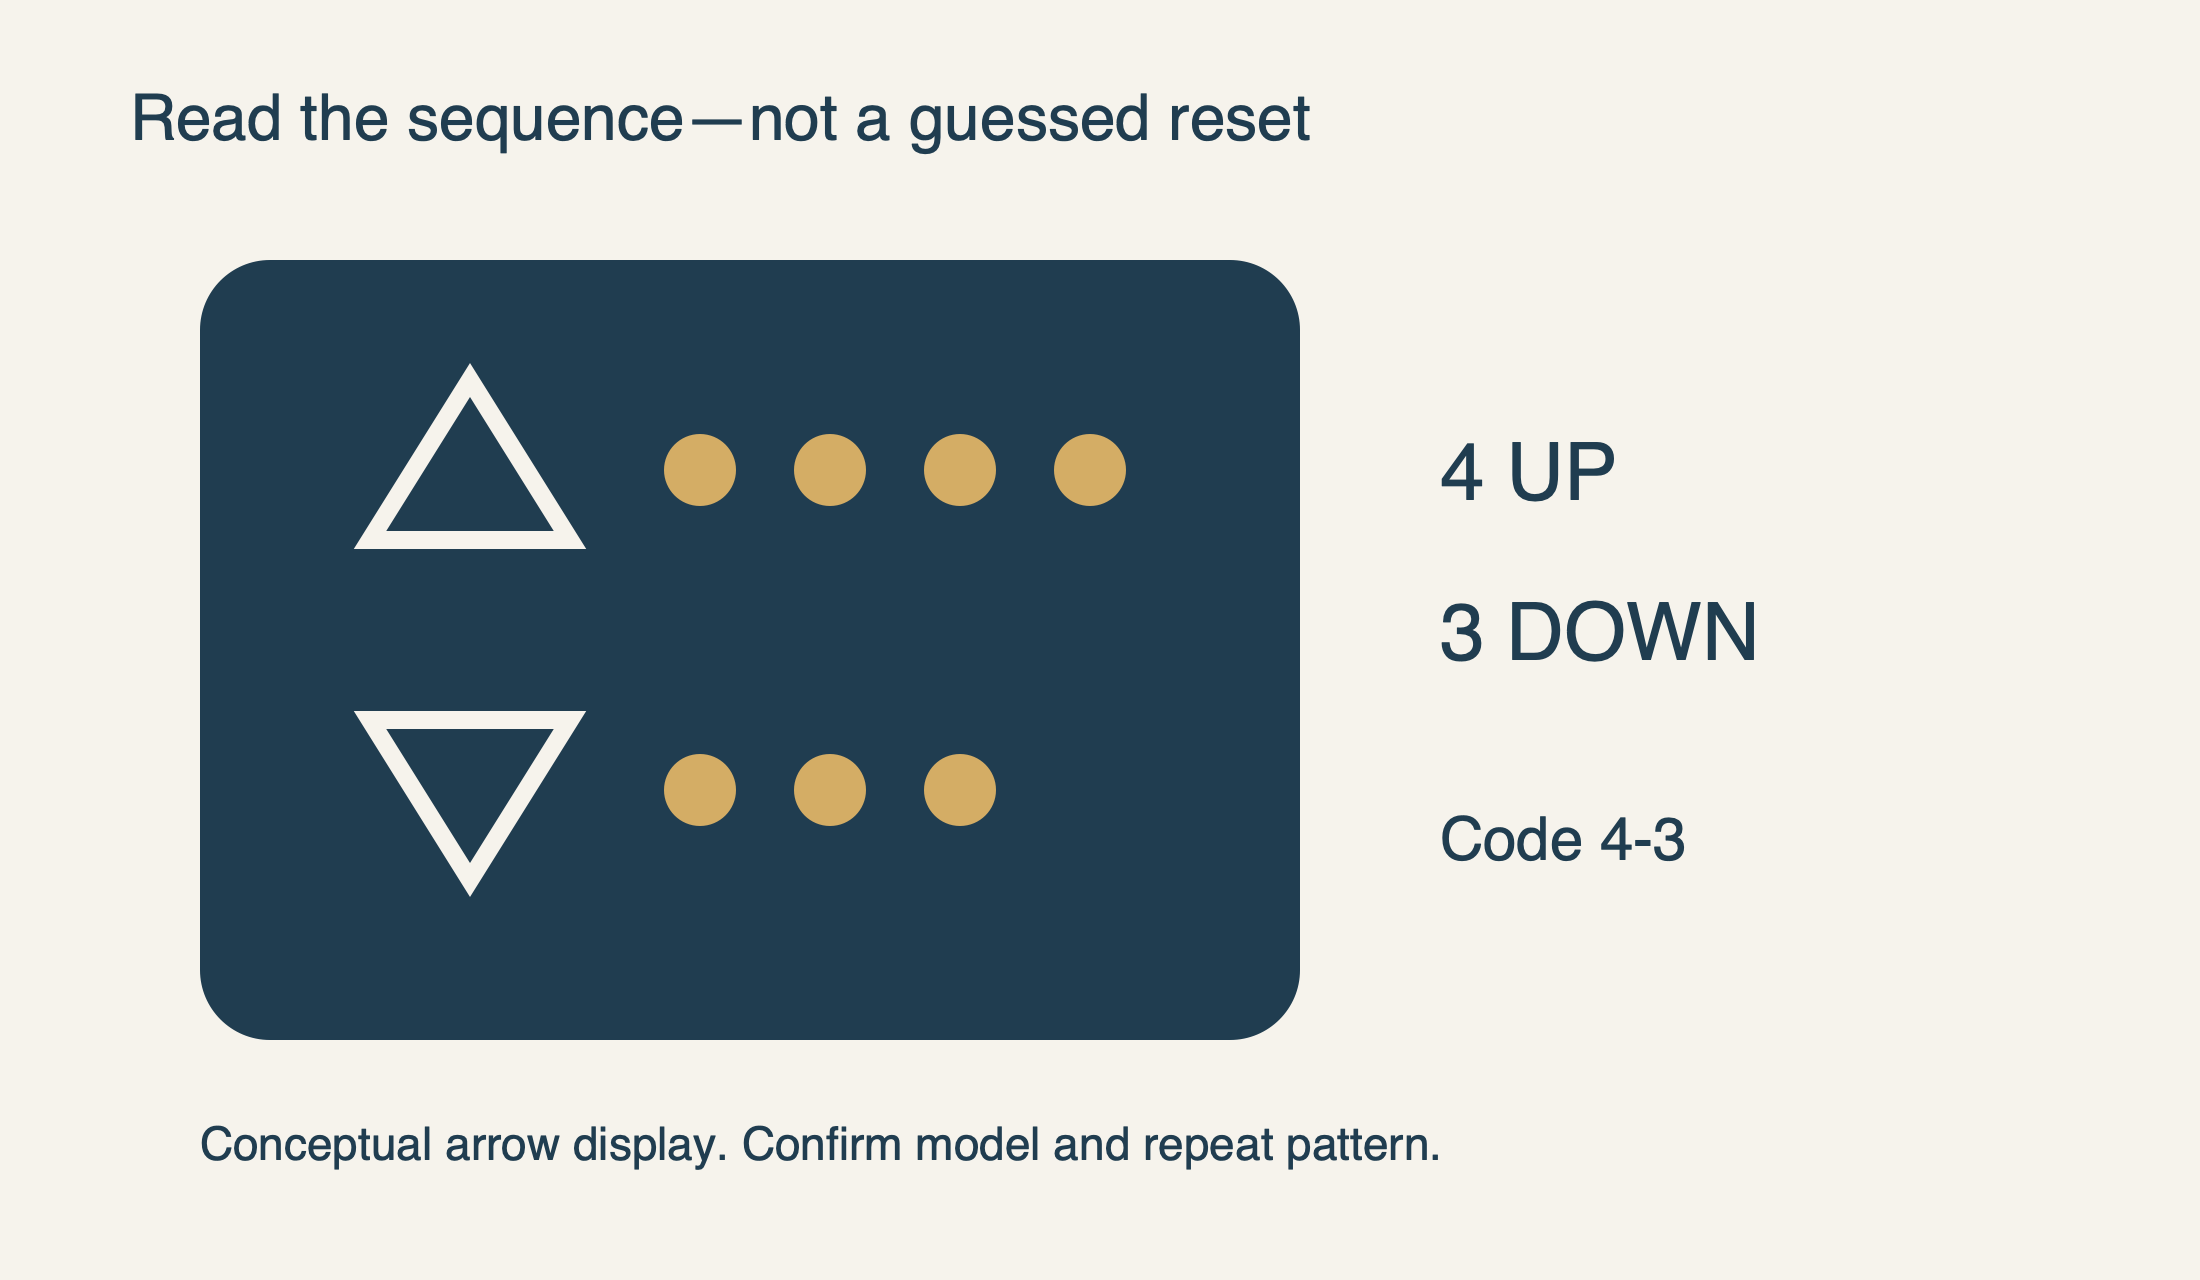
Count the UP sequence and then the DOWN sequence. Button positions vary by model.
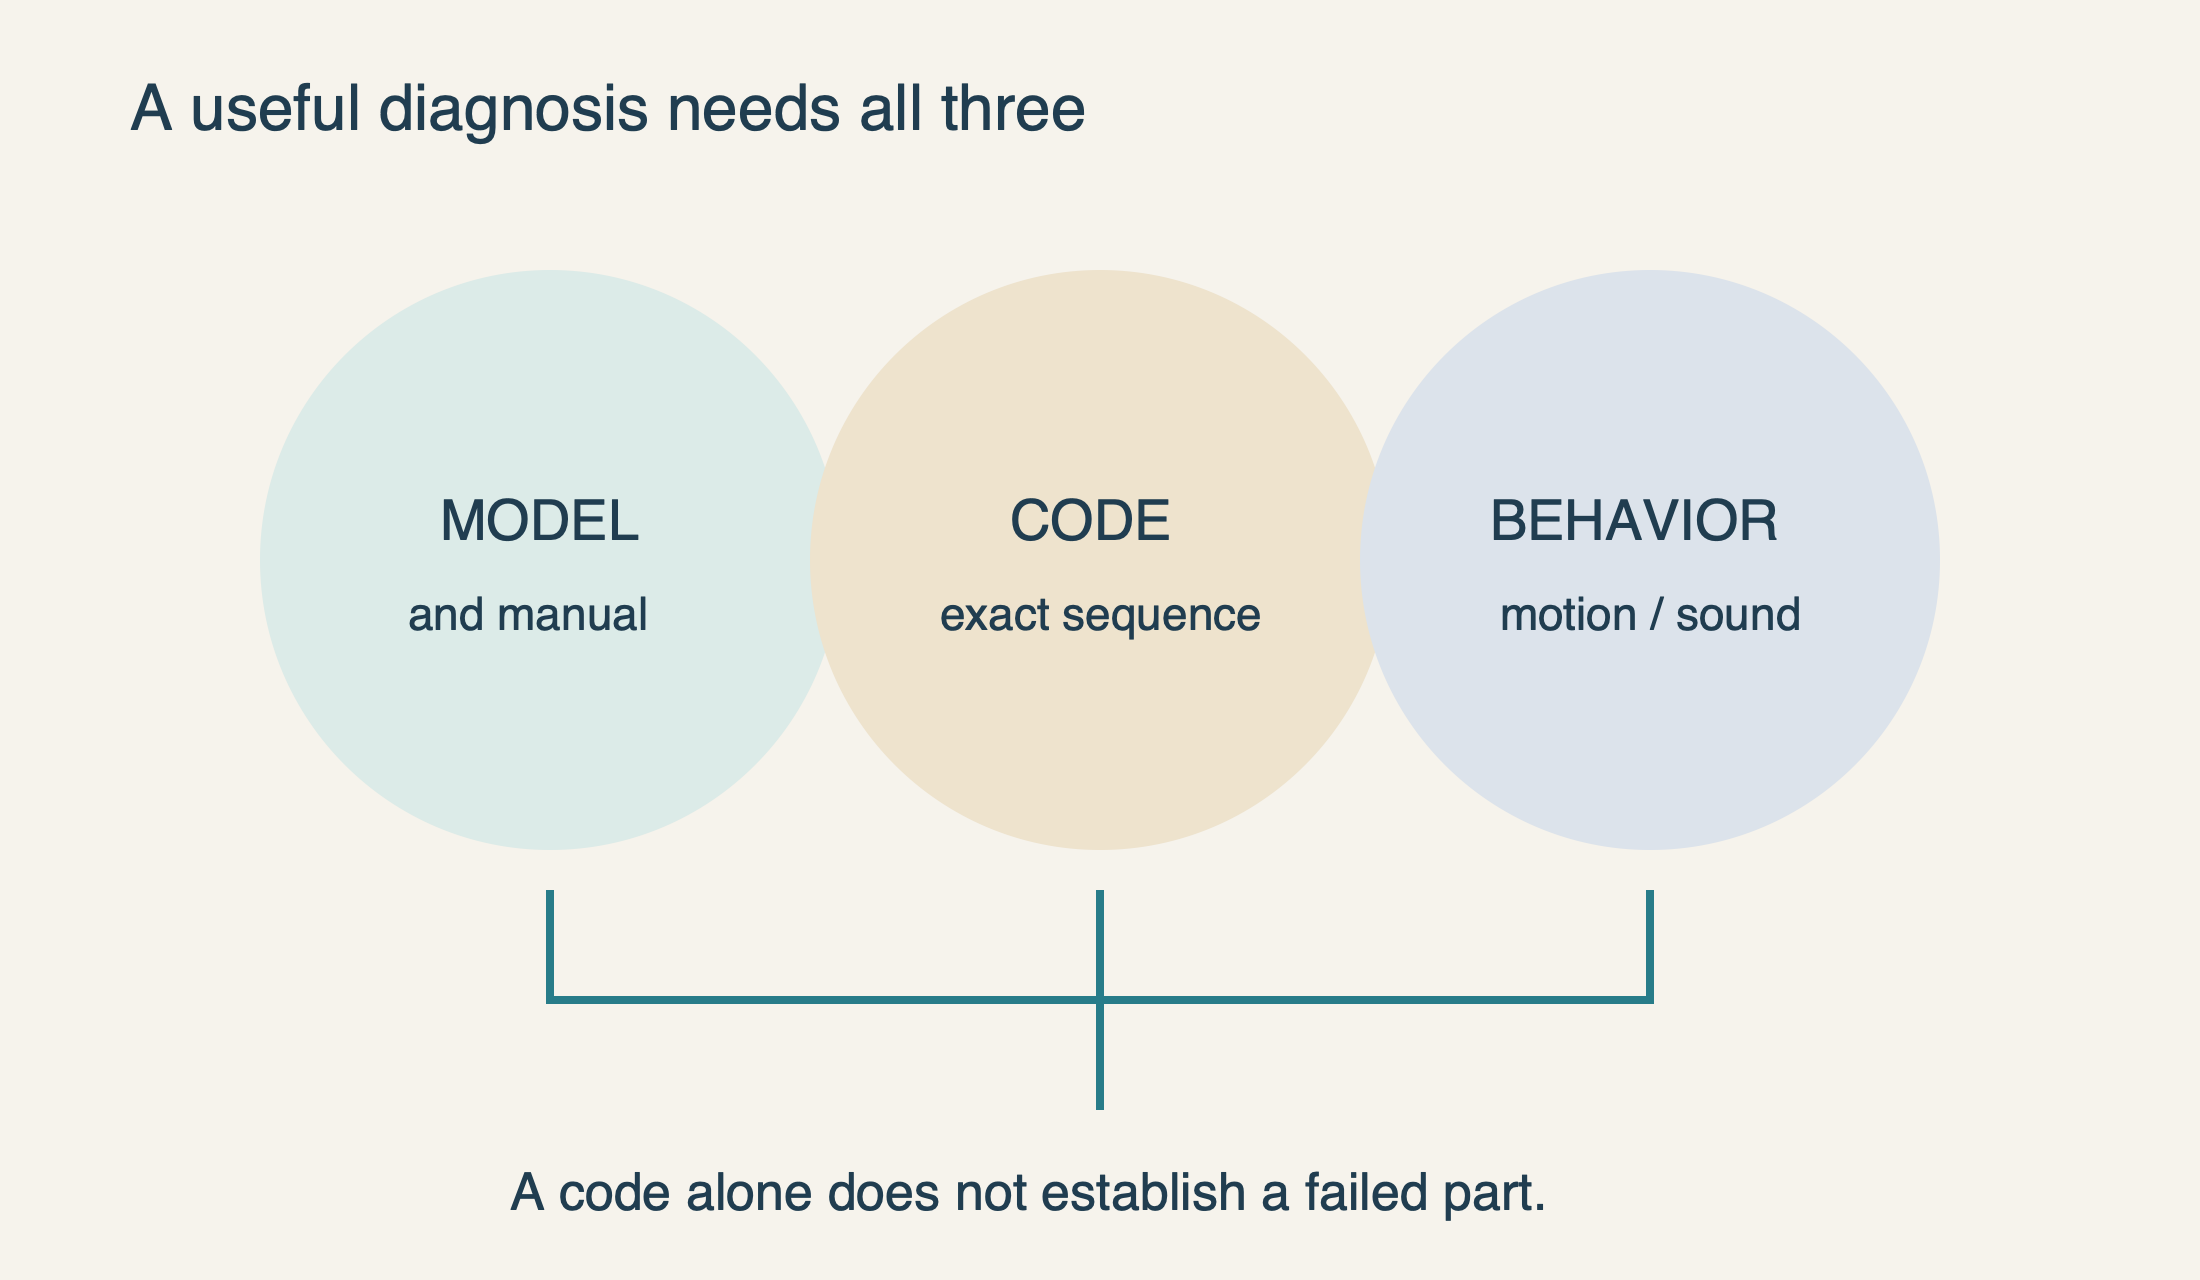
Identify the model and the indicator before reading a LiftMaster code. On the documented UP/DOWN system, count the two groups separately; a code narrows the investigation but does not prove which part needs replacing.
If you are searching for how to clear an error code on a LiftMaster garage door opener, first save the code. A reset may change what you can see without resolving why the door stopped. The useful outcome is not a quiet indicator; it is a correctly operating door with the underlying fault addressed.
The fastest productive approach is to identify the opener, distinguish its diagnostic lights from its battery or network indicators, and write down what the door actually did. That record can separate a removable obstruction from a sensor problem or an internal fault requiring service. It also prevents a common mistake: treating a numbered code as an instruction to order one particular replacement part.
This guide concentrates on residential LiftMaster arrow diagnostics, with an exact older-model example and a closer look at code 4-3. It is not a code chart for gate operators, commercial equipment, Genie openers or every product carrying a Chamberlain Group brand.
Find the model before interpreting the flashes
Photograph the opener’s model label if it can be reached safely without standing beneath a suspect door or opening an electrical housing. Include the suffix: an extra letter can distinguish equipment with different features and manuals. A remote’s model is not the opener’s model, and a familiar casing is not enough to identify a replacement circuit board.
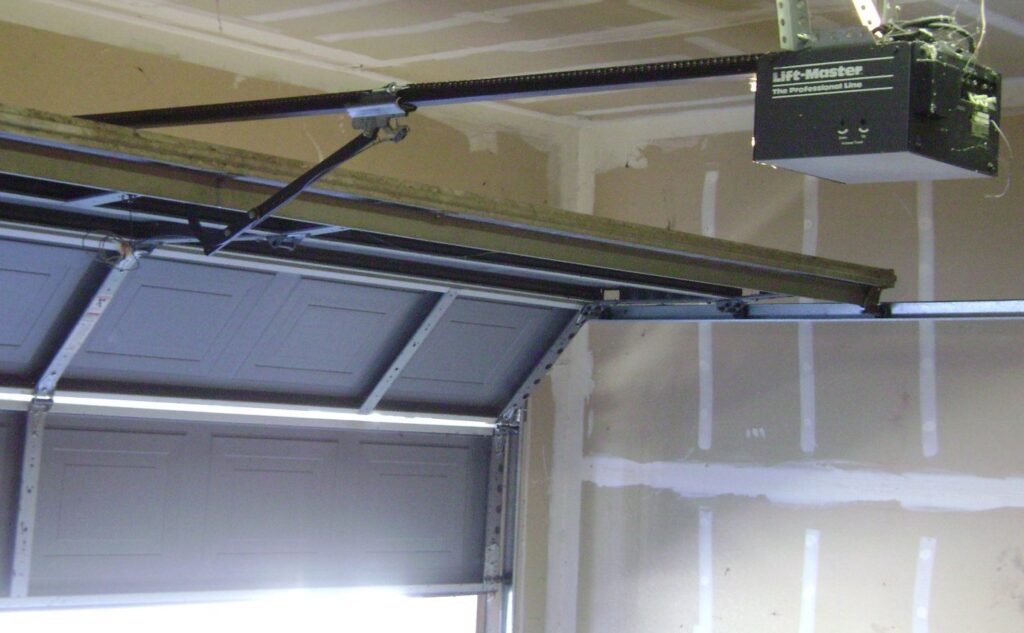
The current LiftMaster support guide covers UP/DOWN-arrow diagnostics on identified Security+ 2.0 yellow-round-LEARN and Security+ 3.0 white-round-LEARN openers. Count UP flashes first, then DOWN flashes, and confirm the repeating pattern. Four UP flashes followed by three DOWN flashes is 4-3, not seven flashes.
 Select the diagram to view it at full size.
Separate a fault code from a status light
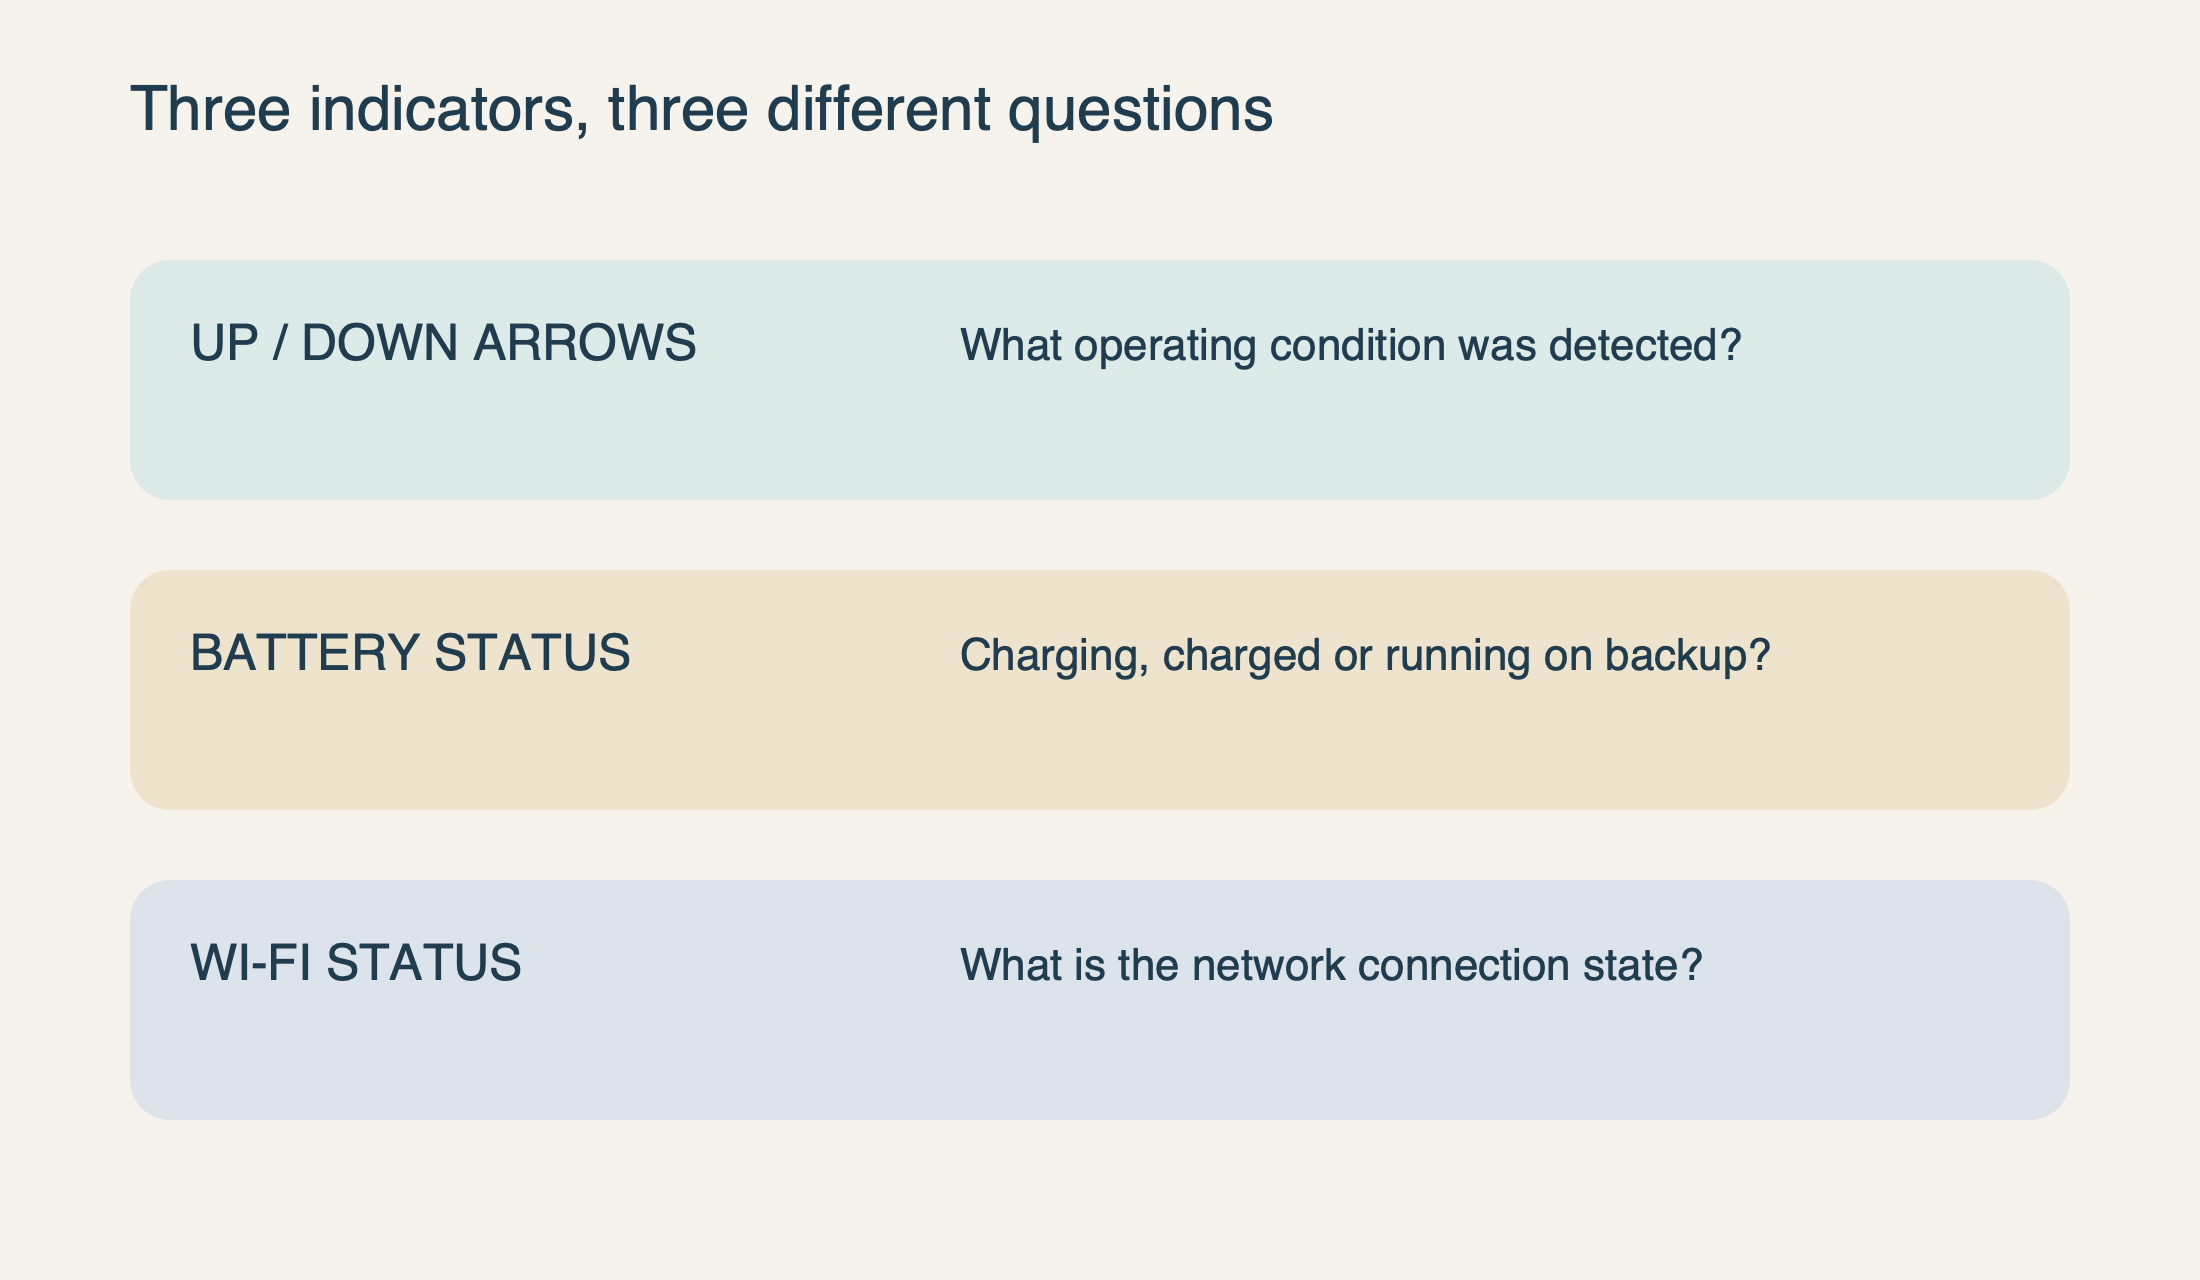
A battery status lamp can be reporting normal charging while a different indicator reports a network connection. In Chamberlain’s documented battery/Wi-Fi family, flashing green at the battery indicator means charging; that does not establish the meaning of a green light anywhere else. The location and purpose of the indicator come before its color.
Write down the label or position beside the light and whether the door still responds to the wall control. For example, “battery indicator flashing green after power returned” is much more useful than “green error.” Similarly, an app connection problem is not automatically a mechanical door fault. Avoid changing the router and opener settings together; otherwise you lose the ability to tell which change affected the symptom.
For audible warnings and power-state questions, our opener-beeping guide and battery-backup guide explain those separate signals. Here, keep the diagnostic count attached to the door’s movement rather than combining unrelated lights into one supposed error.
What code 4-3 tells you—and what it does not
The current manufacturer arrow-code guide identifies 4-3 as loss of RPM while closing: the opener detected an unexpected drop in motor speed. That is a description of the detected condition, not proof that a motor or travel module has failed. The same guide directs unresolved cases toward assessment of the movement-sensing system and other internal components.
From a safe position outside the opening, note where the door stopped or reversed and whether there was an obvious loose object in its path. With the door stationary and no sign of instability, remove only an ordinary accessible obstruction such as a bin or broom; do not reach into tracks or move attached door hardware. A tilted door, loose cable, damaged spring or grinding movement ends the homeowner check.
For someone specifically asking how to clear LiftMaster error code 4-3, the practical answer is therefore to address the condition first, not perform a generic memory wipe. Preserve the observations even if the display subsequently changes. An intermittent symptom that stops appearing is useful information, but it is not evidence that a worn or damaged component has repaired itself.
 Select the diagram to view it at full size.
Why an exact manual can differ from a broad support chart
The 8365W and 8365W-267 manual, publication 114A5083, groups codes 4-1 through 4-4 under a moving door that stops or reverses. Its page 36 separately identifies 4-6 with misaligned or momentarily obstructed safety sensors. Those are documented examples for that manual, not a universal translation of every LiftMaster display.
That distinction matters when comparing search results. One page may provide a newer, more specific description; an older manual may group related symptoms. Keep the exact model and document revision with the code instead of choosing whichever online wording promises the easiest reset. If the installed equipment does not match the manual, ask the manufacturer or a qualified technician to identify the correct reference.
The same manual’s 1-5 entry separates short movement, a single click and brief humming. That is why “1-5 means replace the motor” is an inadequate diagnosis. Describe the branch you observed without repeatedly commanding a struggling opener. Internal electrical checks, travel-module connections and component replacement belong with a technician.
When the identified issue concerns photo-eyes, continue with our sensor guide. When the symptom is simply refusal to close and you have not identified a code, use the broader not-closing diagnosis rather than forcing a code interpretation onto it.
A reset, memory erase and successful repair are different things
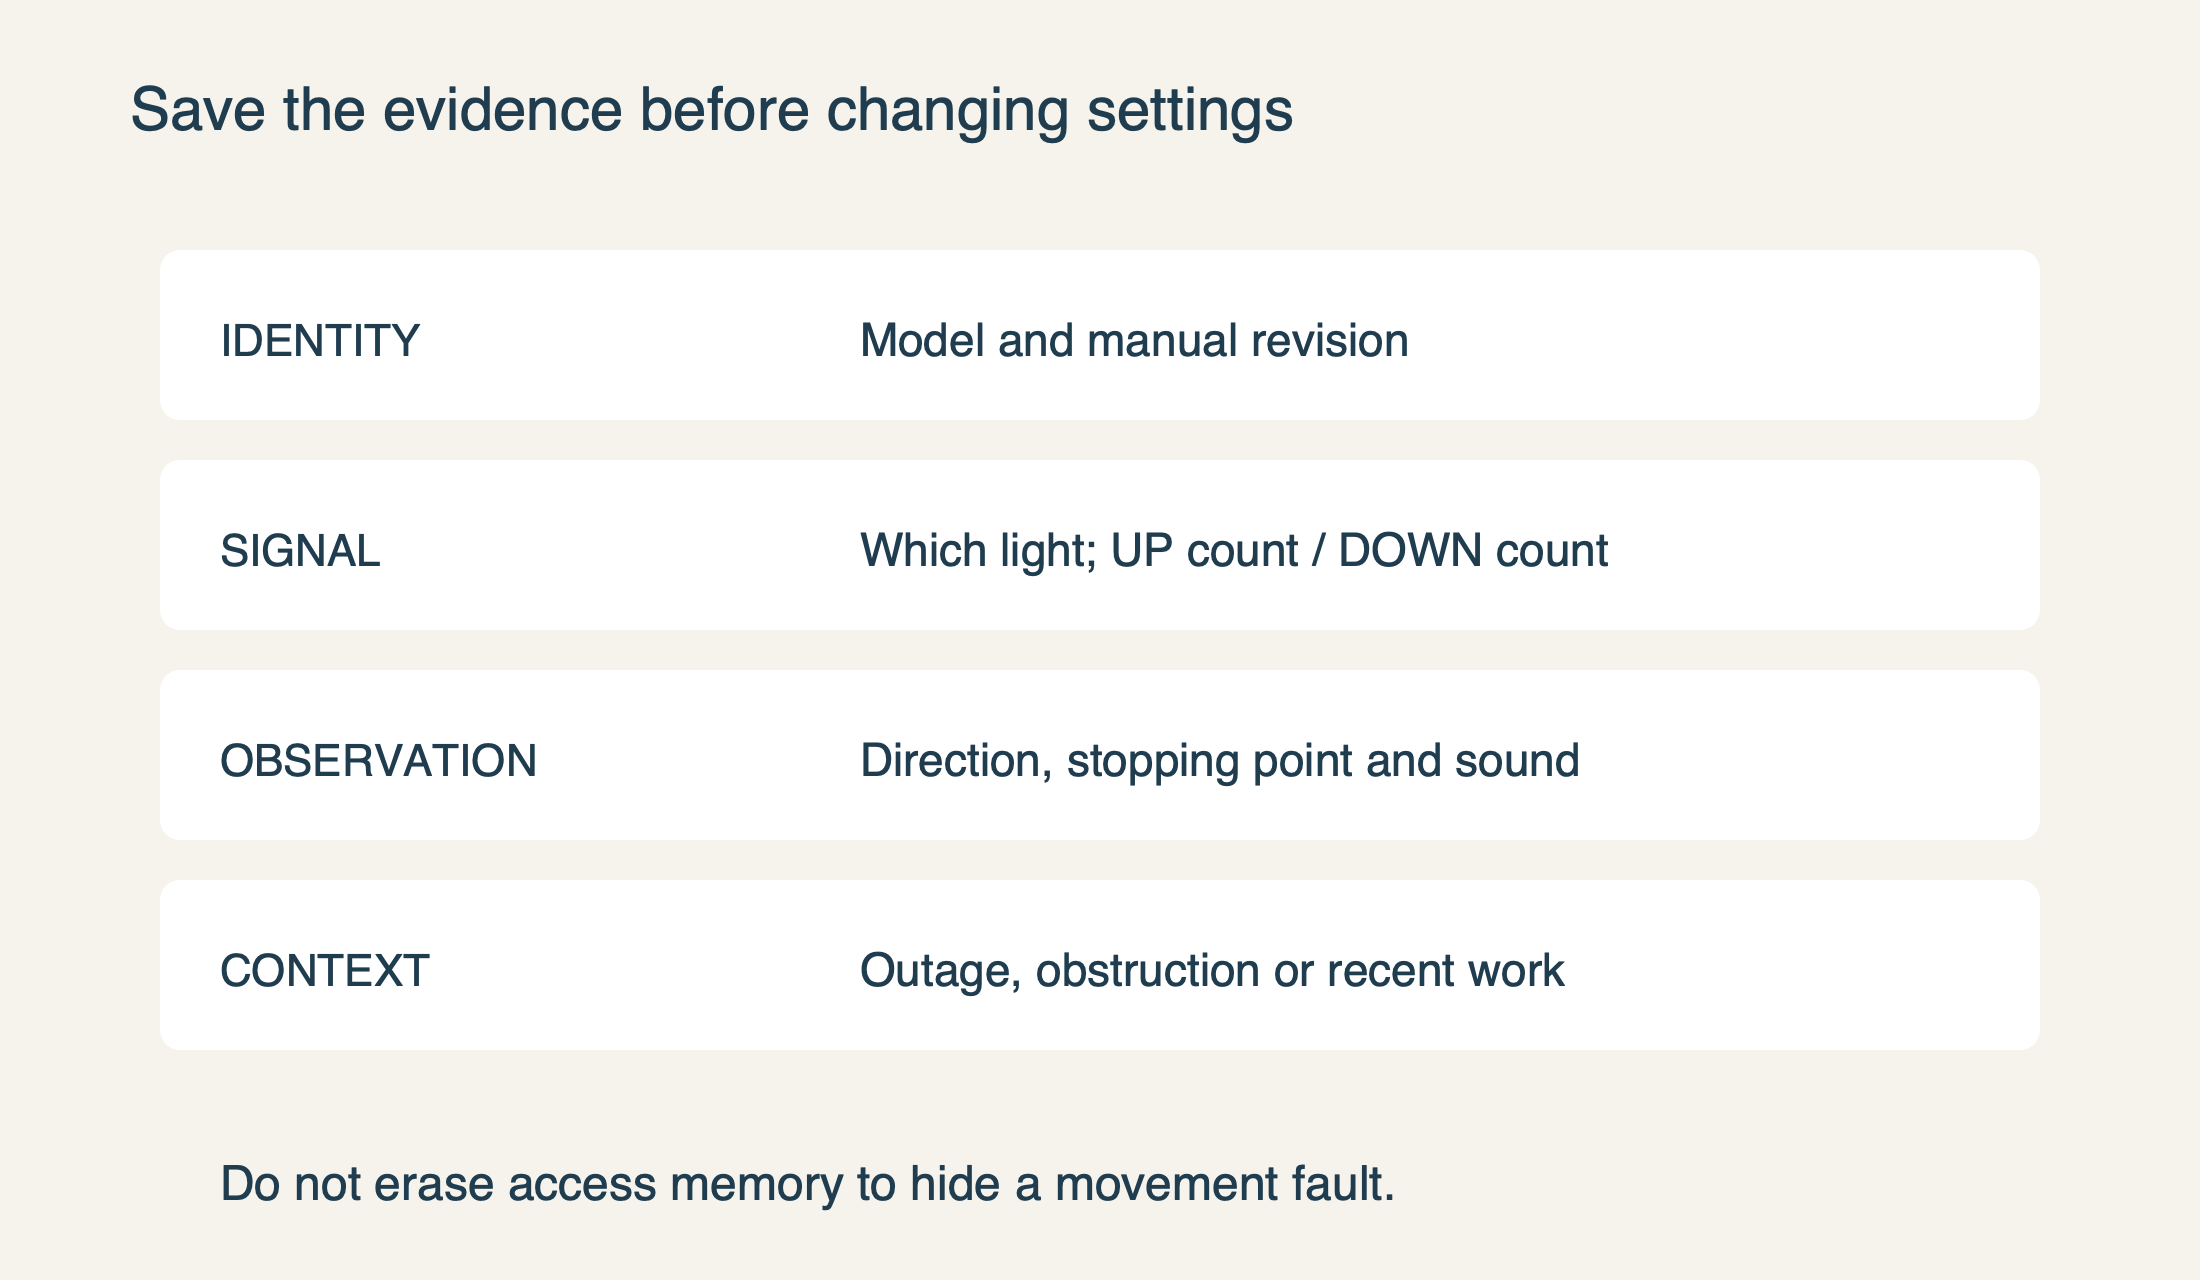
Do not hold the LEARN button as a general-purpose error clear. The 8365W manual documents a separate procedure for erasing remote controls and keyless entries. Removing those credentials is not the same task as resolving the cause of a movement fault; it can also leave the household needing to restore access devices.
Before following any authorized reset procedure, establish its purpose. Are you changing Wi-Fi ownership, deleting a lost remote, commissioning a replacement part or responding to a specific manufacturer troubleshooting step? Those are different jobs. A useful instruction identifies exactly what will be erased and what must be set up again.
For this reason, avoid changing travel settings, access memory and network settings in one troubleshooting session. Preserve the original evidence, complete only the appropriate model-specific action, and record the result. If professional repair includes adjustment or component replacement, have the technician complete the applicable operational and safety checks before returning the system to ordinary use.
 Select the diagram to view it at full size.
Send a diagnostic record, not just a code number
A concise service message can contain five facts: the exact opener model, which indicator flashed, the UP/DOWN count, the movement or sound observed, and any recent change. “4-3 after closing halfway, began after an object caught in the doorway” gives a different starting point from “4-3 immediately after internal parts were replaced.” These are examples of useful descriptions, not claims about a particular repair outcome.
Include whether the event happened on ordinary mains power or during an outage, and whether the behavior repeats with normal supervised use. Do not recreate a dangerous failure simply to obtain a better video. Leave a suspect open door supported as found, keep people away from its path and request assistance rather than pulling the emergency release.
Our garage door opener repair service can use that record to assess the system without guessing from a code alone. The goal is to restore dependable operation and verified safety—not merely remove the message that warned you something was wrong.