Skip to content
So, you’re staring at your garage door, wondering if it’s time for an upgrade. Maybe the opener groans like it’s carrying the weight of the world, or perhaps that DIY itch needs scratching. Whatever the reason, one thing’s clear: the unsung hero of a smoothly functioning garage door is the brackets. But how do you install garage door brackets without it sounding like a robot wrote the manual? Let’s dive in, step by step, with the kind of advice you’d get from a neighbor who’s been there, done that.
Picking the Right Bracket: Because One Size Doesn’t Fit All
Before swinging into action, let’s talk brackets. Imagine buying shoes without checking the size—it’s a disaster waiting to happen. When you install garage door brackets are no different.
- Low-Headroom Brackets: Got a garage that’s more cozy than cavernous? These space-saving gems tuck neatly into tight spaces, ensuring the door doesn’t bonk the ceiling.
- Quick-Turn Brackets: For the impatient perfectionist, these allow adjustments without the hassle of disassembling half the door. Perfect if you’re juggling family life and DIY projects.
- Reinforcement Brackets: If your door’s heavier than your last grocery haul, these add muscle to prevent wear and tear.
Pro Tip: Snap a photo of your current setup and chat with a hardware store pro. They’ll spot details you might miss, like rust spots or odd angles.
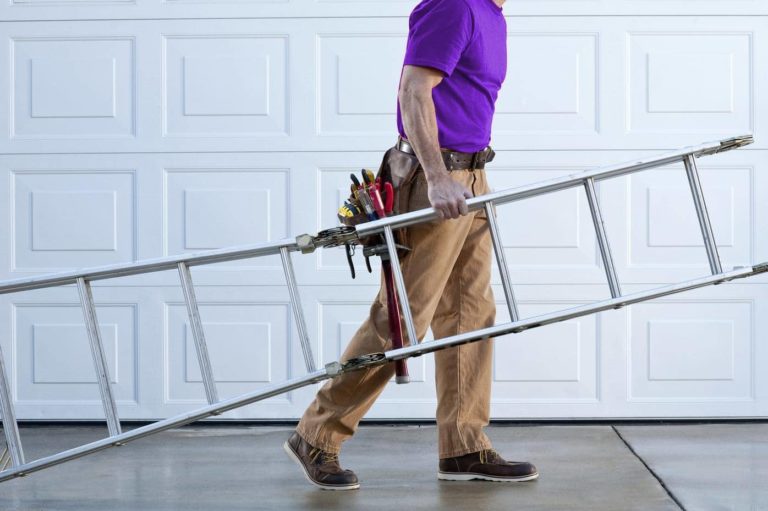
Gathering Tools: The DIY Buffet
Ever tried buttering toast with a screwdriver? Exactly. Having the right tools turns chaos into calm. Here’s your checklist:
Tools You’ll Need:
- A measuring tape (because eyeballing it leads to “oops” moments).
- A drill with bits—think of it as the Swiss Army knife of your toolkit.
- A level—unless you want your door sliding sideways like a tipsy penguin.
- A wrench and screwdrivers (keep both Phillips and flat-head handy).
- Safety goggles—because sawdust in the eye isn’t a fashion statement.
Materials to Grab:
- The bracket itself (see above for choosing wisely).
- Screws and bolts—opt for stainless steel to outlast Mother Nature’s mood swings.
- Lubricant—because silence is golden when your door opens at dawn.

Prepping the Door to Install Garage Door Brackets: Setting the Stage
You wouldn’t paint over a dirty wall, right? Prep work is key.
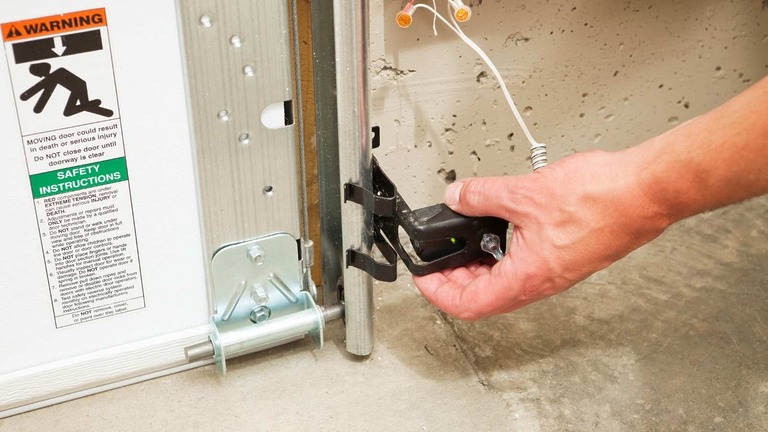
- Inspect Like a Detective:
- Check existing brackets for cracks or warping. A wobbly bracket is like a ticking time bomb.
- Test the door’s balance. Disconnect the opener and lift manually. If it sticks or slams, the tracks might need alignment.
- Reinforcement Ritual:
- Spot weak joints? Bolt on a reinforcement bracket. Picture it as a weightlifter’s belt for your door.
- Clear the tracks of debris—leaves, pebbles, or that LEGO piece your kid swore they lost.
Fun Fact: A misaligned track can shave years off your door’s lifespan. An hour of prep saves a weekend of cussing later.
Measuring & Marking: Precision Without the Perfectionism
Measure twice, cut once—words to live by. Here’s how to avoid “guesswork grief”:
- Height Matters:
- Measure from the door’s top edge to the ceiling. Add an inch for breathing room—nobody likes a cramped installed garage door bracket.
- Mark the centerline with chalk. If your door were a pizza, this is where you’d slice it.
- Drill Holes Like a Pro:
- Use a pencil, not a Sharpie. Trust me, permanent lines are hard to explain when you’re off by a smidge.
- Pilot holes are your friend. They’re like training wheels for screws, keeping everything aligned.
Oops Moment: I once drilled holes before checking for wiring behind the wall. Let’s just say the sparks were… enlightening. Always scan for hidden hazards!
Attaching the Bracket: The Main Event
- Position with Care:
- Line the bracket up with your marks. Imagine it’s a picture frame—centered and level.
- Drill screws in a star pattern (top-left, bottom-right, etc.) to avoid tilting.
- Reinforce if Needed:
- Heavy door? Install garage door brackets nearby (just add one more). It’s like having a backup dancer for stability.
- Tighten gradually. Cranking one screw all the way first is like wearing one shoe—unbalanced and awkward.
Pro Hack: Drop a dab of threadlocker on screws. It’s like glue for adults, keeping vibrations from undoing your hard work.
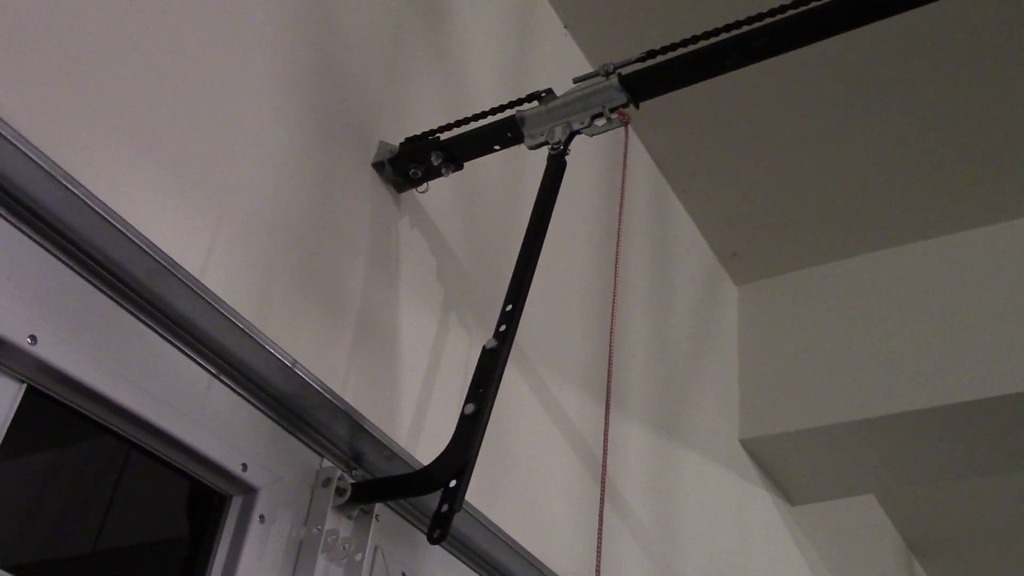
Connecting the Opener Arm: The Handshake Moment
- Slide and Secure:
- Attach the arm to the bracket’s receiver. It should glide in smoothly, like a key in a lock.
- Secure with the provided pin. If it feels forced, double-check alignment—brute force isn’t the answer.
- Test the Motion:
- Manually lift the door a few inches. The arm should pivot freely, with no jerking or grinding.
- Spot resistance? Loosen the bolts slightly, adjust, and retighten. Patience pays off.
Testing & Troubleshooting: Expect the Unexpected
- Door Won’t Budge? Check for obstructions in the tracks or misaligned sensors.
- Grinding Noise? Lubricate the rollers and hinges. Think of it as a spa day for your door.
- Uneven Closing? Adjust the travel limits on the opener. It’s like tuning a guitar—small tweaks, big harmony.
Pro Tip: Keep the opener’s manual handy. Those hieroglyphics actually make sense mid-panic.
Replacing the Bottom Roller Garage door Bracket: When Life Gives You Lemons
- Lift and Secure:
- Prop the door open with clamps. It’s like giving it a yoga pose while you work.
- Remove the old bracket, noting how the rollers attach. Taking photos helps if your memory’s a sieve.
- Install the Newcomer:
- Align the replacement bracket, ensuring the rollers sit snugly in the track.
- Tighten bolts diagonally for even pressure—no lopsided surprises.
Caution: Wear gloves. Old rollers can be sharper than a toddler’s crayon masterpiece.
Maintenance: The Secret to Longevity
Treat your bracket right, and it’ll outlast your gym membership.
- Monthly Check-Ups: Tighten loose screws and lubricate moving parts. A 10-minute ritual can save a $200 service call.
- Seasonal Tweaks: In cold winters, check alignment as metal contracts. In humid summers, lubricate more often to combat stickiness.
- Listen to Your Door: Squeaks or sluggishness are its way of crying for help. Address issues before they snowball.
Pro Wisdom: A well-maintained garage door is like a good friendship—consistent effort keeps it thriving.
Wrap-Up: You’ve Got This!
Installing a garage door opener bracket isn’t rocket science, but it’s not a TikTok trend either. With patience, the right tools, and a dash of humor, you’ll conquer this project. Remember, every DIYer has a “why is there smoke?!” story—it’s how we learn. So grab that drill, channel your inner handyperson, and transform that creaky door into a silent, smooth operator. Your garage (and neighbors) will thank you.
FAQs: Quick Fixes for Curious Minds
- Q: Can I skip the reinforcement bracket?
- A: Sure, if you enjoy surprise repairs. For heavy doors, it’s like skipping sunscreen at the beach—risky.
- Q: What if my drill dies mid-project?
- A: Borrow a neighbor’s or embrace the old-school screwdriver. Your forearms will get a workout!
- Q: How do I know if the installed garage door bracket’s secure?
- A: Give it a gentle shake. If it wobbles, channel your inner detective and hunt for loose screws.
- Q: Can I use WD-40 as lubricant?
- A: It works in a pinch, but silicone-based lubes last longer. Think of WD-40 as the fast food of greases.
- Q: What’s the biggest rookie mistake?
- A: Rushing. Take breaks, double-check steps, and remember: YouTube tutorials exist for a reason.