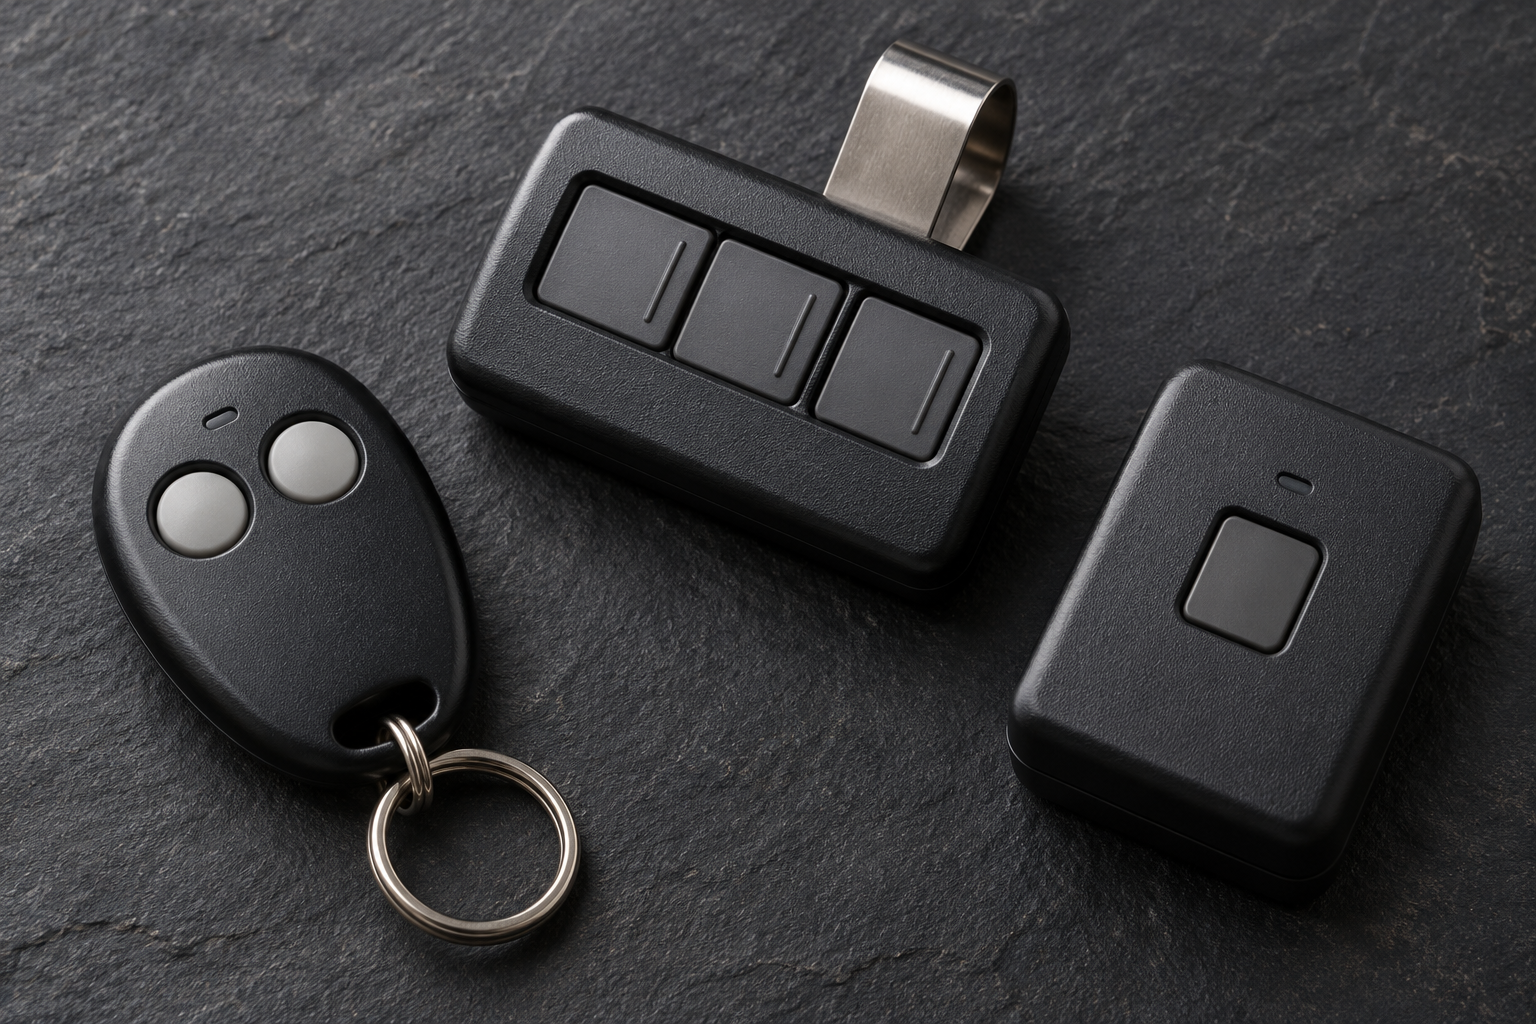
Remote designs differ; compatibility depends on the exact receiver and supported generation.
Universal remotes still have compatibility limits. Check the exact remote’s chart against each opener generation and intended button; a broad brand claim is not proof that a particular pair will work.
Read a universal remote compatibility chart correctly. Check opener generation, exact remote model, each button and special cases before replacing working controls.
Universal is a compatibility list, not a promise
A replacement remote can have the right number of buttons, look almost identical to the old one and still be the wrong product. The part that matters is not its shell. It is whether the transmitter supports the receiver’s radio system and the programming method required for that combination.
A universal garage door opener remote supports a defined set of systems. That set may include several manufacturers and generations, but “universal” does not mean every opener ever made. The useful shopping document is the exact remote’s current compatibility chart, not a marketplace title or a photograph of familiar buttons.
This guide shows how to read that chart, compare two real product examples and plan a replacement without disrupting working controls. It is not a ranking of remotes, a whole-opener buying guide or a method for gaining access to a door you are not authorized to operate.
Identify the receiver as carefully as the replacement remote
Start with the opener model and the model of any separate receiver already installed. Photograph accessible labels and note the Learn-button color only if it is safely visible. Do not open a mains-voltage enclosure or climb on a car to find a label. If an external receiver is involved, the opener’s brand name alone may not identify the radio system receiving the command.
Then record the proposed remote’s complete model number, including suffixes, rather than just its product family. Keep a photograph of its packaging or label and the manufacturer’s instruction sheet. On Genie’s ACSCTG-UNIV example, support also identifies markings for date code and software revision.[2] Such details make a compatibility question specific enough for the manufacturer to answer.
A search for “garage door opener universal remote” can mix current models, discontinued models and visually similar copies. Before buying, open the manufacturer page for the actual item offered. If the seller’s model and the instructions do not agree, resolve that mismatch rather than assuming the difference is cosmetic.
Keep the old working control until the replacement has been verified. It provides a useful baseline: if it still operates the door and the new remote does not, you have not yet demonstrated an opener failure.
Read across the chart—not just down the brand column
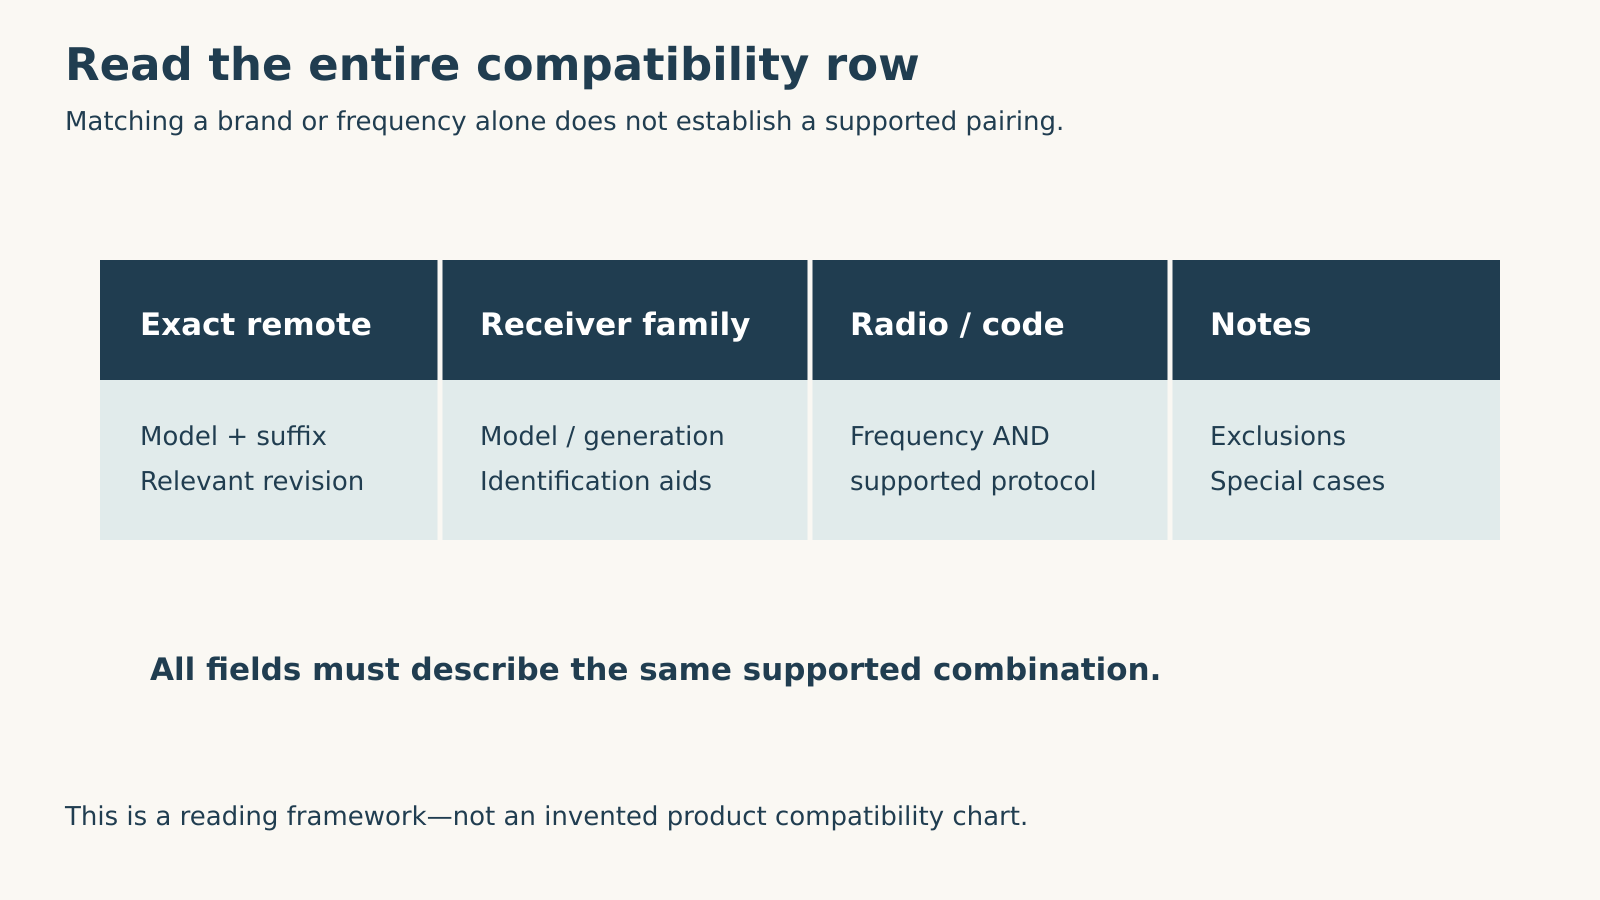
A compatibility row can contain a brand, radio frequency, coding system, Learn-button color and a generation range. Read those fields together. Matching one familiar name is not enough, and matching a frequency alone does not establish the coding system.
For example, Genie’s ACSCTG two-button chart distinguishes Intellicode I from Intellicode II, even though both rows list 315/390 MHz. Its LiftMaster-family rows separately identify purple, red/orange, yellow and green Learn-button systems.[1] The chart is doing more than listing logos: it is describing which versions are supported.
Treat a date range as supporting identification, not a replacement for the model. Different manufacturers’ summaries may use different boundaries for an era, and a replaced receiver can change the relevant radio hardware. If color, model and chart row do not line up, ask for clarification before programming.
Absence from a chart means compatibility has not been established by that chart. Do not convert that into either “it definitely works” or a permanent claim that no compatible product exists. Find an explicit supported pairing for the exact hardware you intend to use.
 Select the diagram to view it at full size.
A current example shows why the remote model matters
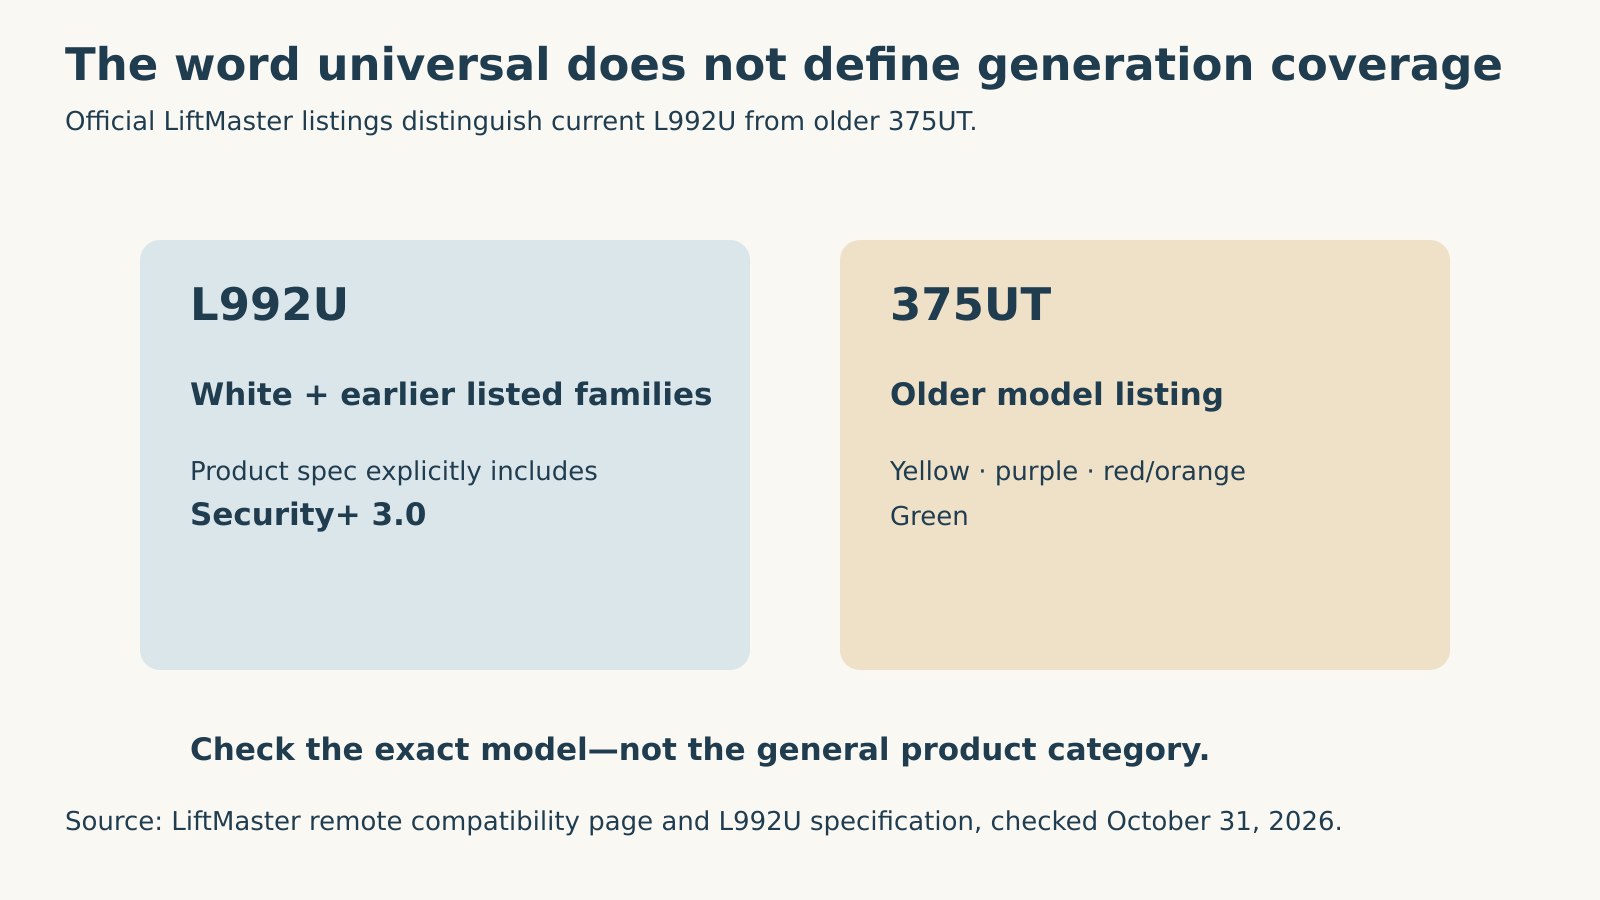
The current LiftMaster compatibility page lists L992U, a two-button universal remote, for the white Learn-button family as well as several earlier color families. Its older 375UT listing covers yellow, purple, red/orange and green systems instead.[3] Two products described as universal therefore do not have identical documented coverage.
LiftMaster’s L992U product specification explicitly includes Security+ 3.0 alongside Security+ 2.0 and other listed systems.[4] That is evidence about L992U, not permission to extend the same capability to every older LiftMaster remote or every third-party universal product.
This matters when the opener has been replaced but the household wants to keep an old transmitter. A control that operated yesterday’s opener has not proved anything about the new receiver. Conversely, replacing the whole opener just because one old remote will not pair may skip a simpler compatibility decision.
Use these examples to learn how to compare listings, not as a recommendation to buy either item without checking your own setup. Product revisions and supported combinations can change. Keep the source and exact model attached to the decision rather than copying an isolated green check mark into a shopping note.
 Select the diagram to view it at full size.
Check every intended door and every button independently
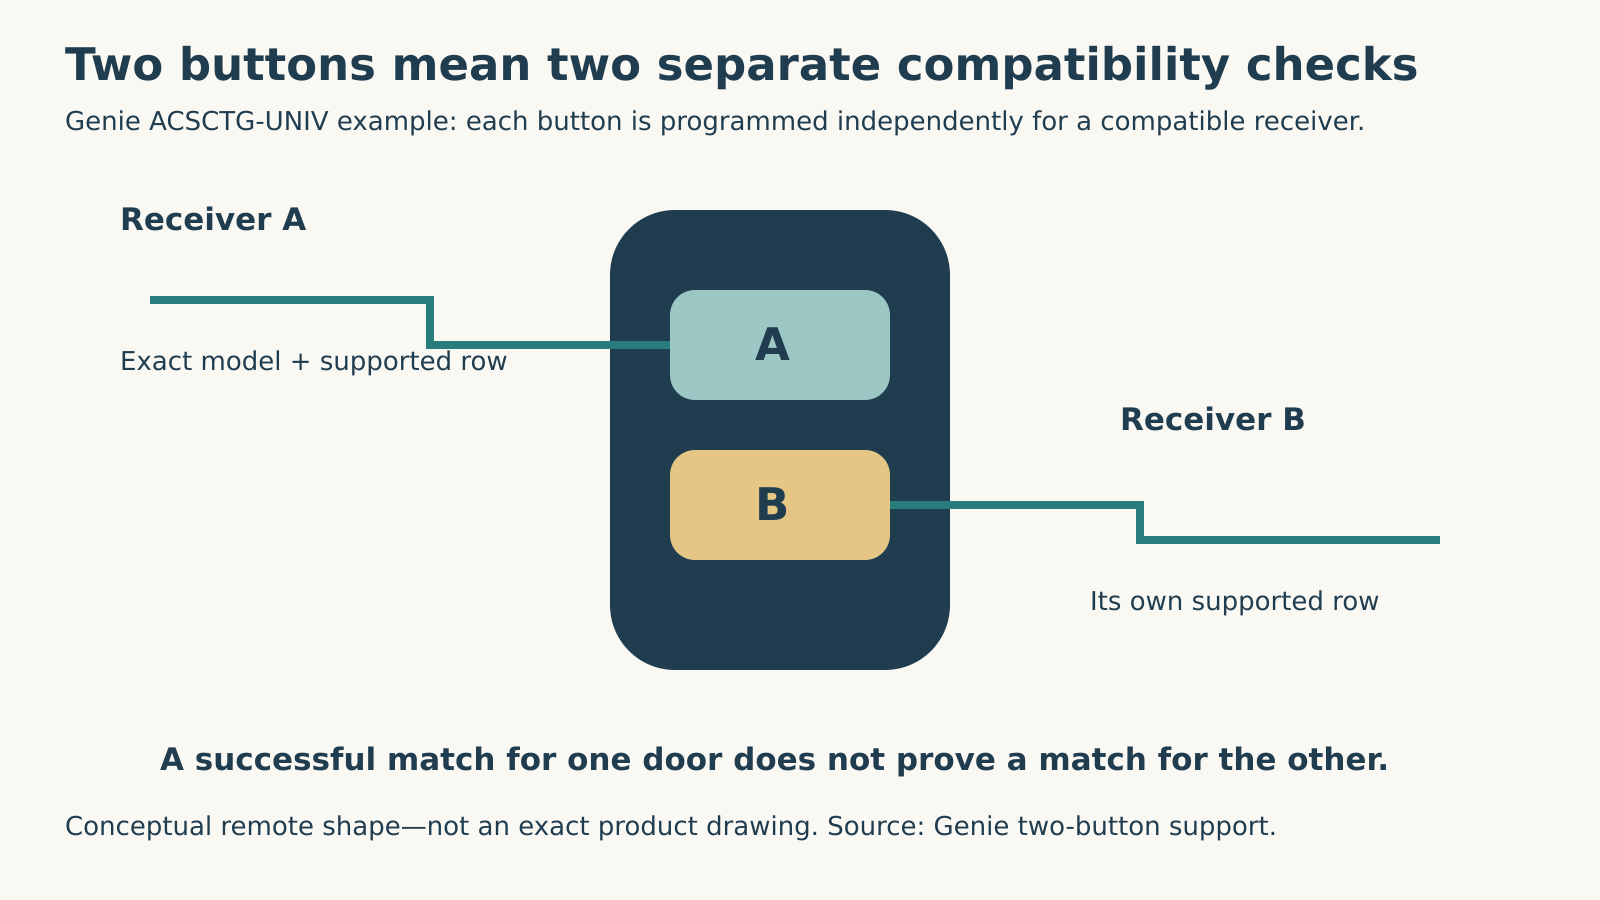
If the goal is one handheld for two garages, write a separate compatibility line for each receiver. A match for the first door does not establish a match for the second, even when the doors look the same from outside.
Genie’s ACSCTG-UNIV/41713R support states that its two buttons are programmed independently and can control up to two compatible openers or receivers.[2] The word compatible still applies to each one. Two buttons are not a way to turn an unsupported receiver into a supported one.
Make a simple button map before programming: left button for one identified door, right button for the other, with the relevant chart row beside each. Avoid writing full access codes or sensitive entry details on the remote itself. If more than one person will use it, agree on the mapping so a familiar-looking button does not unexpectedly operate a different door.
After adding the second function, retest both intended functions from a clear stationary position. Do not judge the entire remote by the one door that happened to move during setup. The final result should match the planned map, while existing authorized controls continue to work as intended.
 Select the diagram to view it at full size.
Read the special-case notes before changing anything
A chart is not the whole instruction set. Genie’s support for the two-button universal remote includes a specific Marantec caveat: it warns against using that remote where other remotes or keypads are already programmed, because the existing controls can cease to operate.[2] That warning changes the suitability decision; it is not a minor detail to discover after pairing.
The same source distinguishes supported specifications from fixed-code products it does not support. Meanwhile, some chart rows use the phrase “Fixed Learn Code.”[1][2] Do not flatten those terms into a guessed claim that every fixed-code or DIP-switch receiver is covered. If your system is a special case, have the manufacturer confirm the exact pairing and its consequences.
Similarly, do not import instructions from a four-button universal remote into a two-button model because the brand matches. Button combinations, programming modes and compatible systems belong to the actual product. An instruction that clears all stored programming can have a very different consequence from one that assigns a single button.
If you cannot establish compatibility without changing other users’ access, stop the experiment. A suitable replacement is one that fits the household’s complete control arrangement, not merely one that can make the door move once.
Pair only after the compatibility decision is settled
Use the exact remote and receiver instructions for the supported combination. Keep people, pets, vehicles and tools out of the door path because programming can operate the door. Work with the opening visible and do not continue if the door is crooked, unstable or already malfunctioning.
Do not hold a Learn or Program button experimentally to force a result. Read whether the instruction calls for a brief press, a timed hold or a separate programming mode. Clearing a receiver’s memory is not a harmless first step when several household controls depend on it.
If the new remote does not work, preserve the evidence: does its indicator respond, which documented programming stage completed, does the original remote still work, and does the wall control operate the door normally? Those observations help separate a transmitter issue from a receiver, lock-setting or door-operation problem.
A door that starts closing and then reverses needs a different investigation from a transmitter that never gets accepted. Do not bypass the safety sensors, increase force or repeat cycles to make the new remote appear successful. Our not-closing guide explains the safe observation path for that symptom.
Verify the replacement—and know when to stop shopping
A successful replacement should operate each intended door reliably from a normal safe position, use the agreed button mapping and leave the expected household controls functioning. Keep the instruction sheet and model information with the opener records. Do not throw away the old working remote until that verification is complete.
If the replacement works only very close to the opener, a second purchase based on a larger advertised range may not resolve the underlying issue. Record the comparison with the old remote at the same stationary location and investigate the range symptom separately. Compatibility and radio performance are related, but they are not the same test.
If a remote was lost or stolen, replacement also raises an access-control question. A new transmitter does not by itself establish that the missing one has been revoked. Use the exact receiver’s documented access-removal process, with a plan for restoring legitimate controls; do not assume that pairing a replacement automatically excludes the old device.
For an uncertain receiver identity or an opener-side fault, Local Garage Experts offers garage door opener assessment, free estimates and free diagnostics with no service call fee. Calls are answered daily from 6 a.m. to 11 p.m. at (323) 924-8777. Bring the model information and chart row—not just the word universal.
Sources & manuals
Product-specific examples are labelled and should not be generalized.