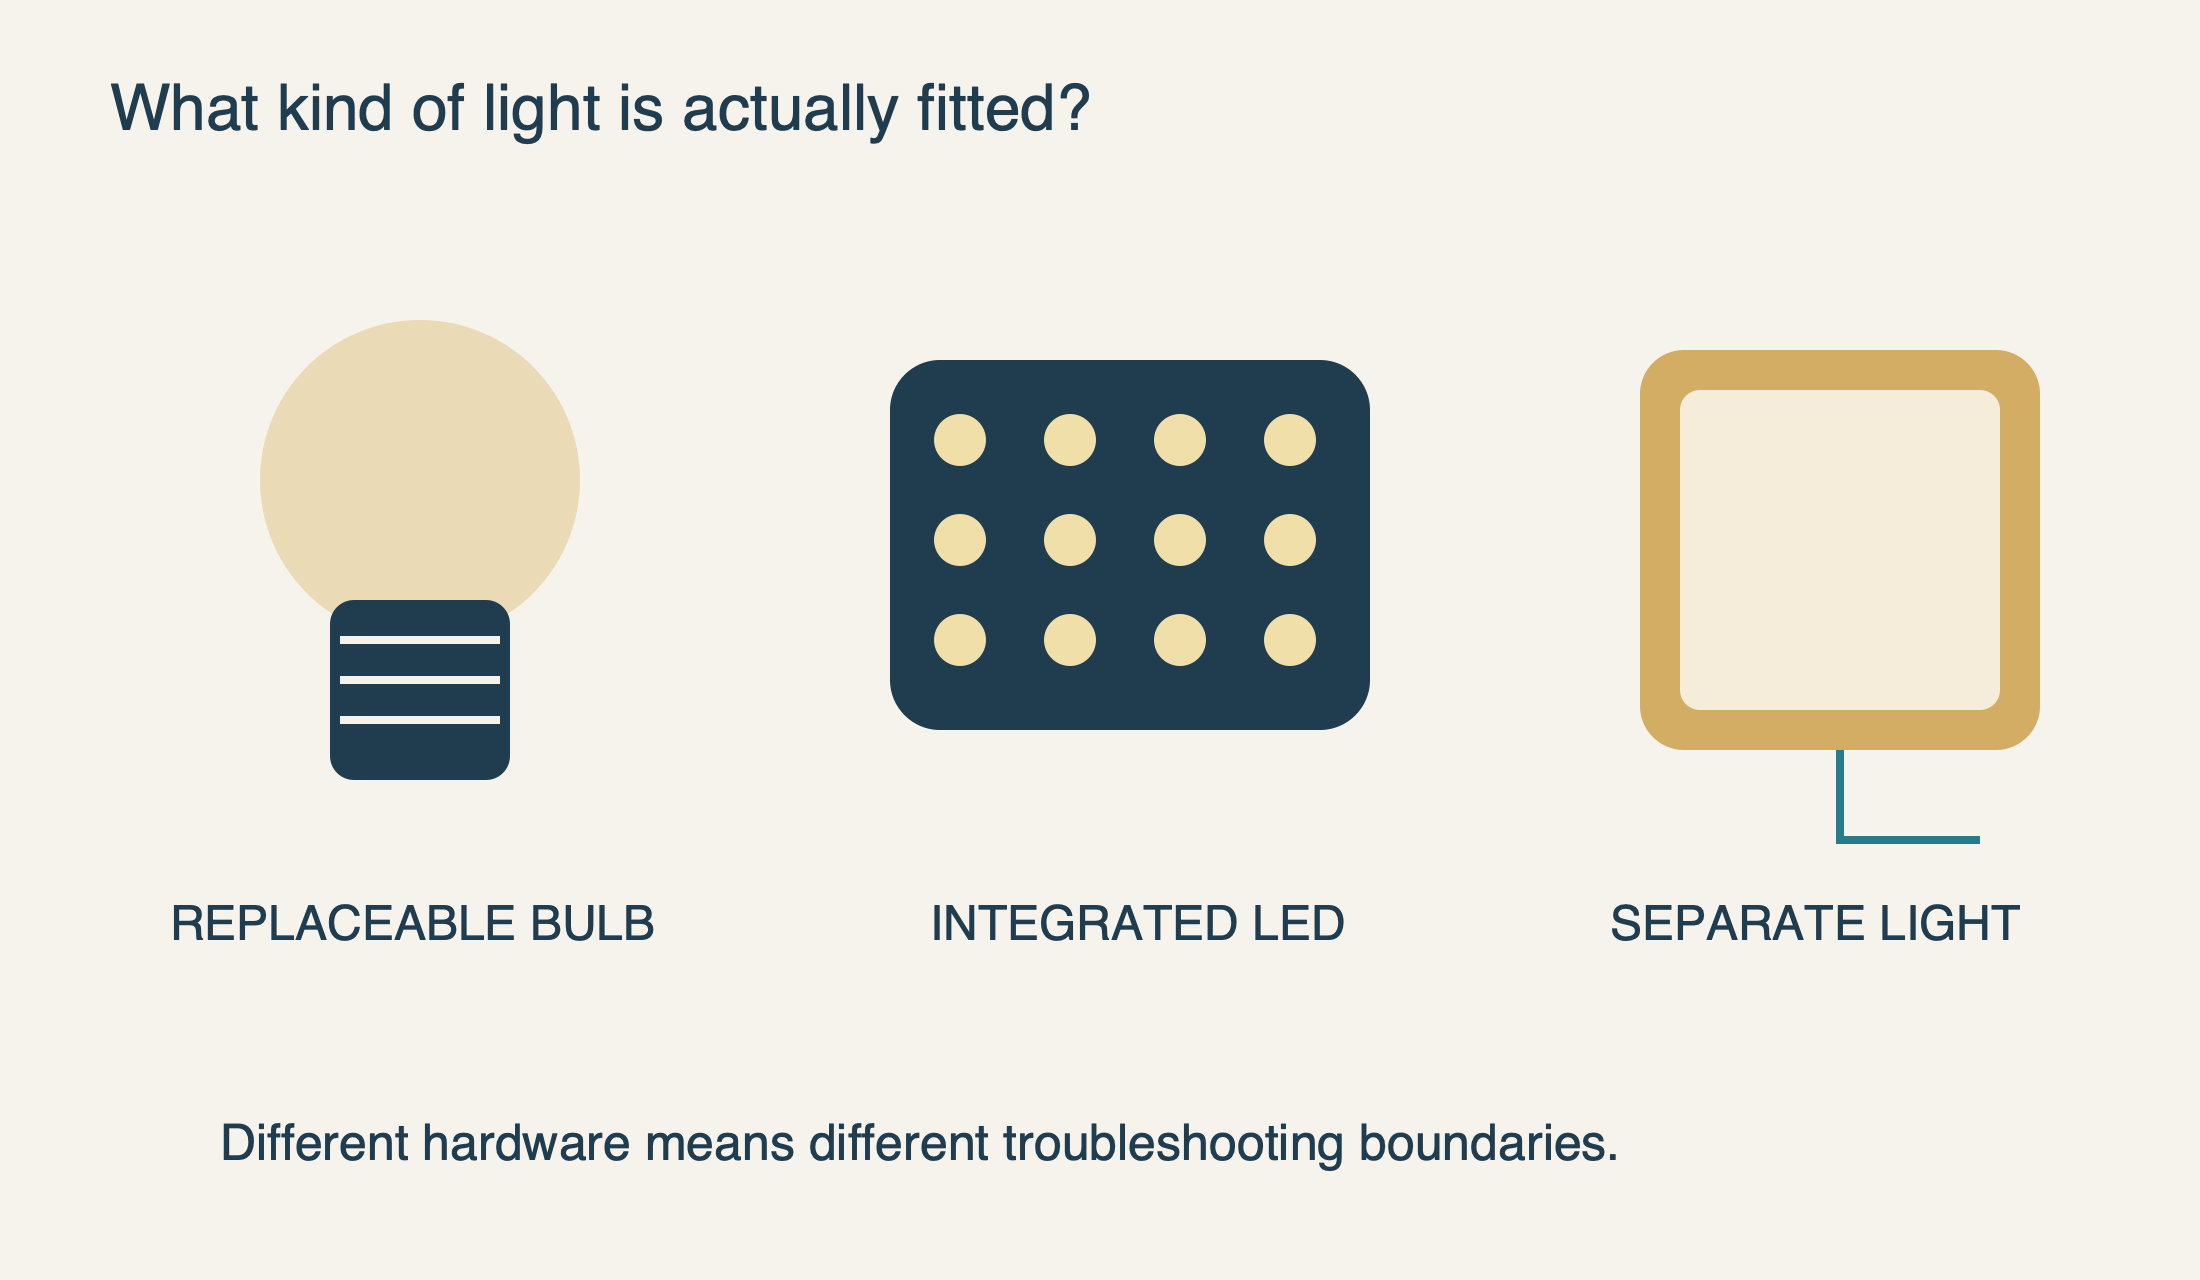
Choose the troubleshooting path by lighting hardware, not by the opener’s brand alone.
First identify a replaceable bulb, integrated LED or separate fixture. Follow the opener’s complete power-isolation instructions and approved lighting specifications before maintenance.
A garage door opener light not working is usually a different problem from an opener that will not move the door. First establish whether the motor and normal controls still work, then identify the lighting hardware. A screw-in bulb, an integrated LED assembly and a separate wall-mount work light do not share the same repair path.
Good troubleshooting stops at the right boundary. A correctly specified user-replaceable bulb may be a reasonable homeowner check. Bending socket contacts, opening the motor housing or experimenting with internal LED connectors is not. You should not have to turn a lighting problem into an electrical repair to gather useful evidence.
Separate a dark lamp from a powerless opener
With the doorway clear and visible, observe whether a normal local control operates the door without unusual noise or movement. If the opener is completely unresponsive, investigate its power situation first; a bulb cannot explain why every function is dead. Our opener power guide covers that separate situation.
Also check whether the opener is running on backup power after an outage. For the battery-equipped 8550W-family models covered by manual 114A5017, the opener lights are unavailable in battery mode. A dark courtesy light during that mode can therefore be expected behavior. Confirm normal supply and the exact model’s outage behavior before buying a bulb.
Determine whether there is a bulb to replace
For integrated LED products, an assembly, connector or driver may need professional assessment. Chamberlain’s LED troubleshooting material describes a particular paired-pod arrangement, but that is not a universal design and it does not make motor-housing removal a routine homeowner step. Report which light sections fail without opening the electrical enclosure.
For a wall-mount opener, identify the separate light accessory and whether its ordinary power connection is intact. The general Chamberlain bulb/socket troubleshooting page expressly excludes wall-mount systems with a separate work light. Applying its relay-click diagnosis to an unrelated fixture can lead to an unnecessary part replacement.
For a replaceable bulb, fit the complete specification
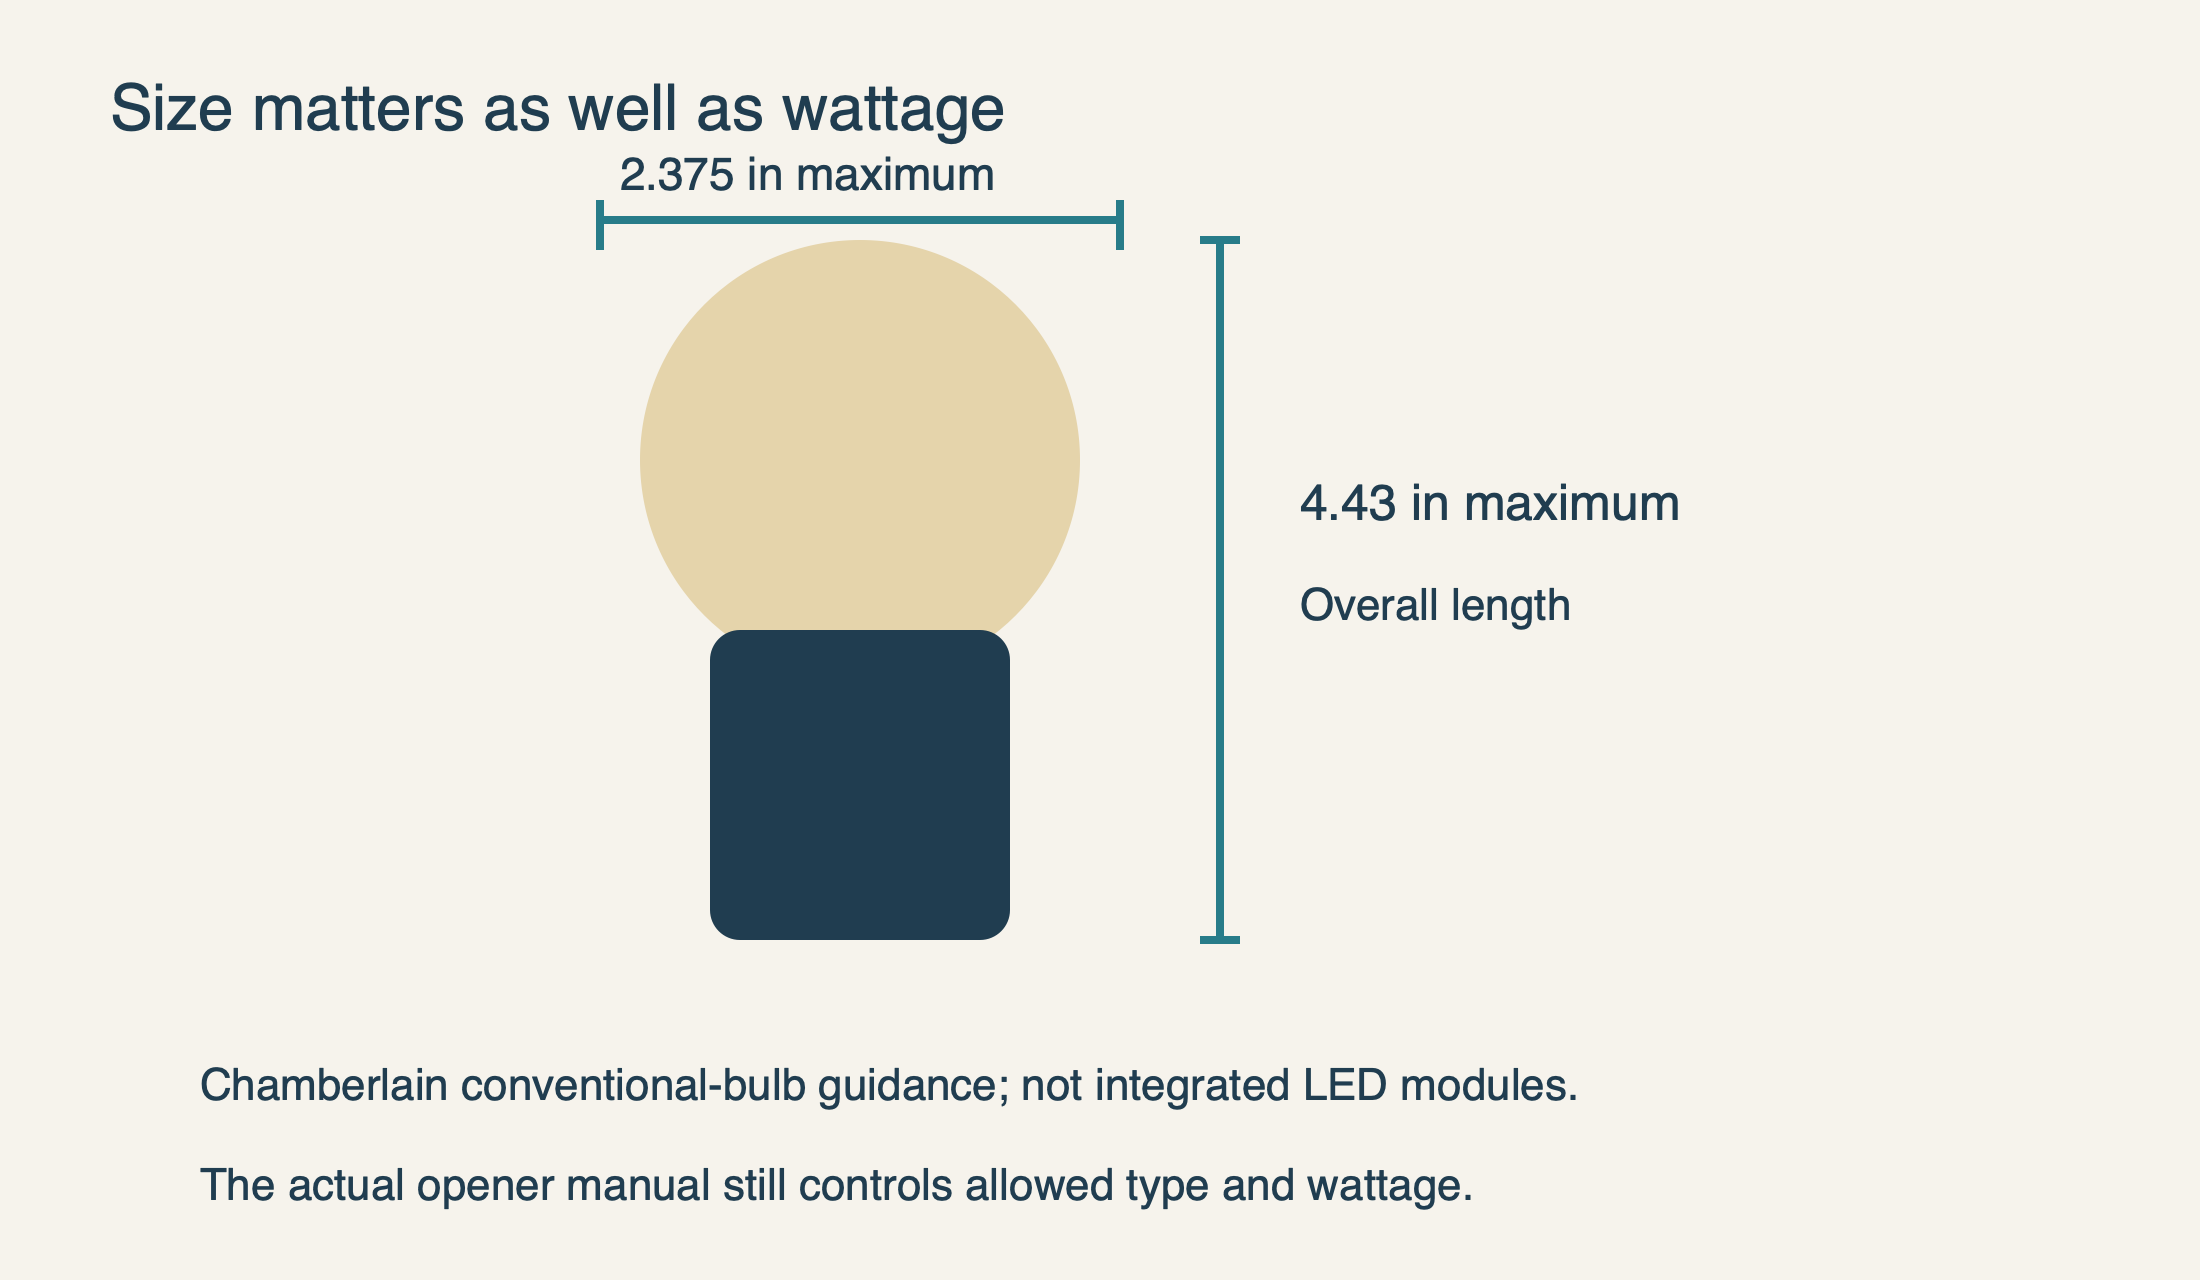
The correct bulb must satisfy more than brightness. Chamberlain’s guidance for its conventional bulb-equipped family specifies an A19-sized envelope with a maximum diameter of 2.375 inches and length of 4.43 inches, while directing owners to the actual model’s size and wattage limits. A bulb that touches the lens or strains the cover is not acceptable merely because its electrical rating looks low.
The 8550W-family manual provides a concrete older specification: A19 incandescent up to 100W or compact fluorescent up to 26W, with an explicit prohibition on LED, halogen and short-neck specialty bulbs. Follow that older manual’s restriction rather than treating newer family-wide LED guidance as permission to override it. That is a description of this manual’s limits, not a recommendation to assume a 100W allowance on every opener. Newer products can use different lighting and need different parts.
For an LED replacement in a supported screw-bulb unit, follow the manufacturer’s current compatible-bulb guidance as well as the opener’s physical limits. Chamberlain identifies its tested CHLED1 option in its support page and warns that some other LEDs can interfere with radio accessories. A generic package labeled “garage light” does not establish that it was tested with the opener.
Read actual wattage separately from a bulb’s brightness-equivalent claim. “100-watt equivalent” describes an intended light-output comparison, not necessarily the electrical power consumed. Both the actual power and the product’s allowed type matter. Do not exceed a socket rating to make the garage brighter; add suitable independent room lighting instead.
 Select the diagram to view it at full size.
Make a bulb check without working inside the opener
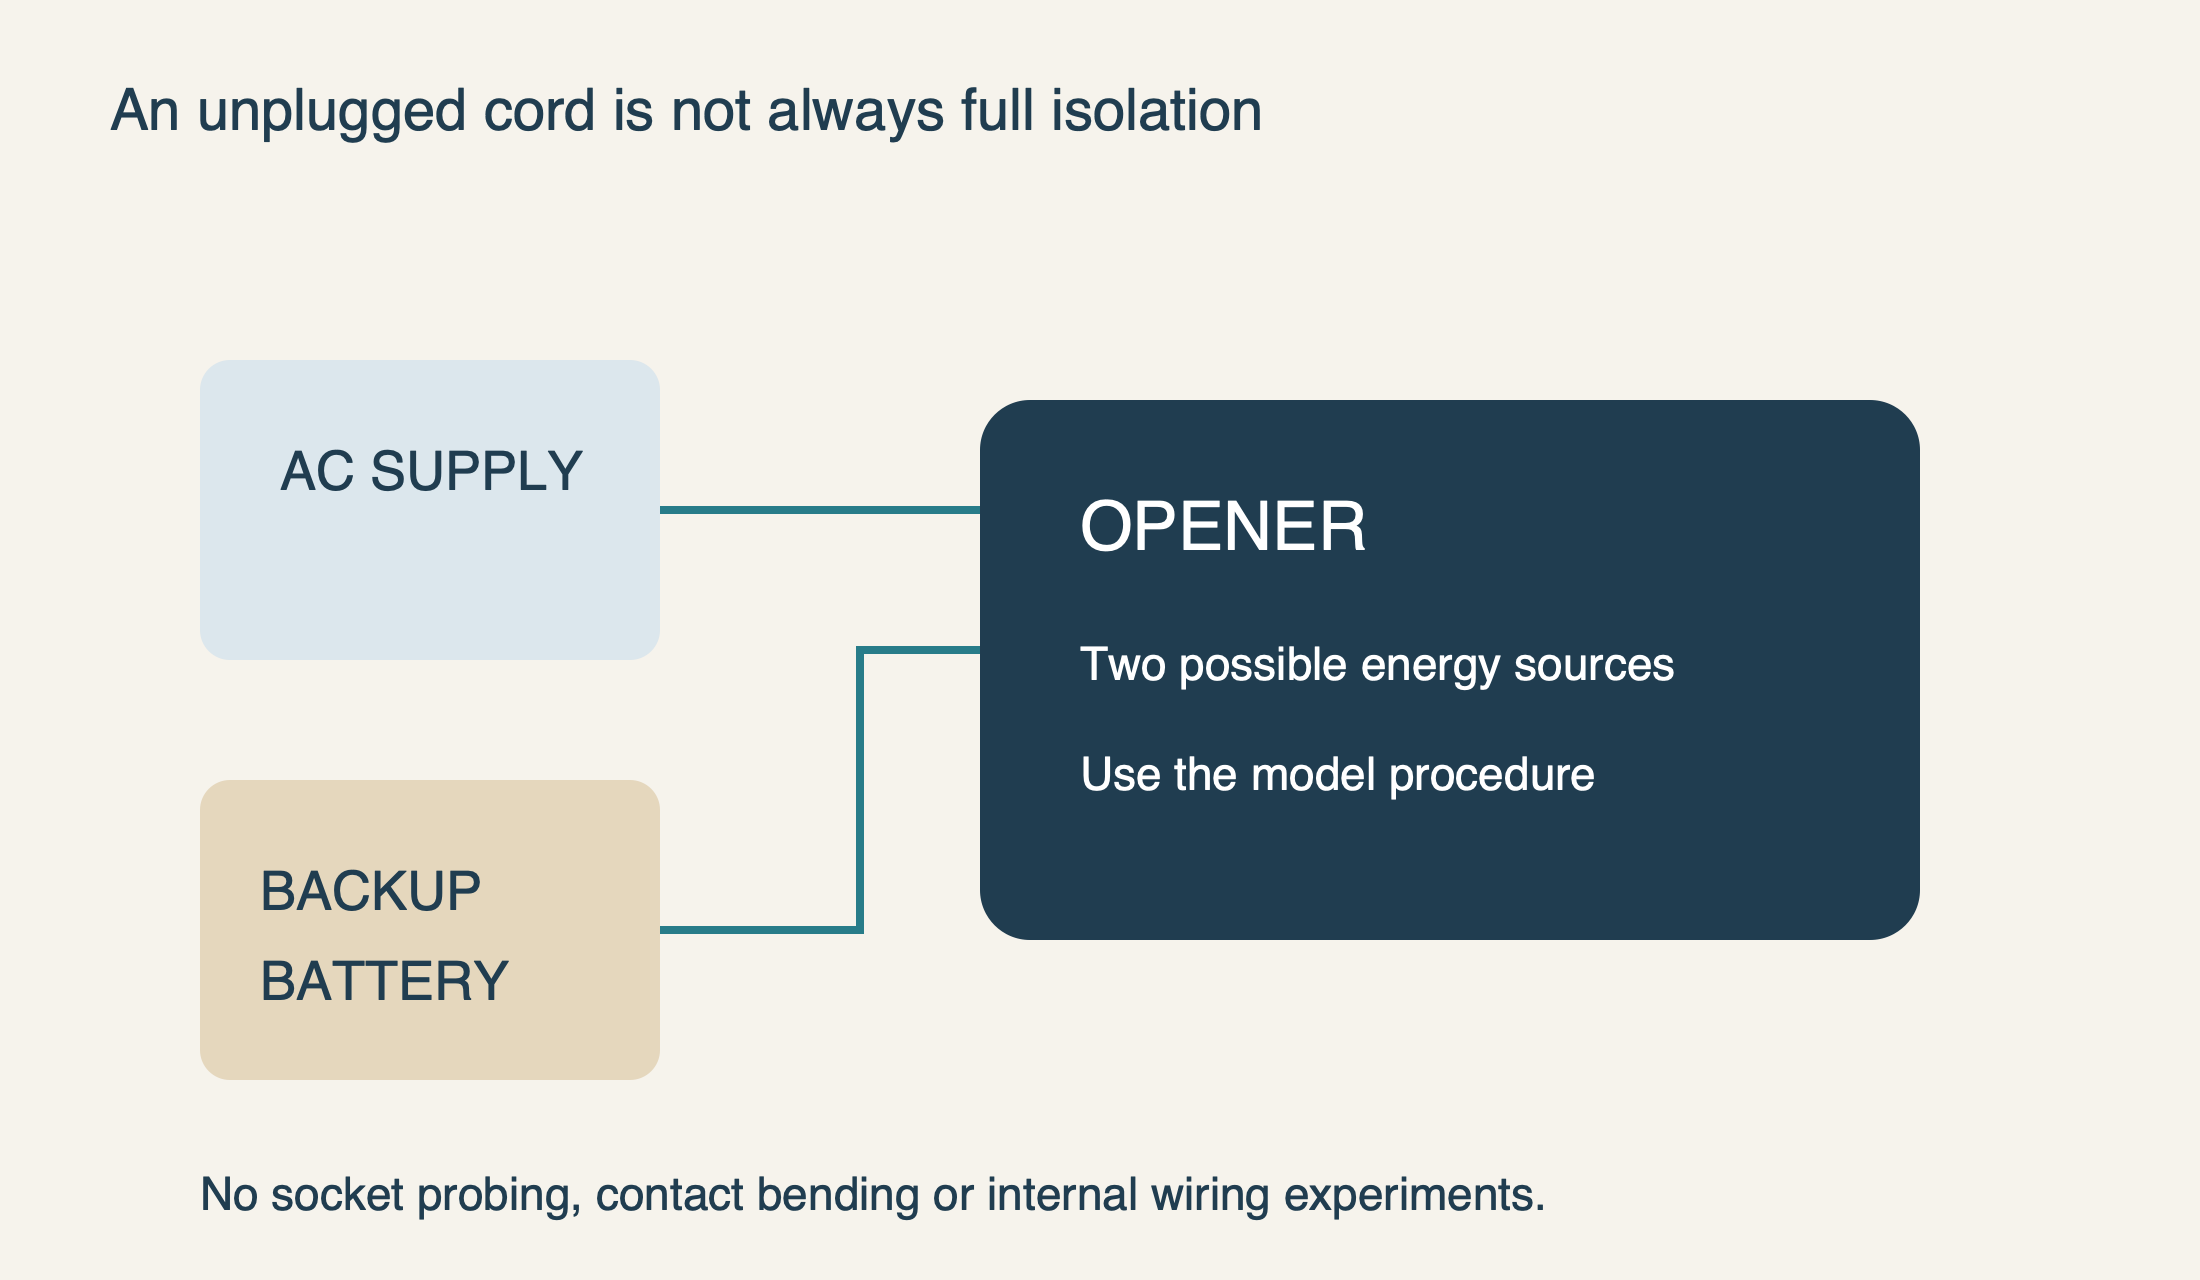
Before touching a bulb, keep the door safely stationary and follow the model’s power-isolation instructions. A fitted backup battery is a second energy source; unplugging the AC cord alone does not necessarily remove all power. If you cannot identify or safely complete the required isolation, have the bulb or light checked professionally.
Allow a recently used bulb to cool and use stable access equipment appropriate to the location. Never climb on the garage door, track or stored objects. Open only the user-accessible lens by its documented method, replace the bulb with the correct type and secure the cover without trapping or forcing anything.
Stop if the bulb is broken in the socket, the socket is discolored, wiring is exposed or the lens shows heat damage. Do not insert pliers into a socket, bend its center contact or scrape it while trying to restore illumination. Those signs require assessment beyond a normal bulb change.
After the cover is secured and power is restored according to the manual, test the light through normal controls. Note whether the new approved bulb works and whether the door’s other functions remain normal. If it stays dark, the check has still been useful: you have ruled out one plausible user-serviceable item without opening the switching electronics.
 Select the diagram to view it at full size.
If the new bulb lights but the remote range changes
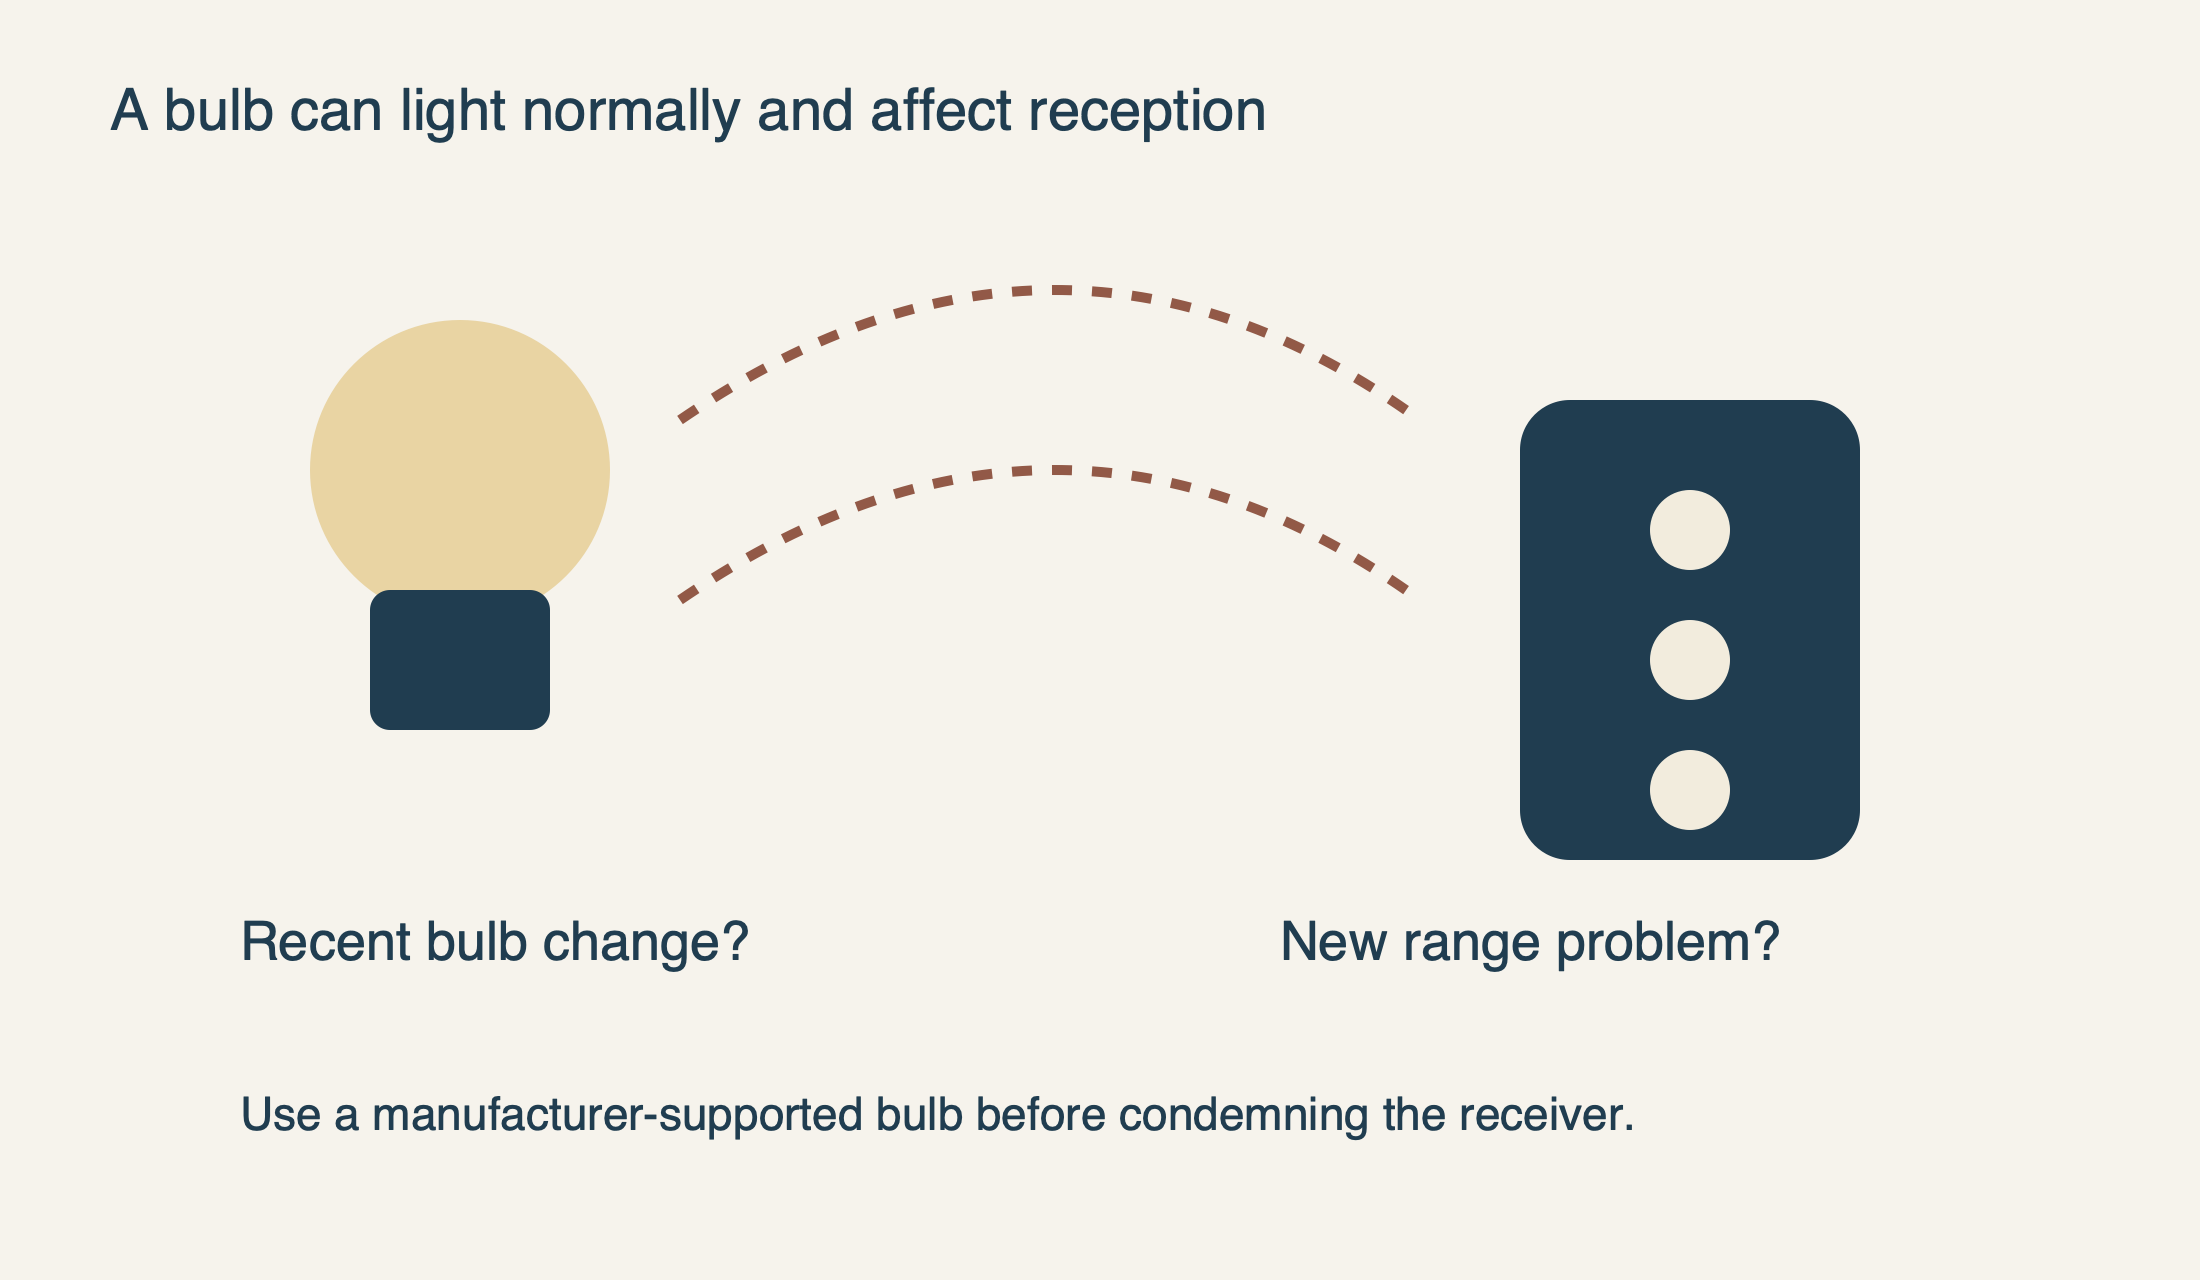
A bulb can illuminate correctly and still be a poor match for the opener. Chamberlain lists reduced remote range, keypad problems and pairing difficulty among possible symptoms after an incompatible LED is installed. The timing of the change is therefore important evidence: did wireless operation deteriorate immediately after the new light was fitted?
Use that observation to select a manufacturer-supported bulb rather than immediately buying remotes or a logic board. Any bulb swap still requires the correct isolation and cooling procedure. Do not repeatedly reach into a powered opener to compare bulbs while someone else operates the door.
If range remains poor with the documented lighting arrangement, follow the separate remote-range guide. A correlation after a lighting change is a useful lead, not proof that every radio problem is caused by LEDs. Other devices and the particular receiver installation can also matter.
 Select the diagram to view it at full size.
A separate work light may affect connected features
The 8500W manual requires its myQ Remote LED Light to be installed for Timer-to-Close and myQ smartphone door control. On that specific system, a separate fixture is not merely decorative room lighting. If connected closing features also became unavailable, include the light’s model and recent power or pairing changes in the service report.
Do not try to regain those features by bypassing a warning or substituting a generic lamp. Verify the supported accessory and its own setup instructions. A working overhead room light does not replace the documented connected fixture’s role, and a factory reset of the whole opener should not be the first response to a dark accessory.
Know when the evidence points beyond the bulb
If the correct fresh bulb remains dark, or integrated LEDs fail, arrange a model-specific assessment of the light assembly and control path. A click from inside the opener can be useful information for a technician, but it is not a safe instruction to replace a socket or circuit board yourself. Different lighting architectures can produce different symptoms.
Provide the opener model, lighting type, whether one or both lamps fail, normal versus backup power state, and the exact bulb tried. Report heat, smell or visible damage immediately. Our opener repair service can evaluate the electrical fault without confusing it with an otherwise healthy door mechanism.
If the opposite problem occurs—the lamp works but will not switch off—use our light-stays-on guide. Timer and motion settings are a different question from a failed lamp, and separating them keeps the diagnosis focused.