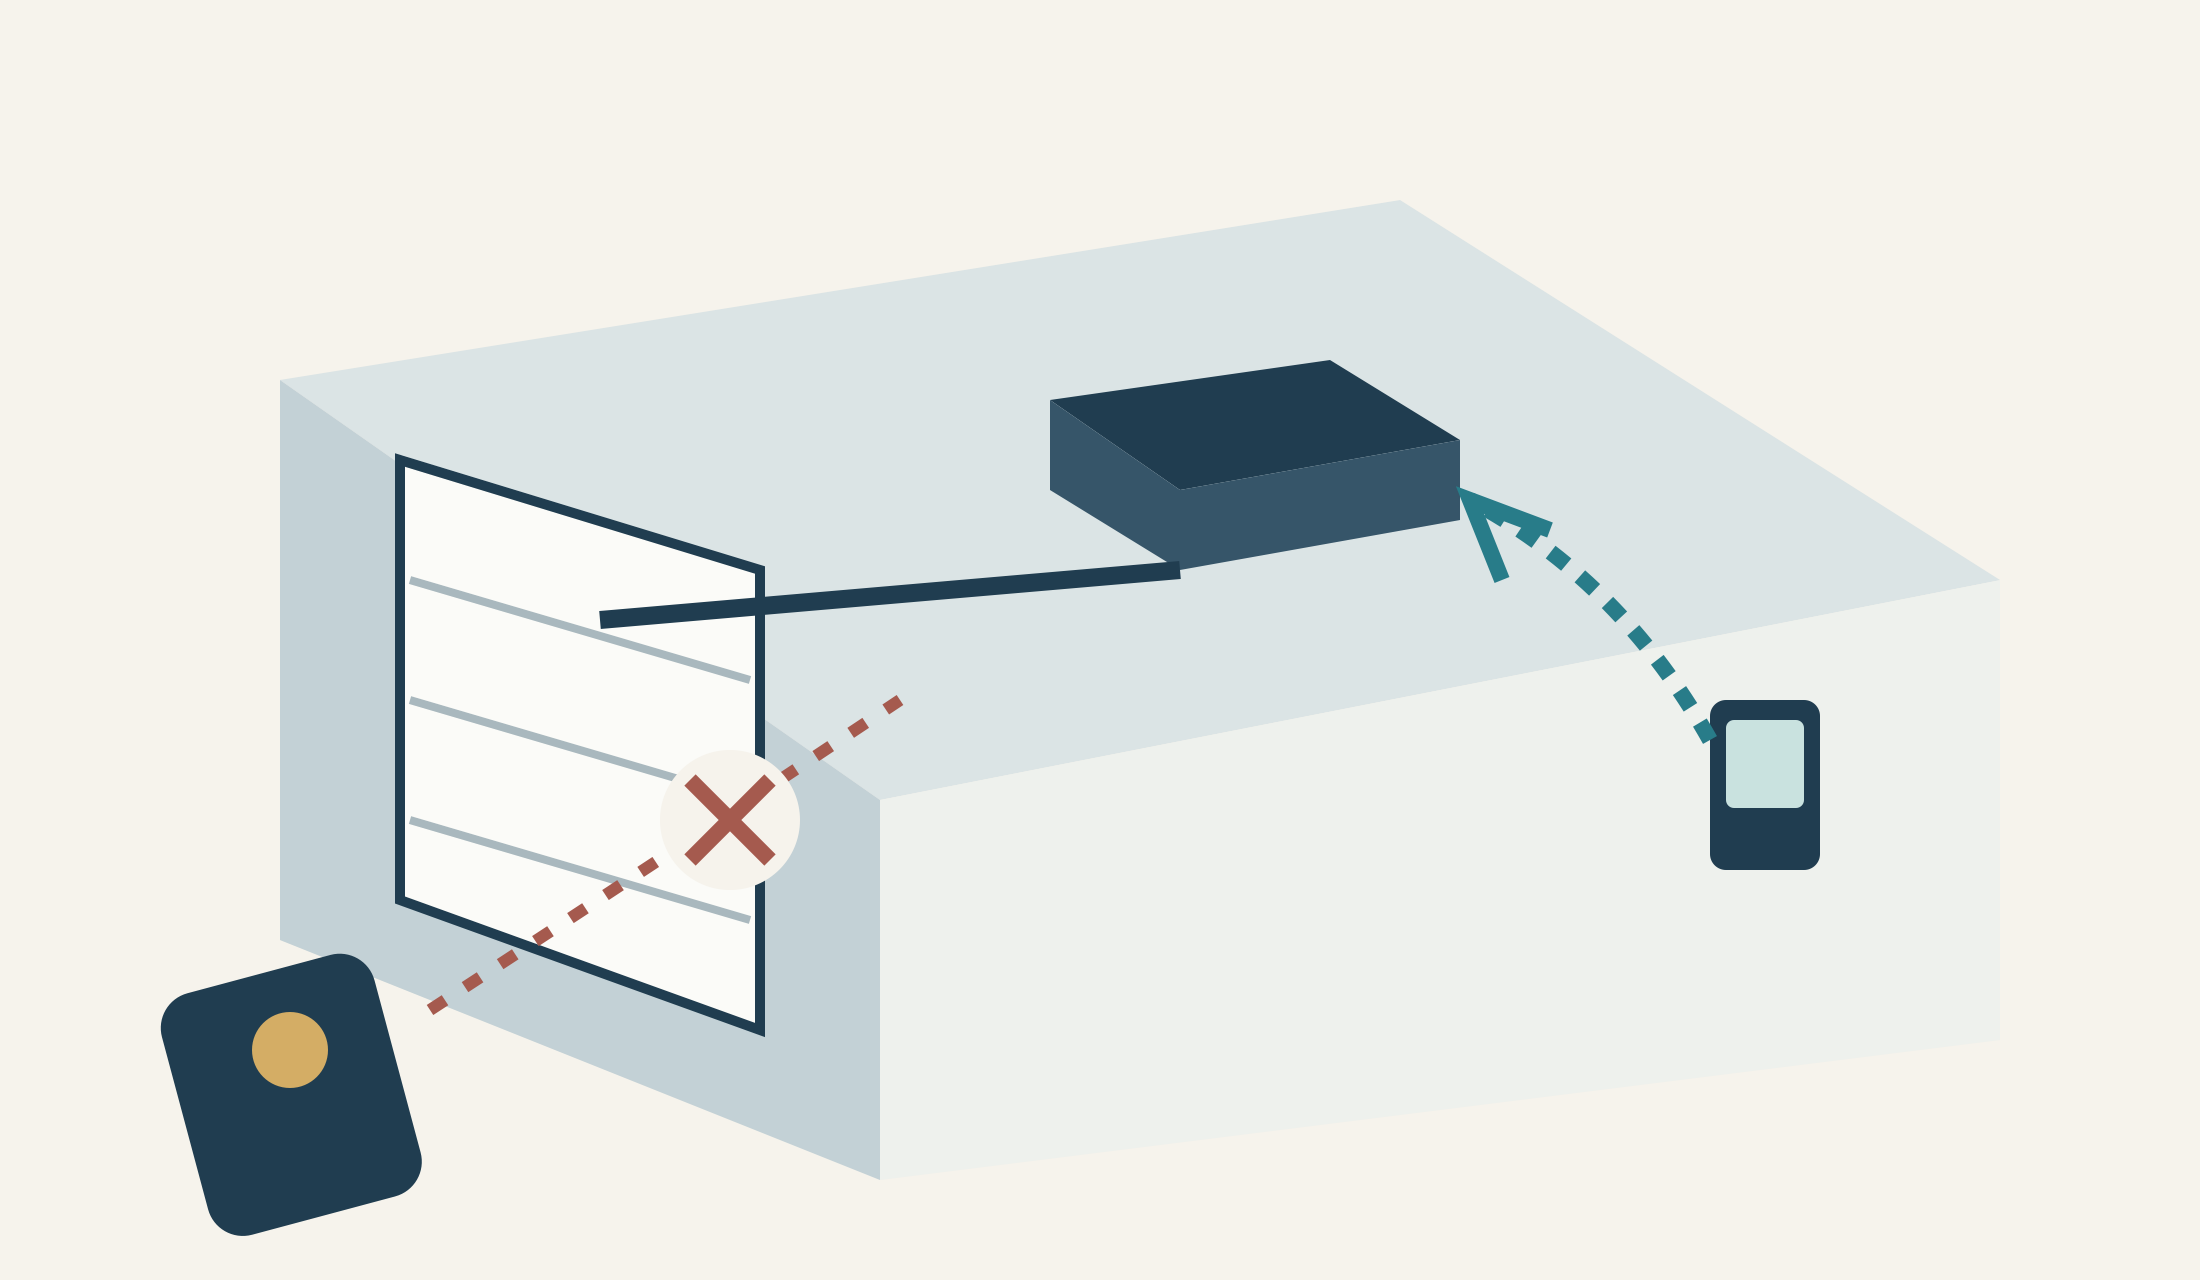
The wall control and handheld command take different paths; use the model manual for wiring and diagnostic codes.
If the wall control works normally but the remote does not, compare the remote’s battery, compatibility and supported lock mode. Do not treat a door that closes only while holding the wall button as normally repaired.
If your garage door opener remote is not working but the wall button still opens and closes the door normally, you have already learned something useful: the opener is receiving power and can respond to at least one control route. That does not prove the remote is broken. A lock feature, incompatible replacement, weak transmitter battery or a shared radio problem can produce the same first impression.
The right next question is whether one handheld has failed or every handheld has failed—and whether the problem is new. This guide uses those distinctions to keep the diagnosis focused. It does not turn remote failure into a spring-repair tutorial, and it does not recommend erasing working controls before identifying what changed.
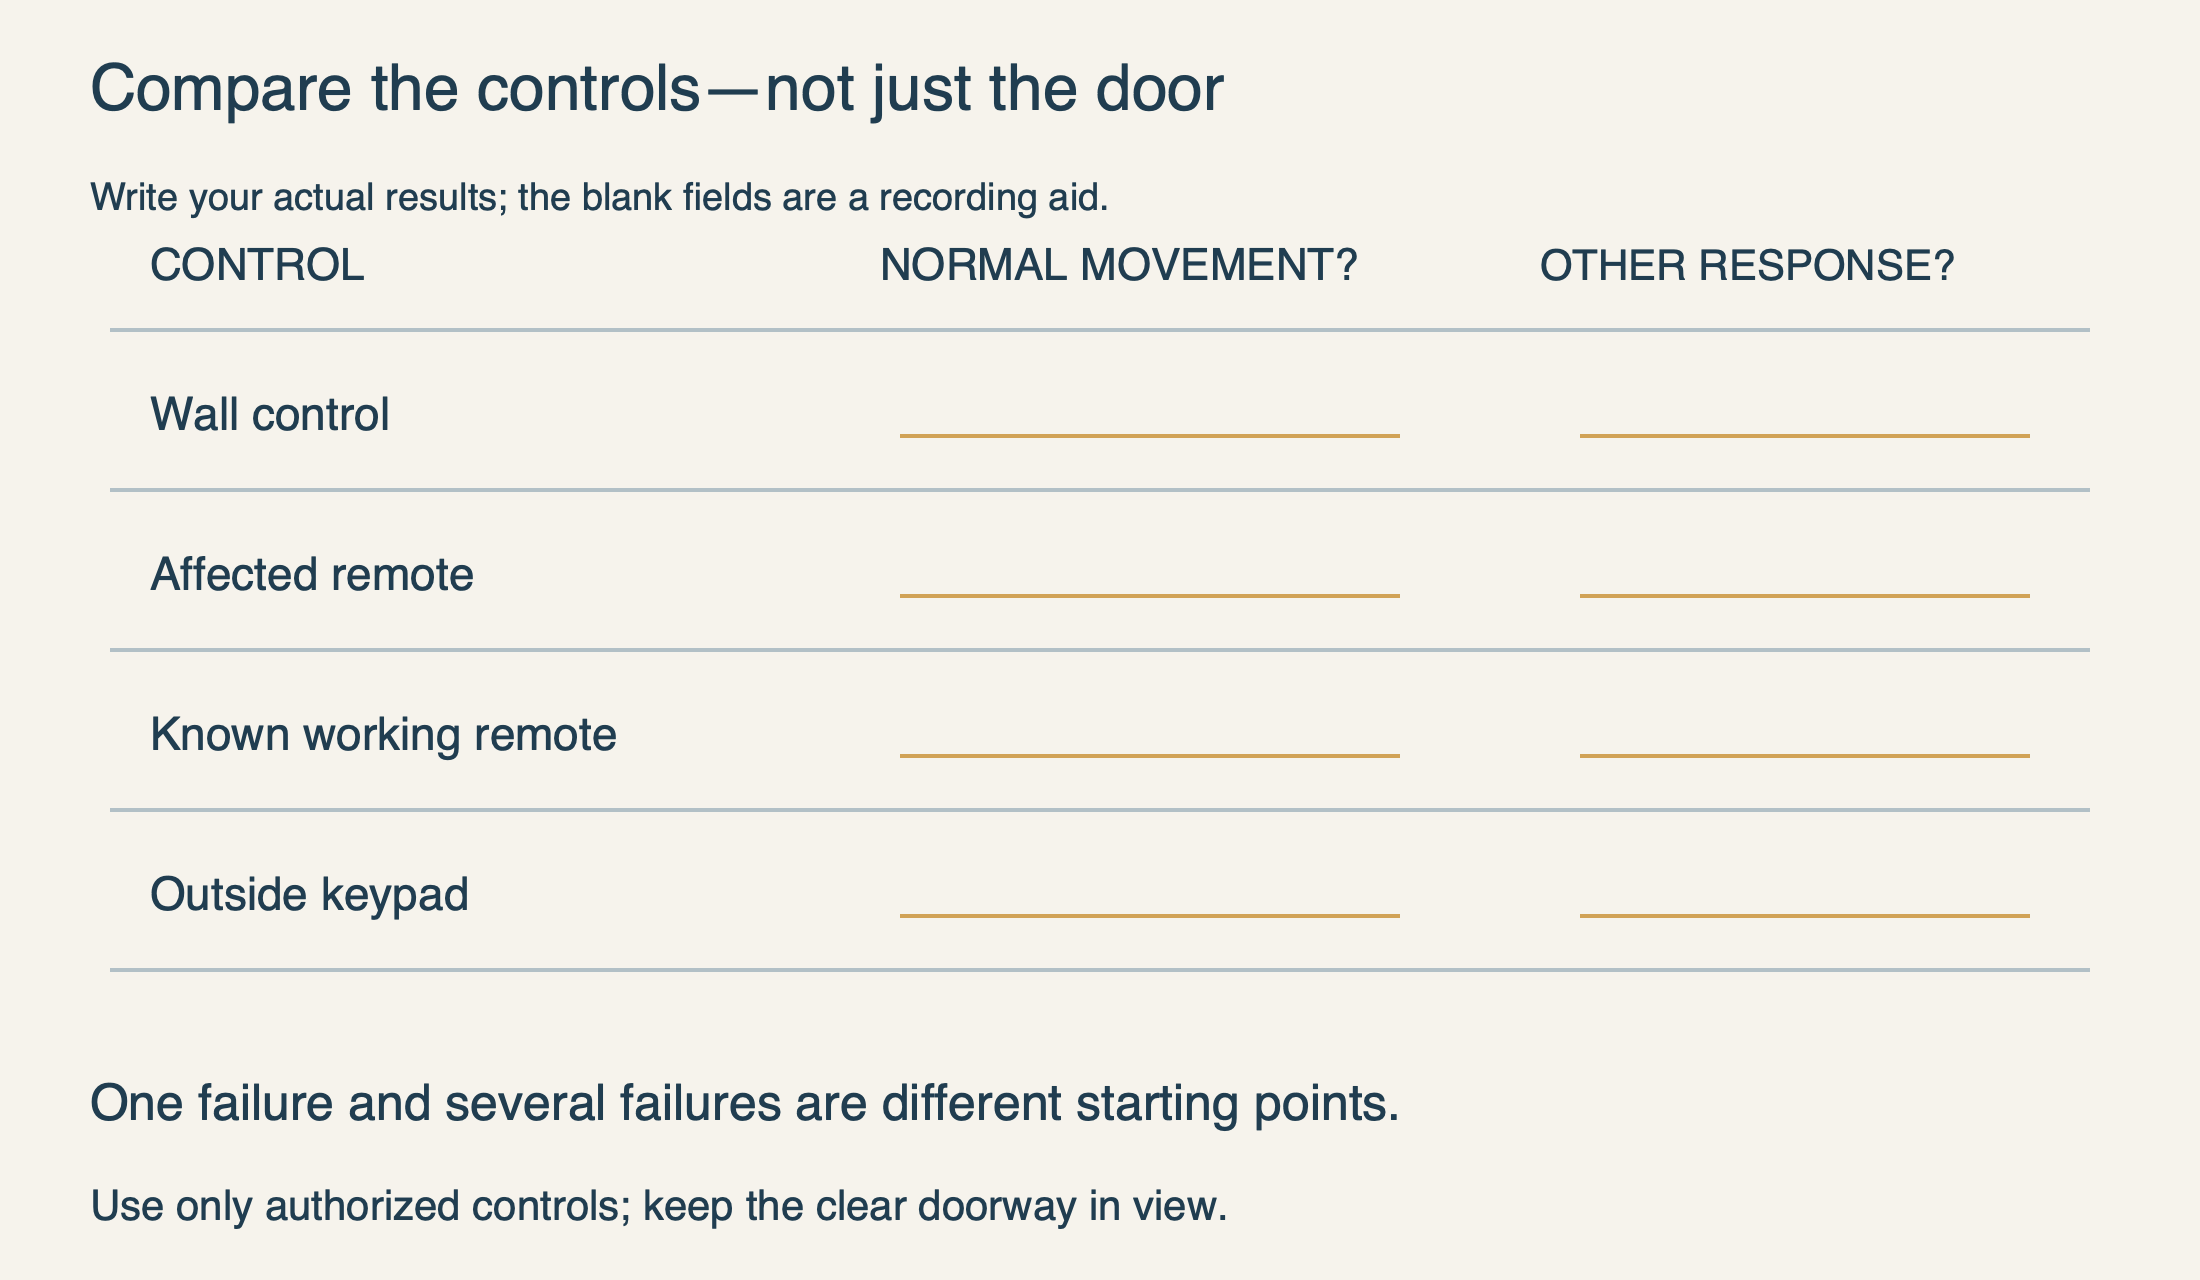
Verify what “the wall button works” actually means
Note whether the handheld produces any response at all. A lamp flashing without movement, no visible response, and movement followed by reversal are not interchangeable symptoms. Record which lamp you mean: the main garage lamp, a small indicator on the motor unit, or the remote’s own LED. Guessing from “two blinks” without identifying the indicator can send troubleshooting in the wrong direction.
 Select the diagram to view it at full size.
A remote that never worked needs a compatibility answer first
A newly purchased remote may have a fresh battery and a bright indicator yet still be unsuitable for the receiver. The brand printed on the case and the number of buttons are not enough. Find the remote’s complete model number and the opener’s model or documented receiver generation, then check the manufacturer’s compatibility chart. Keep suffixes and revision information rather than shortening the name to “LiftMaster three-button.”
Programming is a separate requirement after compatibility. Some accessories need preparation on the remote itself before the opener can learn the chosen button. Others use a particular wall-control method. If the remote has never operated this door, do not start by assuming that a working receiver suddenly failed when the replacement arrived.
Use our LiftMaster programming guide for that setup task. Here, focus on identifying why a previously working control failed. Keeping the two tasks separate matters: repeatedly trying to teach an incompatible transmitter does not improve compatibility, while a correctly matched device can still fail if its preparation stage was skipped.
For a sudden failure, inspect the documented lock feature
On supported Chamberlain/LiftMaster wall controls, Lock or Vacation mode can intentionally prevent handheld operation while local control remains available. A household member may have enabled it while cleaning, exploring a menu or leaving for a trip. Treat it as a setting to identify, not as proof of a broken circuit board.
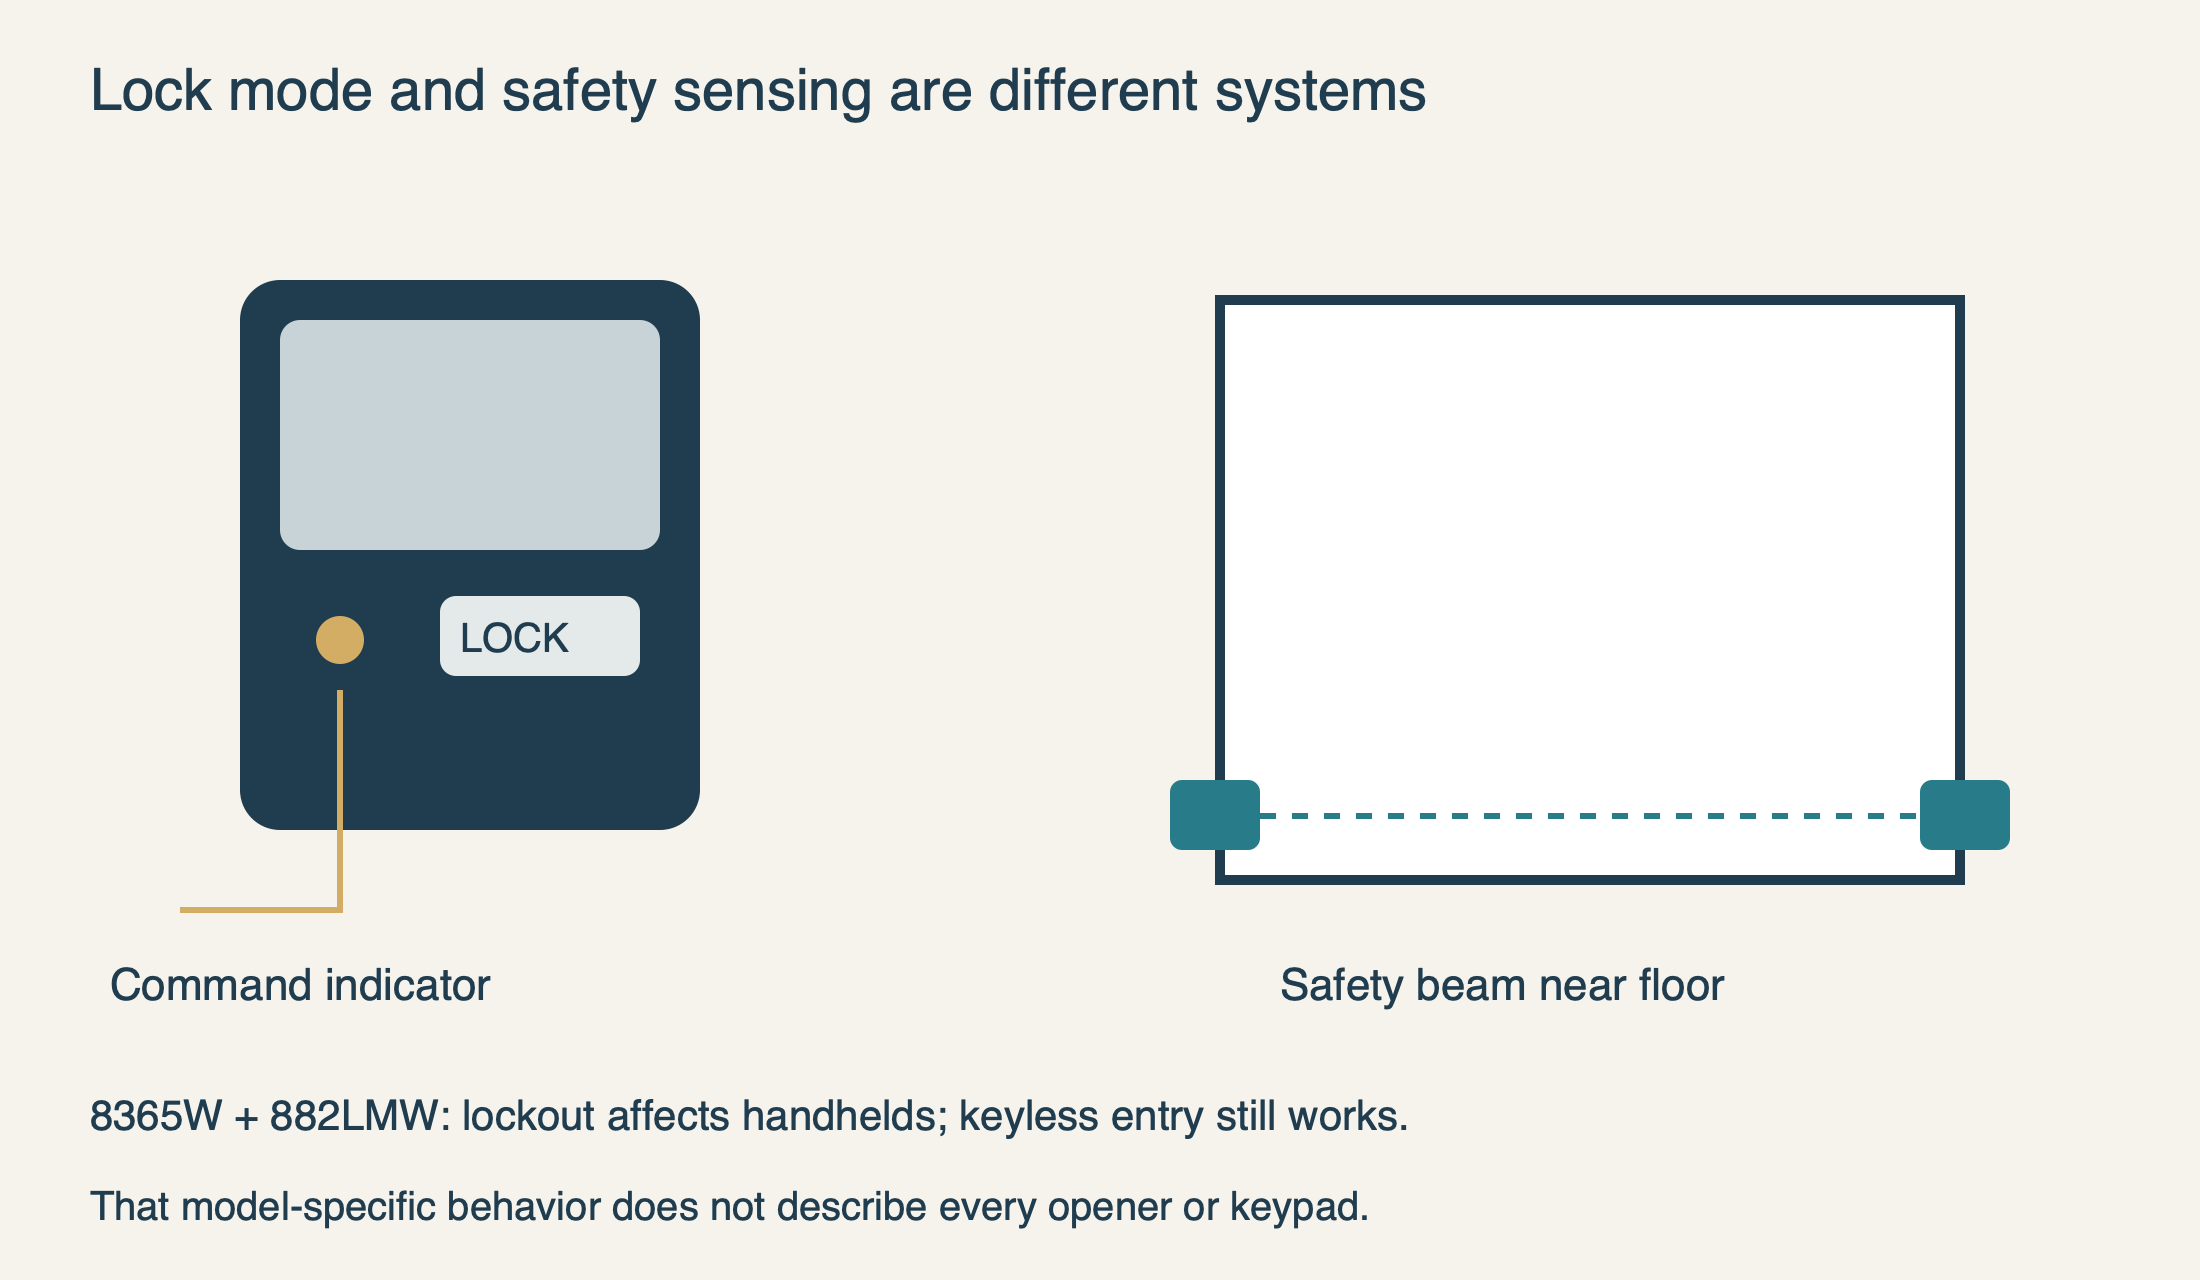
A concrete example is the 8365W/8365W-267 manual with its documented 882LMW control. Its lock feature prevents handheld remote activation while the wall control and keyless entry can still operate the door. The manual describes a continuously flashing command LED when lock mode is active; holding the designated LOCK button for two seconds deactivates it and stops that flashing. Use that instruction only for the matching control and configuration.
Other controls may show a screen message or use a menu. Do not assume that every blinking wall LED is lock mode. The manufacturer’s indicator explanation distinguishes lock-related flashing from indications produced during travel on applicable systems. A pattern seen only while the door is moving is different evidence from a continuous idle indication.
This electronic lock feature is also different from a physical slide bolt or door lock. Do not run an opener against a manually locked door. If you cannot tell which system is engaged, stop operating the door until it is identified. Changing a remote setting cannot release a mechanical obstruction safely.
 Select the diagram to view it at full size.
If only one remote fails, keep the investigation local to it
Compare the affected remote with another known working transmitter from the same safe location. If the second one operates normally, the first remote’s battery, condition, compatibility or stored setup deserves attention. That comparison is more specific than buying a receiver board because one button stopped responding.
Check the battery against that remote’s exact instructions. A nearly matching coin cell, reversed polarity or a cover that presses on a button can all undermine a recent replacement. Our battery replacement guide covers the safe handling and model distinctions. Keep coin cells away from children and do not use a remote whose compartment cannot close securely.
Look for a history of dropping the remote, water exposure or a button that no longer releases normally. Those details help distinguish physical transmitter damage from an opener-side failure. Avoid scraping contacts, bending the circuit board or improvising conductive spacers. If the correctly powered and compatible remote still fails after its documented setup, manufacturer support can help determine whether replacement is appropriate.
If every remote fails, look for the shared change
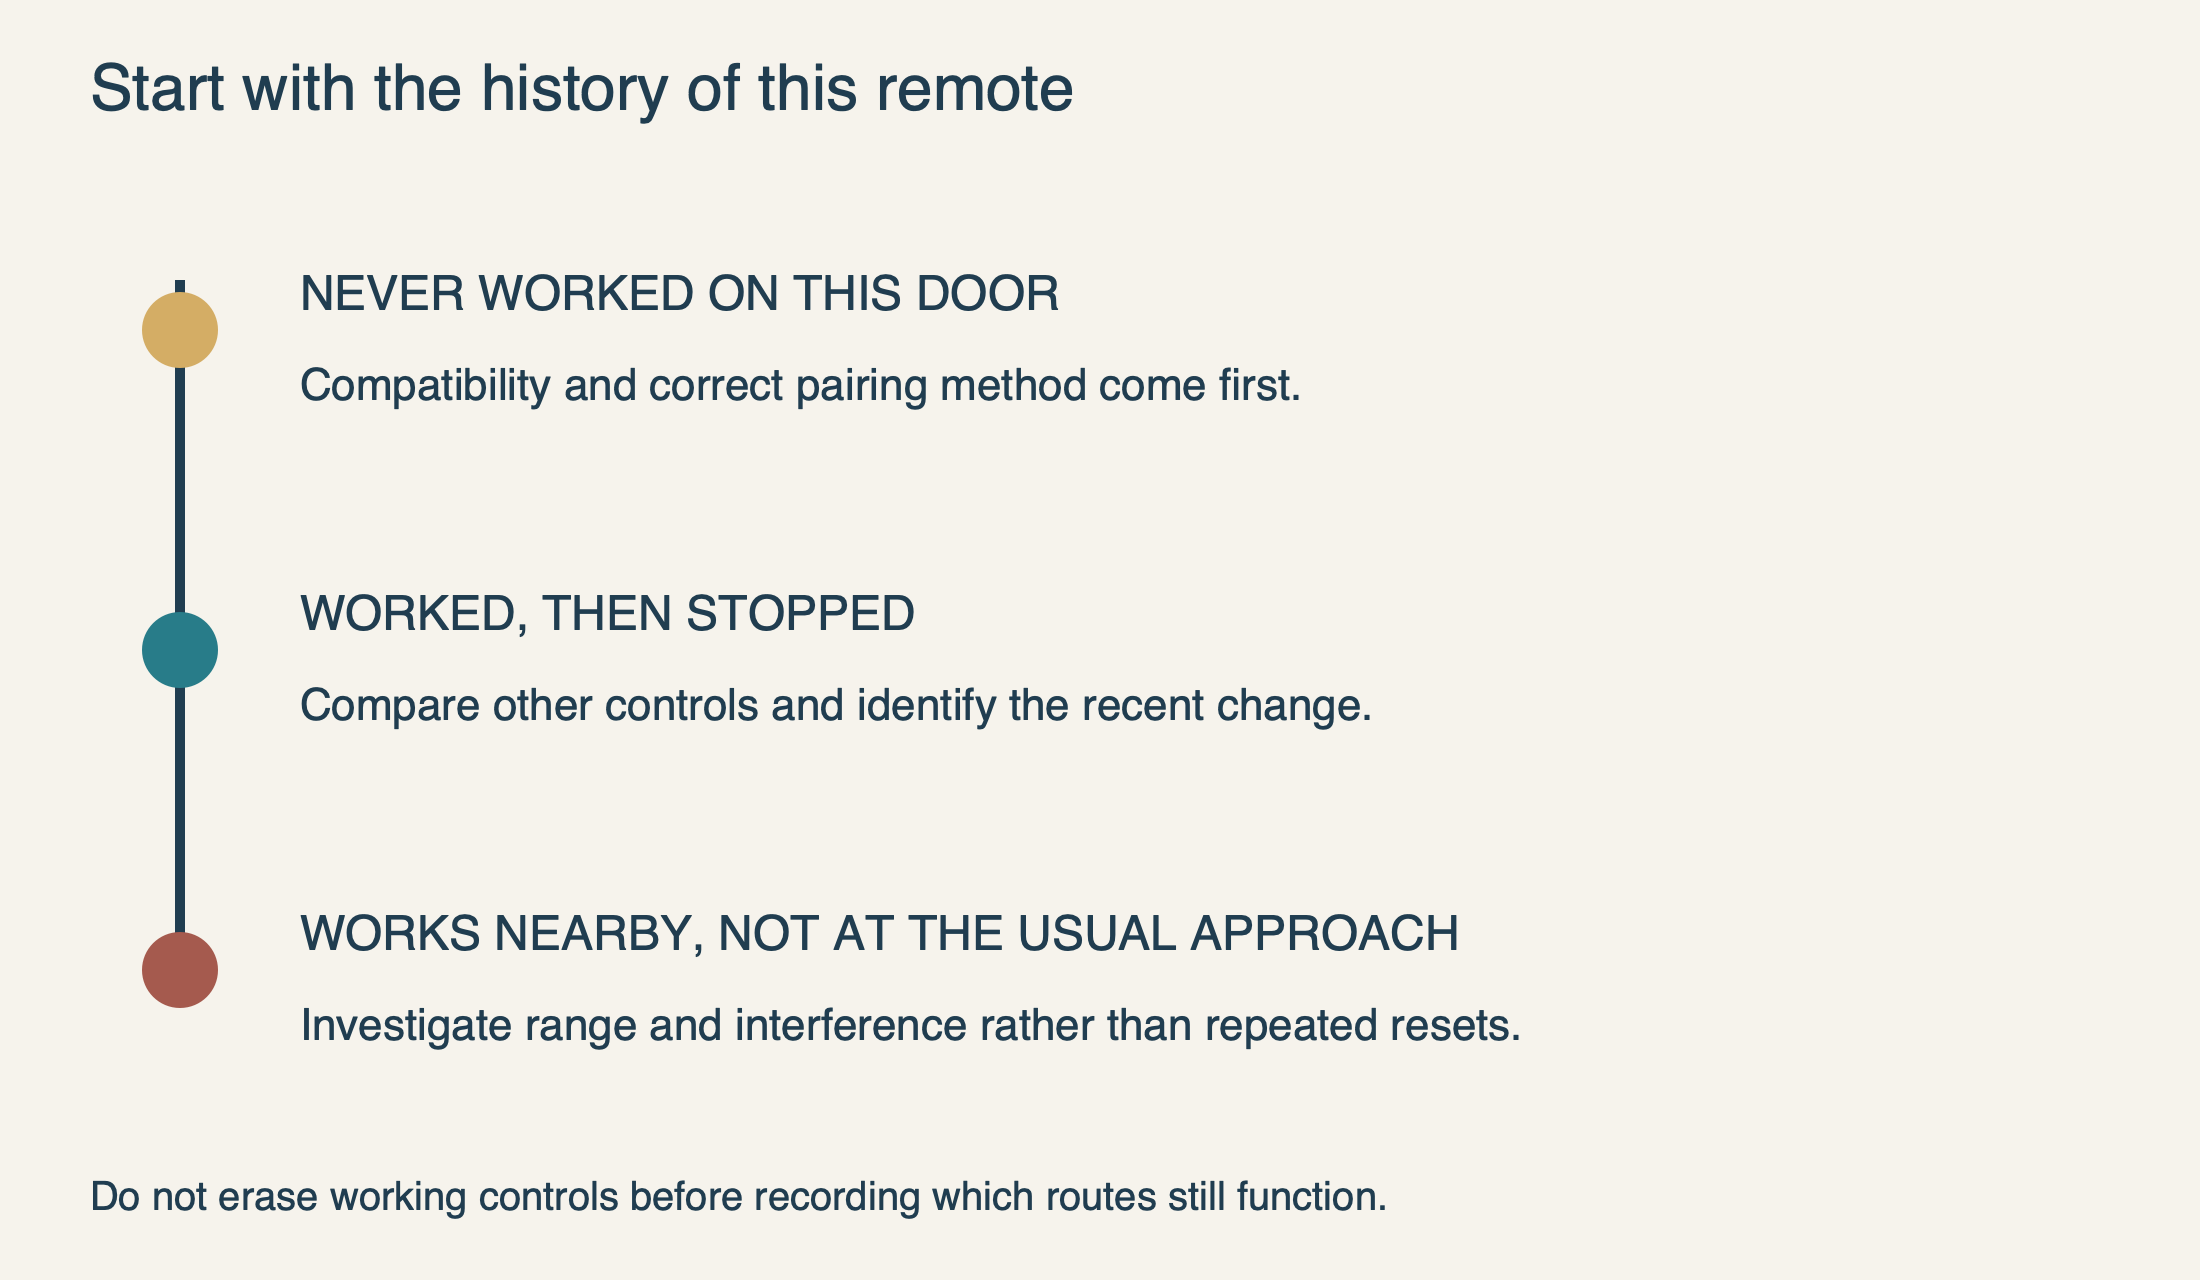
Chamberlain’s remote-failure guide identifies common branches including lock mode, erased programming and interference. Ask what happened immediately before all remotes stopped: someone pressed Learn, accessories were added, lighting was changed, or other equipment was installed near the opener. That timeline is more useful than treating several handhelds as independent failures.
If someone held Learn while trying to program a device, receiver memory may have been erased on an applicable model. Restoring authorized devices then becomes a deliberate pairing task. Do not repeat the long hold as a troubleshooting reflex. It can remove the very working-device comparison you need and may affect keypads as well as handhelds.
If the remotes work near the opener but not from the usual approach, the evidence points toward a range problem rather than total loss of recognition. Follow the range and interference guide for limited, stationary comparisons. Do not extend an antenna with spare wire or disconnect wall-control wiring to imitate an online test.
 Select the diagram to view it at full size.
What if the remote and keypad both stopped working?
Two failed wireless devices can suggest a shared cause, but the keypad result needs its own context. Was its known PIN used? Did it illuminate normally? Was it recently reprogrammed? A depleted keypad battery can coincide with a remote problem without proving that the receiver has failed. Record the observations rather than merging them into “all controls dead.”
The model-scoped lock example above is especially useful here: its keyless entry remains available while handheld remotes are locked out. If that exact configuration’s keypad also fails, lock mode alone does not explain the entire pattern. Another installation may have different behavior, so do not transfer the conclusion across brands or assume every exterior keypad is governed by the same feature.
An app that still operates the door adds another observation but does not certify the handheld radio system. Conversely, an offline app may be an unrelated network problem. Keep a simple list of which paths work rather than searching for one reset that supposedly repairs phones, keypads, remotes and the physical door at once.
Make the handoff specific if the simple checks do not resolve it
Gather the opener and remote models, whether the handheld ever worked, which other controls still work, any exact display message, and the recent change that preceded the failure. If you checked lock mode or installed the specified battery, record that too. There is no need to publish serial numbers or access codes to explain the symptom.
Leave receiver circuitry, control wiring and internal electrical work to qualified service. A working wall control does not justify bypassing a sensor or increasing closing force. If the door develops abnormal movement, stop the control comparison and address the door fault. Our garage door opener repair service can assess a persistent receiver or control issue while preserving the useful evidence you have already collected.
Sources & manuals
Model-specific details are identified above.