Identify the keypad and its instruction number before choosing a programming sequence.
Match the Genie keypad and opener before programming. Follow the documented reset, PIN and enrollment sequence for that combination, and allow its active interval to finish before checking independent operation.
Genie keypad programming starts with two identifications: the keypad you are holding and the opener that will receive its signal. A sequence for a universal keypad, an older instruction revision or a different opener brand is not interchangeable with the instructions below.
This guide covers authorized setup of a Genie Intellicode wireless keypad using instruction sheet 38832.03061, dated October 2025, and changing a known PIN on that documented keypad. It focuses on one intended door. Use it only after matching your product and instruction sheet; it is not a method for discovering someone else’s PIN or bypassing access controls.
Match the product before pressing PROGRAM
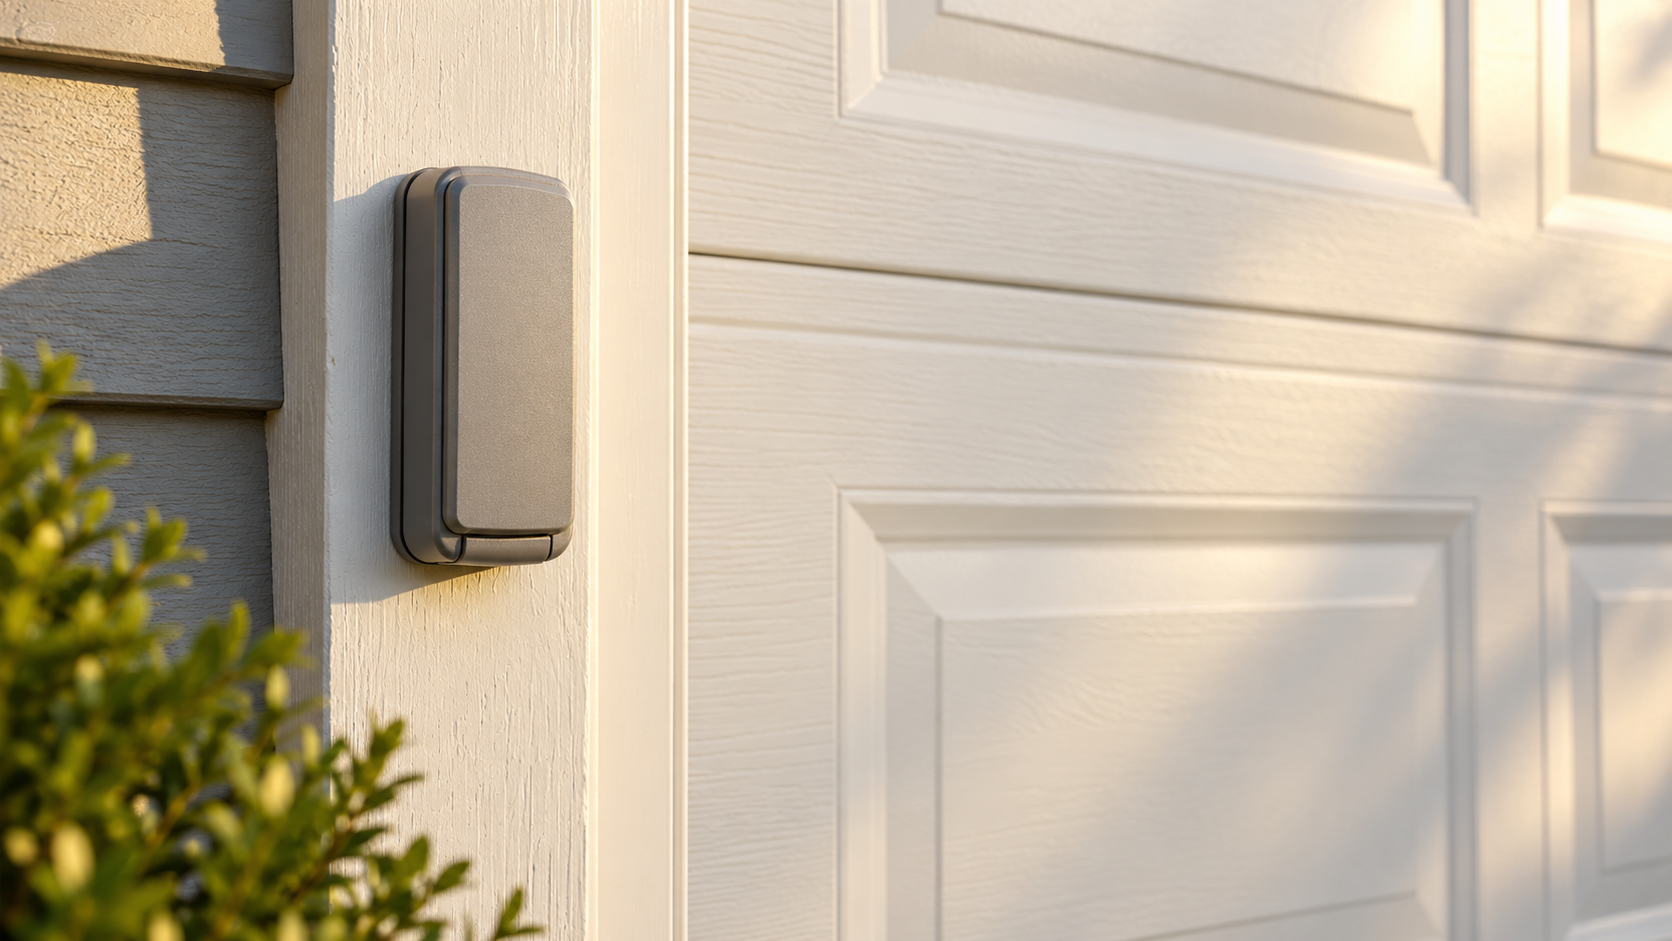
Read the keypad label, its supplied paperwork and the opener’s model information. Genie’s GK support page identifies the GK, GK-R and GK-BX family and associated part numbers. A similar-looking housing is not enough to establish that the same instructions apply.
Keep the correct sheet open throughout setup. If the label is unclear or the buttons do not match its diagrams, resolve the identification with Genie support before proceeding. A pause to identify the device is preferable to erasing a keypad that was already working.
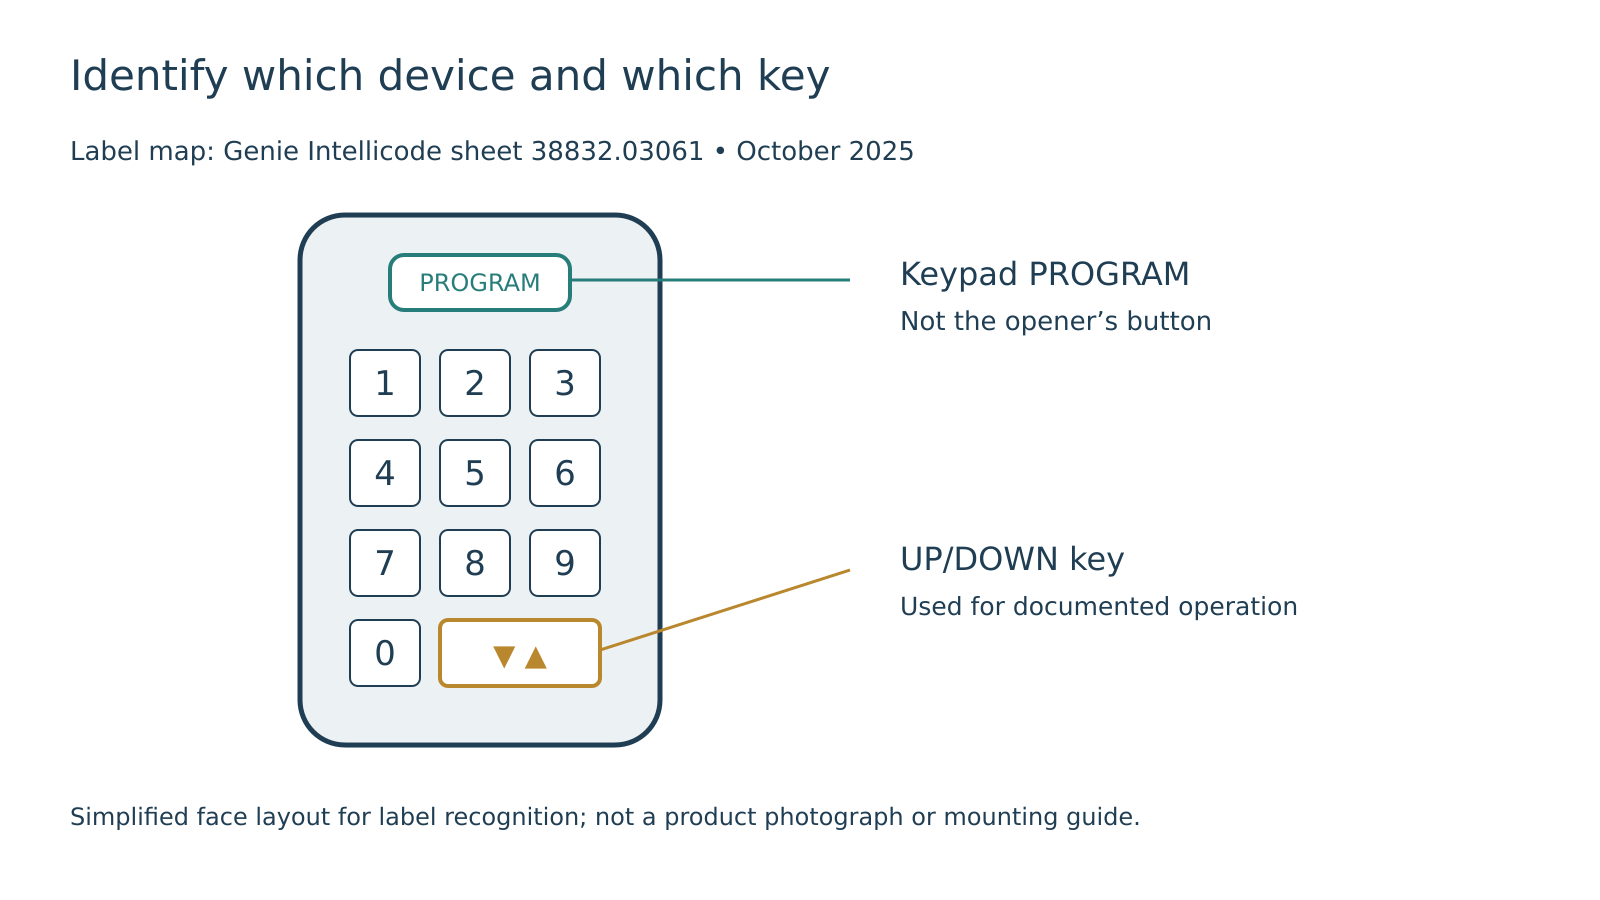 Select the diagram to view it at full size.
Prepare for movement, not just a flashing light
Pairing can operate the garage door. The manufacturer requires a properly functioning door-operator safety system and a clear opening. Keep children, other people and pets away, remain where the door is visible and do not begin with a damaged, crooked, jammed or unstable door.
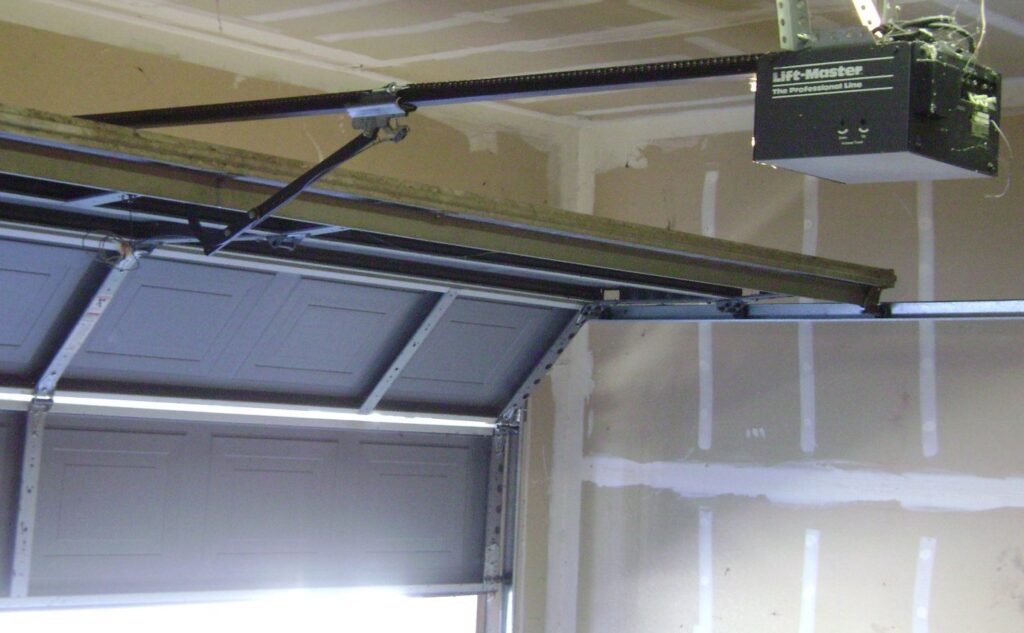
Arrange safe access to the opener’s programming control before starting. If reaching it would require an unsafe ladder position or access around moving hardware, have a qualified person handle the setup. The short programming window is not a reason to rush a climb or lean across the mechanism.
Identify the keypad’s PROGRAM key and its UP/DOWN key separately from the opener’s own programming button. They have different roles. Do not press travel, force or adjustment controls because they are near the button you need. Confirm the labels and control positions against the exact product instructions.
If other openers are nearby, work with only the intended one in programming mode. Tell other household members that setup is underway so they do not send commands during verification. The desired result is a known keypad controlling a known door, not simply a light that appears to confirm something.
New single-door setup for instruction 38832.03061
These steps apply to a new keypad still in the documented factory state. For an already programmed keypad with a known PIN, use the change-PIN section instead. Do not assume a used keypad is in its original state.
- Activate the new keypad. Remove its battery-isolation tab as shown in the instruction sheet and reinstall the battery compartment door. Wait until the number-pad backlight is off.
- Put the intended opener into programming mode using the matching branch below. Confirm the expected indicator rather than treating any flash as success.
- Enter the documented initial PIN, 3–5–7, on this new keypad. This is the manufacturer’s setup value, not a PIN recommendation for continued use.
- Press the keypad UP/DOWN key slowly three to four times, until the opener operates. Watch the doorway and stop if movement is abnormal. This completes the documented single-door synchronization.
- Change the factory PIN immediately using the procedure in the next section. Do not leave the installation on a publicly documented default.
For the current-production programming-button types illustrated in this sheet, hold the opener’s program button until its round LED turns blue, then release it. The round indicator goes out and the long indicator flashes purple. Return to the keypad portion of the sequence.
For the sheet’s separate branch covering openers manufactured from 1995 to 2011 and external receivers, press and release the identified Learn Code button once; its red LED flashes. The sheet gives this branch a 30-second learning window. Do not hold that button as though it were the newer program-button sequence.
These are two distinct branches, not alternative methods to try randomly. Match the opener and illustrated control. If the expected indicator does not appear, stop and recheck the identification rather than extending a button hold or pressing nearby controls.
Change an existing, known PIN without re-pairing everything
For this documented keypad, the authorized known-PIN change is concise:
- Enter the current PIN.
- Press the keypad PROGRAM key once.
- Enter your new PIN, within the documented three-to-eight-digit range.
- Press PROGRAM once again to complete the change.
The instruction sheet says the previous PIN no longer operates the keypad or opener after the change. When replacing the factory setup value, use 3–5–7 only as the current value in this sequence, then select your own private PIN. Do not use a sample code from an article as your permanent code.
Choose a PIN that is not an obvious sequence or personal detail others can readily guess. Keep it out of photographs, service notes, public screenshots and labels attached beside the keypad. This article does not need your actual PIN, and a support request can usually describe the step where trouble occurred without publishing it.
A known-PIN change is different from resetting a keypad or erasing devices from an opener. If you do not know the current PIN, use the manufacturer’s owner-authorized recovery guidance rather than guessing codes or applying an unrelated reset. Do not clear the opener’s device memory merely to change a keypad PIN.
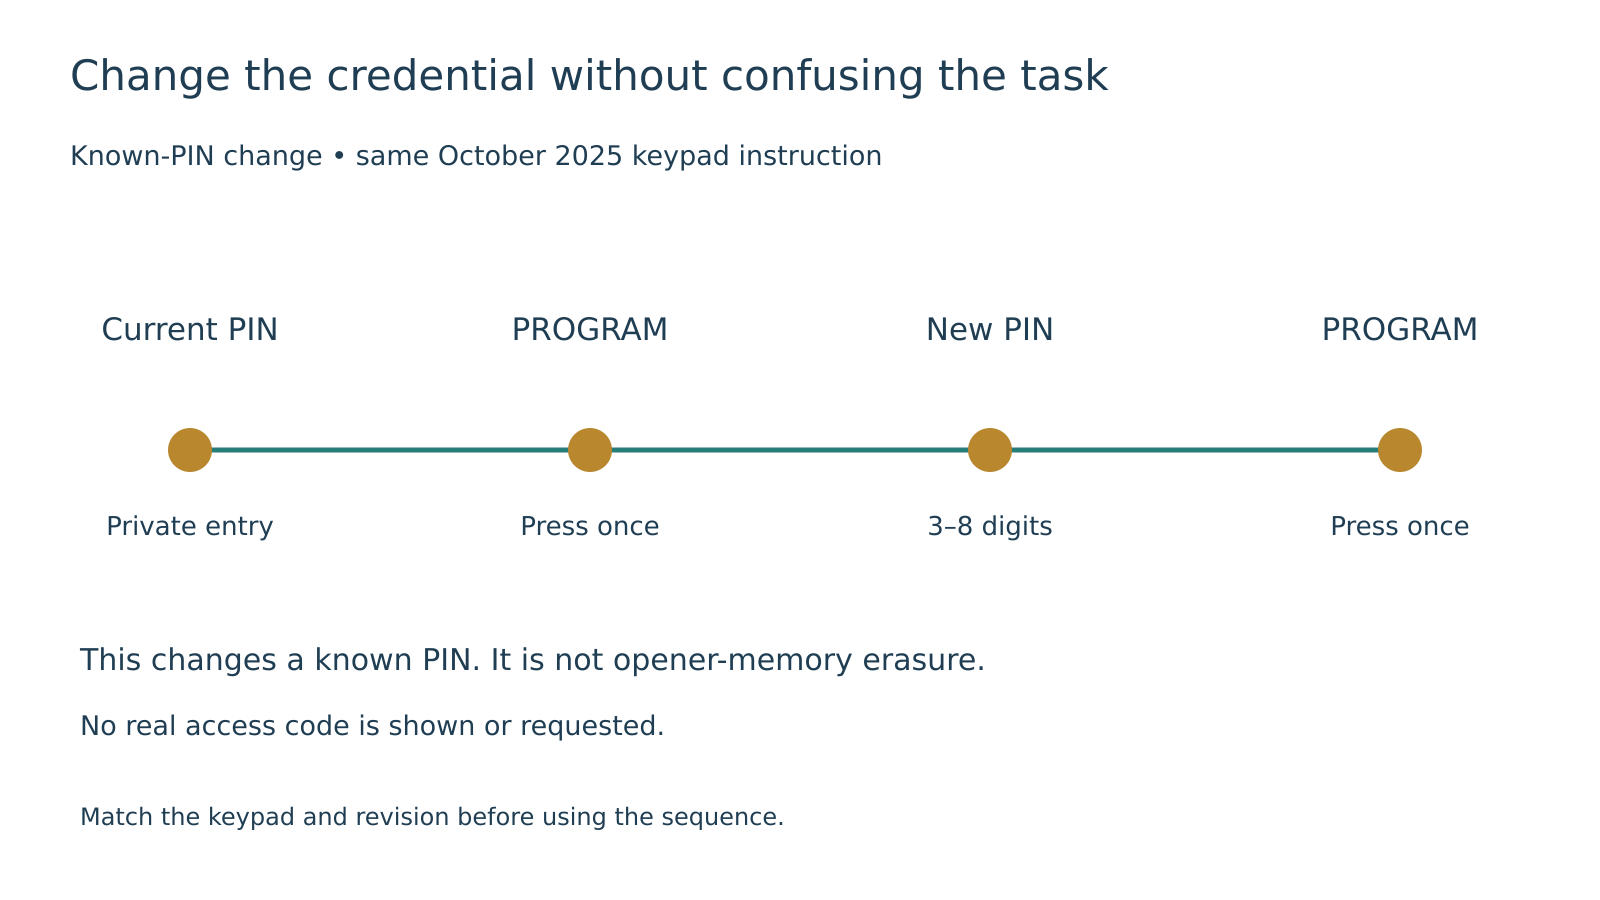 Select the diagram to view it at full size.
Verify from an inactive keypad—not during the 15-second window
The October 2025 instructions describe a 15-second active period after a successful entry. During that period, any key can operate the opener. Repeated button presses immediately after success can therefore send more commands; they are not independent tests of whether a PIN is valid.
For ordinary single-door operation, wait until the number-pad backlight is off, enter the PIN and press UP/DOWN. Watch that the intended door responds while the opening remains clear. If you are checking a changed PIN, begin each independent check from the inactive state rather than trying the old and new entries back to back while the keypad is still active.
This timing distinction prevents a misleading conclusion: “The old PIN still works” may describe a key press inside the active window rather than a new accepted PIN. Do not keep cycling the door to prove a point. Establish the inactive starting state, make a limited check and stop if the result remains inconsistent.
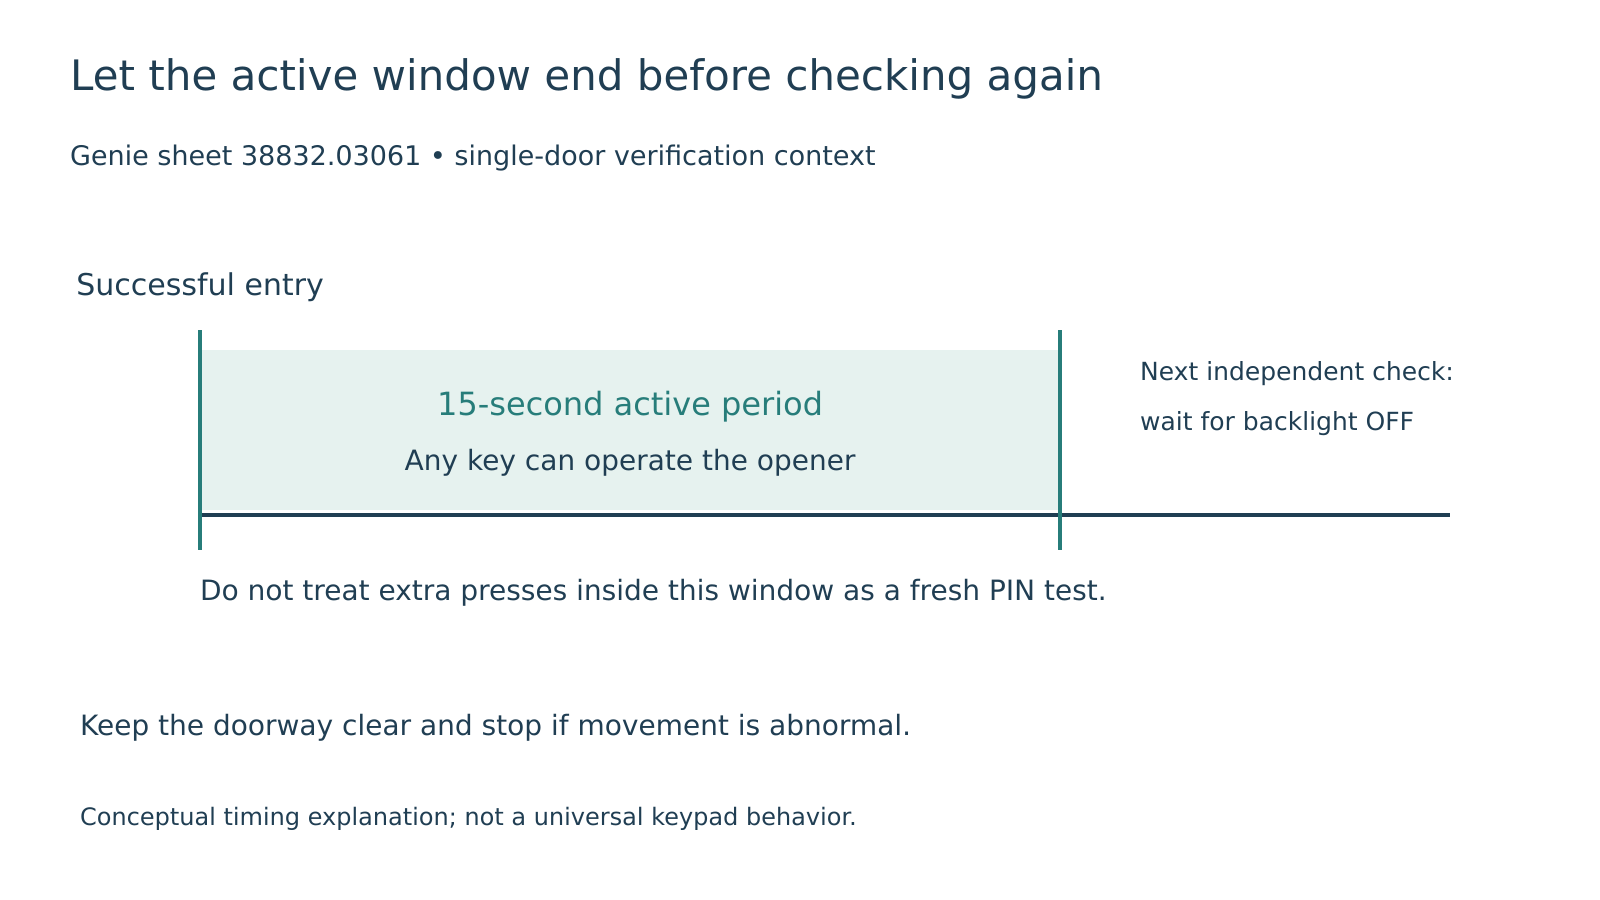 Select the diagram to view it at full size.
If setup does not finish as expected
Record the step where the process diverged: no keypad backlight, an unexpected opener indicator, a rapid keypad flash, or no response after the documented entry. The manual distinguishes a rapid failed-entry indication from accepted input and tells the user to wait for the backlighting to go out before another valid entry. That is not a universal blink-code chart for every Genie accessory.
Do not assume a routine battery change erased programming. The sheet says programming is retained during battery replacement. If the keypad previously worked and now fails, use the separate keypad failure guide instead of restarting the entire pairing process without identifying the symptom.
The documented keypad can support up to three openers, but adding another door is a different configuration task. The multi-door keypad guide explains capacity, separate assignments and shared placement. Do not introduce door-selection numbers into the single-door sequence just because another garage is nearby.
Leave a clear handover, not a public PIN record
Save the keypad model, opener model and instruction revision together. Record that setup and the authorized PIN change were completed, but do not store the secret in an ordinary maintenance log. Tell authorized users about the active-window behavior so extra button presses are not mistaken for independent authentication.
If the door or operator behaves abnormally during setup, stop programming and arrange opener assessment. Local Garage Experts answers (323) 924-8777 daily from 6 a.m. to 11 p.m., with free estimates, free diagnostics and no service call fee. Report the model, exact step and observed indicator—not the PIN itself.